Contents
ASSEMBLY INSTRUCTIONS
SAFETY INSTRUCTIONS
In the assembly instructions for the cabinet, the triangle with the exclamation mark indicates the following safety instructions.
Do not exceed the suggested load limits to avoid personal injury and damage to the cabinet.
It is forbidden to climb on or lean against the drawers.
Keep hardware such as screws, screw covers, etc. away from children to avoid possible suffocation.
Strictly follow the assembly diagram.
Assembly must be carried out by qualified personnel: if it is not done correctly, the product may tip over or fall, damaging people or property.
Since there are different types of walls and materials, the screws for fixing the product to the wall are not included: contact a specialised dealer to
choose the most suitable fixing accessories for your wall.
GENERAL INFORMATION
It is advisable to call in qualified personnel to assemble the furniture and make the necessary plumbing and electrical connections.
Although the component materials are resistant to moisture and are suitable for use in bathrooms , direct contact with water for an excessively long period is not recommended.
The Manufacturer declines all responsibility for the consequences of incorrect installation.
The Manufacturer declines every responsibility of a different use of the product from the one to which it has been designed.
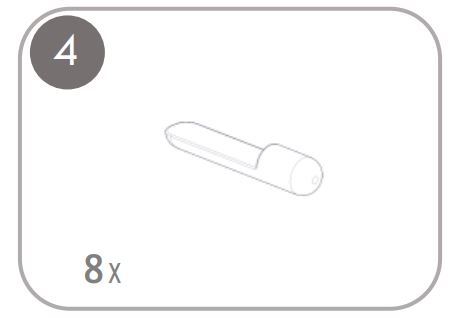
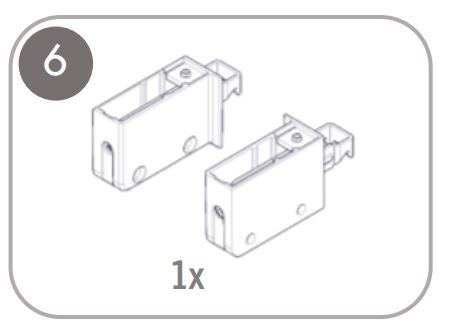
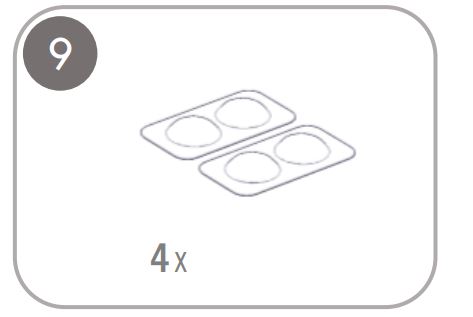
MATERIAL FOR ASSEMBLY
BUY ANCHOR SUITABLE FOR THE TYPE OFF WALL

_____________________________________
UPPER FRONT
LOWER FRONT
LEFT SIDE
RIGHT SIDE
TOP / BOTTOM
FIX SHELF
SHELF
BACK PANEL

STEP 1_______________________________
LEFT SIDE
RIGHT SIDE
STEP 2______________________________
LEFT SIDE
RIGHT SIDE
THIS OPERATION FOR THE LEFT OPENING DOORS
STEP 3_______________________________
LEFT SIDE
RIGHT SIDE
LEFT OPENING DOORS
RIGHT OPENING DOORS
STEP 4______________________________
TOP / BOTTOM
FIX SHELF
STEP 5______________________________
BACK PANEL
CONTROLLARE IL LATO PRIMA DI INSERIRLO
1 LATO BIANCO – 1 LATO GRIGIO
LEFT SIDE
RIGHT SIDE
STEP 6______________________________
CORRECT POSITION TO FIX
LEFT SIDE
RIGHT SIDE
TOP / BOTTOM
FIX SHELF
STEP 7______________________________
The heights indicated create an alignment with the basin base It is necessary to carefully check the position of the water and electricity pipes before drilling holes in the wall.
FLOOR
STEP 8_______________________________
The heights indicated create an alignment with the basin base It is necessary to carefully check the position of the water and electricity pipes before drilling holes in the wall.
STEP 9_______________________________
FLOOR
ATTENTION TO PIPES
FLOOR
ATTENTION TO PIPES
STEP 10______________________________
FLOOR
CORRECT POSITION FLOOR
CORRECT POSITION FLOOR
STEP 11_____________________________
2 PEOPLE ARE REQIURED TO CARRY OUT THIS OPERATION


STEP 12______________________________
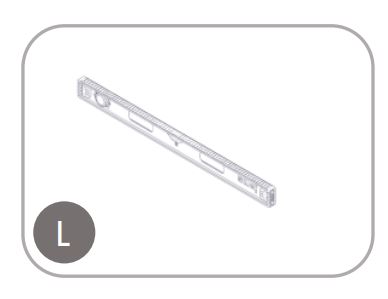
 FOR A CORECT POSITIONING USE THE LEVEL

STEP 13______________________________
CHECK CORRECT POSITION

STEP 14______________________________
INSERT CYLINDIRCAL INSIDE THE HOLE, FLAT SIDE UPWARDS

STEP 15______________________________
SHELF


STEP 16______________________________
UPPER FRONT
LOWER FRONT 


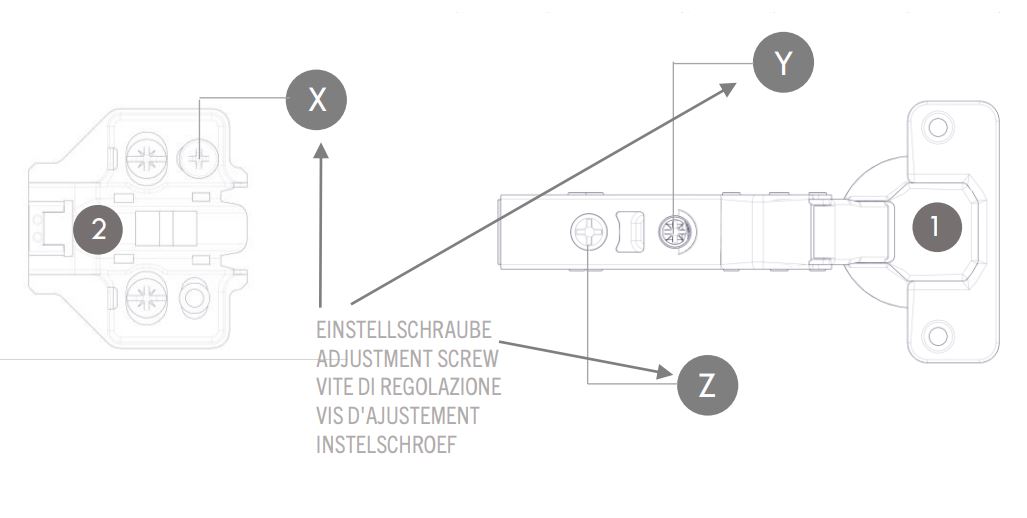
STEP 17______________________________
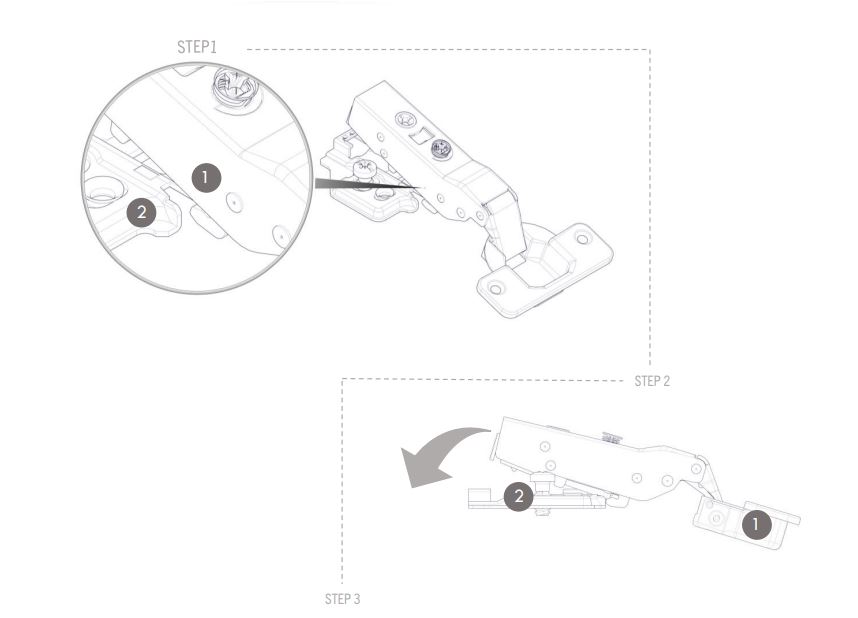

STEP 18______________________________


STEP 19_____________________________


STEP 20_____________________________
BEFORE ADJUSTING THE DOORS ,MAKE SURE THAT THE CABINET IS IN VERTICAL POSITION


REMOVE THE FILM ON THE FRONT DOORS
