THUMPER FAB TF040702 Can Am Defender Nerf Rails 3-Seat Installation Guide

Contents
PARTS
| REF | QTY | DESCRIPTION |
| 1 | 2 | Nerf Step |
| 2 | 2 | Hanger Bracket |
| 3 | 2 | Bracket Cover |
| 4 | 2 | Front Mounting Bracket |
| 5 | 2 | Rear Mounting Bracket |
| A | 12 | M8-1.25 x 25mm Flange Bolt |
| B | 2 | M8-1.25 x 125mm Flange Bolt |
| C | 2 | M8-1.25 Flange Locknut |
| D | 8 | M8-1.25 Rivet Nut |
| E | 2 | Fender Washer |
| F | 8 | 5/16-18 x 3/4” Hex Bolts |
| G | 1 | Rivet Nut Tool |
TOOLS REQUIRED
- Drill
- Ratchet
- 13mm Socket
- 13mm Wrench
- 17/32 in Drill Bit
- 1-1/2in Hole Saw
- Jack Stands (Optional)
- Step Drill Bit (Optional)
BEFORE YOU BEGIN
If you do not feel comfortable installing your Thumper Fab Nerf Steps, please see your nearest Can-AM® Dealer for Installation.

INSTALLATION INSTRUCTIONS
PREPARATION
4Install M8 rivet nuts in the locations drilled in previous step.
| 1 | Position vehicle on a clean and level work area. Place UTV in park and block rear wheels. | |
| (Optional) To aid installation it may be necessary to lift the vehicle and support with jack stands. Read instructions carefully to ensure placement of jack stands will not interfere with installation. | ||
| 2 | A small dimple in the plastic indicates the location to use for centering hole saw. |  |
| Using a 1 1/2 in hole saw, drill through the exterior body plastic on both the driver and passenger side at the indicated locations. |  |
|
| 3 | Remove the (2) forward and the (2) rearmost rivets securing body plastic to the frame along each side of the vehicle. |  |
| Drill out indicated rivets using a 17/32 inch drill bit. |  |
|
| Using a step drill or alterative tool, enlarge the hole created in the body plastic to provide additional clearance for rivet nut.(Do not enlarge hole in frame!!!) |  |
|
| Install M8 rivet nuts in the locations drilled in previous step. | ||
| Insert rivet nut into drilled hole seating the flange of the nut against the frame.Using a 13mm wrench as backup. Install rivet nut by using light force on an impact in the clockwise direction to collapse nut.(Do not over torque!!!) |  |
|
INSTALLATION
| 1 | Install hanger brackets. |  |
| Insert the M8-1.25 x 125mm flange bolts with a fender washer into the interior side of the 1 1/2 in holes drilled previously. |  |
|
| 2 | Install front and rear brackets. |  |
| Loosely install front and rear brackets onto previously installed rivet nuts with provided M8-1.25 x 25mm flange bolts. |  |
|
| 3 | Loosely install nerf rail steps and bracket covers. |
|
| Loosely fasten nerf rail steps to front and rear brackets using (4) 5/16-18 x 3/4” Hex Bolts into welded bungs on inside edge of nerf rail tubes. |  |
|
| Loosely position the nerf rail steps on front and rear brackets. Secure nerf step to hanger bracket using (2) M8-1.25 x 25mm bolts through bottom of step, hanger bracket, and into welded nuts on bracket covers. | 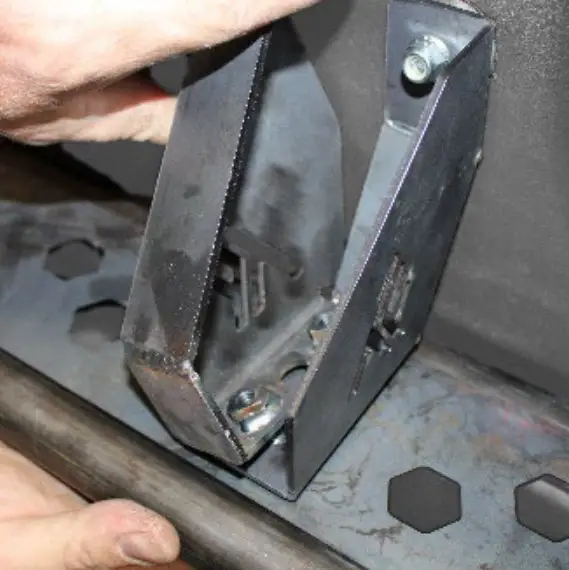 |
|
| Fully tighten all hardware and enjoy your new Thumper Fab Nerf Rail Steps! |  |

Periodically check all components to ensure all hardware remains tight.
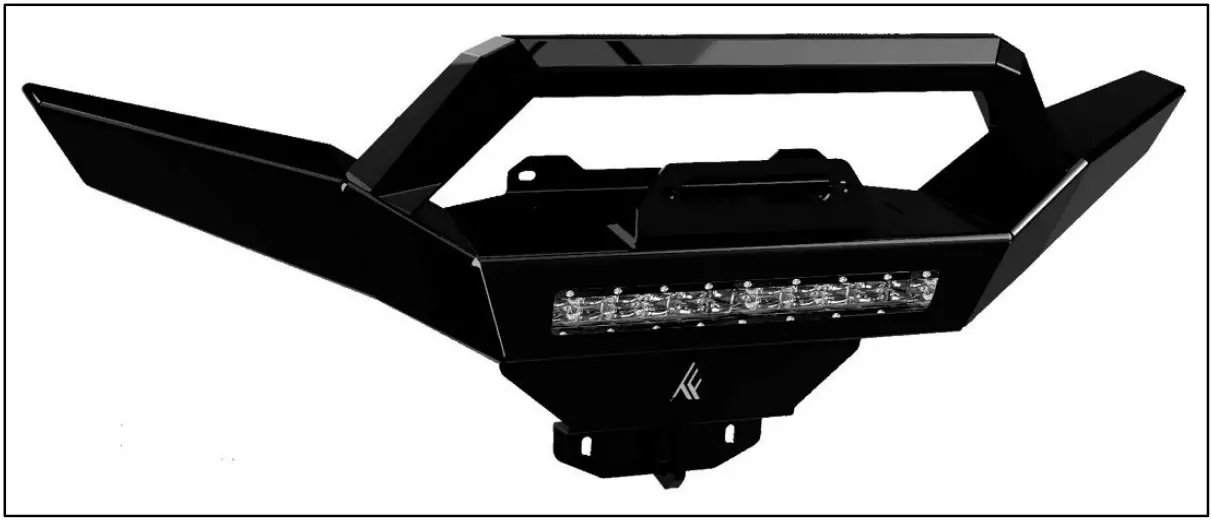
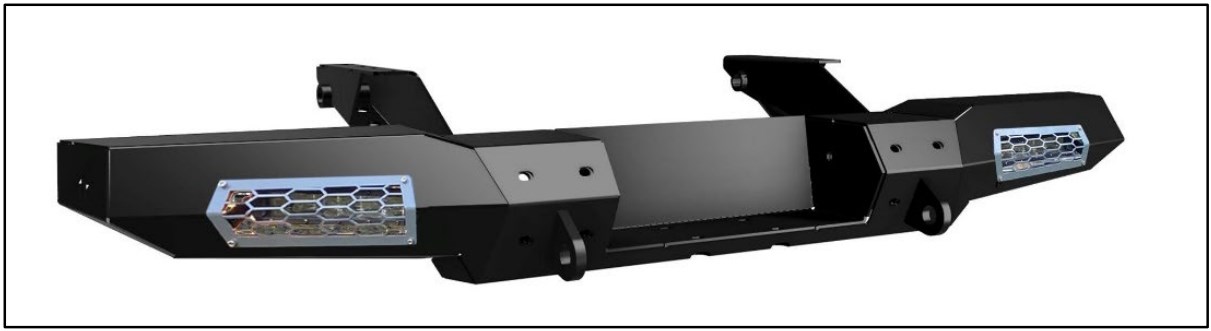
CHECK OUT THESE OTHER THUMPIN’ PRODUCTS FOR YOUR
CAN-AM DEFENDER
- TF040310 – Defender (MAX) Level 5 Audio Roof
- TF040501 – Defender Front Winch Bumper.
- TF040601 – Defender ELITE EDITION Winch Ready Rear Bumper
Thumper Fab
5103 Elysian Fields Rd
Marshall, TX 75672
Customer Service: 903-472-0928
www.thumperfab.com