![]() Bike Rack
Bike Rack
Instructions
Bike Rack
- REMOVE STEADYRACK FROM THE WALL
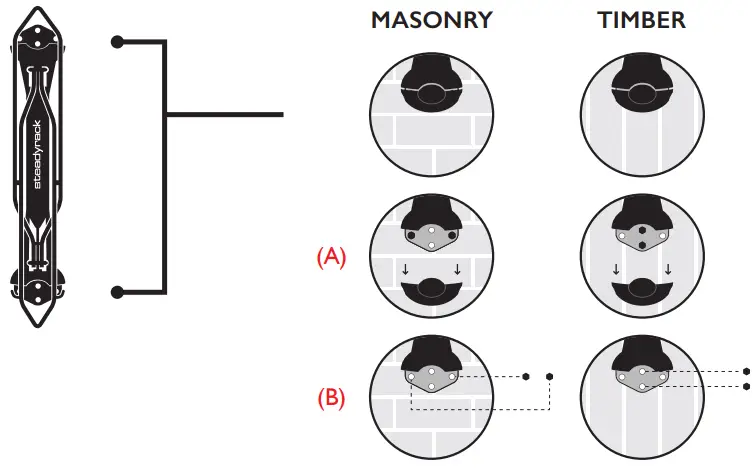 Remove your Steadyrack from the wall by (A) taking off the End Caps and (B) unscrewing the mounting screws.
 - . PLACE THE NEW LOCK BRACKET
 Place the new Lock Bracket over the lower mounting holes from your Steadyrack installation. The Lock Bracket has been designed to use the same mounting holes as the Steadyrack.
 - REPLACE LOWER MOUNTING SCREWS
 Place the Steadyrack on top of the Lock Bracket, aligning with the previous mounting holes (C). Replace the lower mounting screws (using the original screws) ensuring they go through both the Steadyrack and Lock Bracket (D).
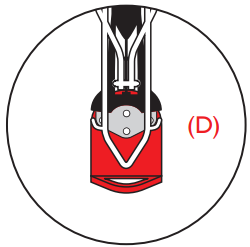 For an extra layer of security, install your Lock Bracket with tamper-proof bolts. For more information on tamper-proof options and installation instructions, visit our website: steadyrack.com/lock-bracket-extra-security
 - REPLACE UPPER MOUNTING SCREWS & END CAPS
 Replace the upper mounting screws (E) and both End Caps for the Steadyrack (F).
 - ROLL BIKE ON. DONE. EASY.
Roll your bike on and secure your bike using any old bike lock.
![]()