SohoTeco 1ET2-2R2 Electric Standing Desk Instruction Manual
1ET2-2R2
min.27.9”-max.46.46”

100 kg(220 lbs)
Read the entire instruction manual before you start installation and assembly. If you have any questions regarding any of the instructions or warnings, please contact your local distributor for assistance.
CAUTION: Use with products heavier than the rated weights indicated may result in instability causing possible injury
Mounts must be attached as specified in assembly instructions. Improper installation may result in damage or serious personal injury.
Safety gear and proper tools must be used. This product should only be installed by professionals. Make sure that the supporting surface will safely support the combined weight of the equipment and all attached hardware and components.
- Use the mounting screws provided and DO NOT OVER TIGHTEN mounting screws.
- This product contains small items that could be a choking hazard if swallowed. Keep these items away from children.
- This product is intended for indoor use only. Using this product outdoors could lead to product failure and personal injury.
Contents
IMPORTANT:
Ensure that you have received all parts according to the component checklist prior to installation. If any parts are missing or faulty, telephone your local distributor for a replacement.
MAINTENANCE:
Check that the bracket is secure and safe to use at regular intervals (at least every three months).
Checklist and installation
|
|
B x1 | C x2 |
D x1 |
|
F x 2 |
|
|
|
|
|
|
| M x10 | ||
Screw List
|
M-A x1 |
M-B x8 | M-C x8 | M-D x18 | M-E 2.5mm Allen Key |
M-F 5mm Allen Key |
Phillips Screw Driver |
Tool
| U x4 | V x8 |
W x4 |
Checklist and installations
| STEP : 1 | Checklist
B x1 M-A x1 M-E 2.5mm E x1 A x1 |
|
| STEP : 2 | 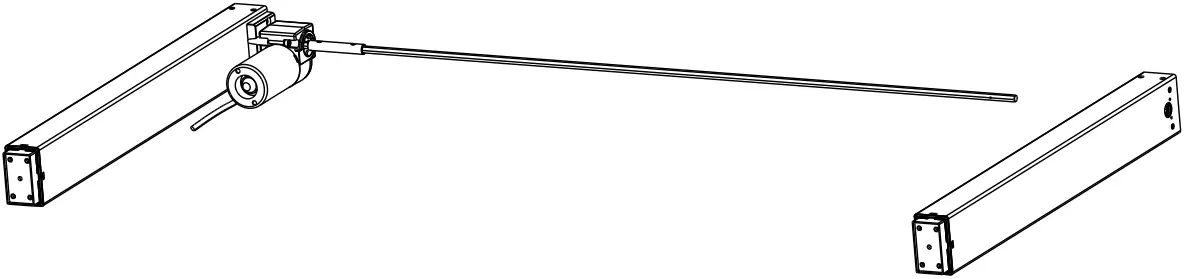 |
|
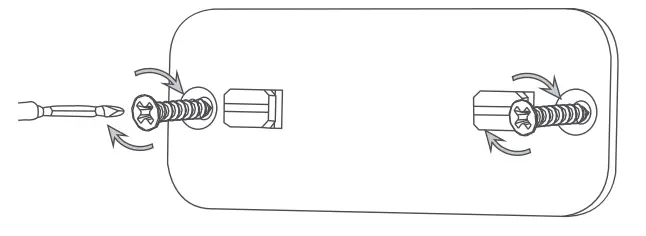
| STEP : 3 | Checklist D x1 M-B x4 M-F 5mm |
|
| STEP : 4 |
Checklist
M-B x4 |
|
| STEP : 5 | Checklist M X 10 |
|
| STEP : 6 | Checklist
C x2 M-C x8 M-F 5mm |
|
| STEP : 7 |
Checklist N x1
Ux3 W x4 |
|
| STEP :8 | Put the crews V into the hole of the tabletop be matched | Checklist
V x4 Phillips Screw Driver |
| STEP : 9 | 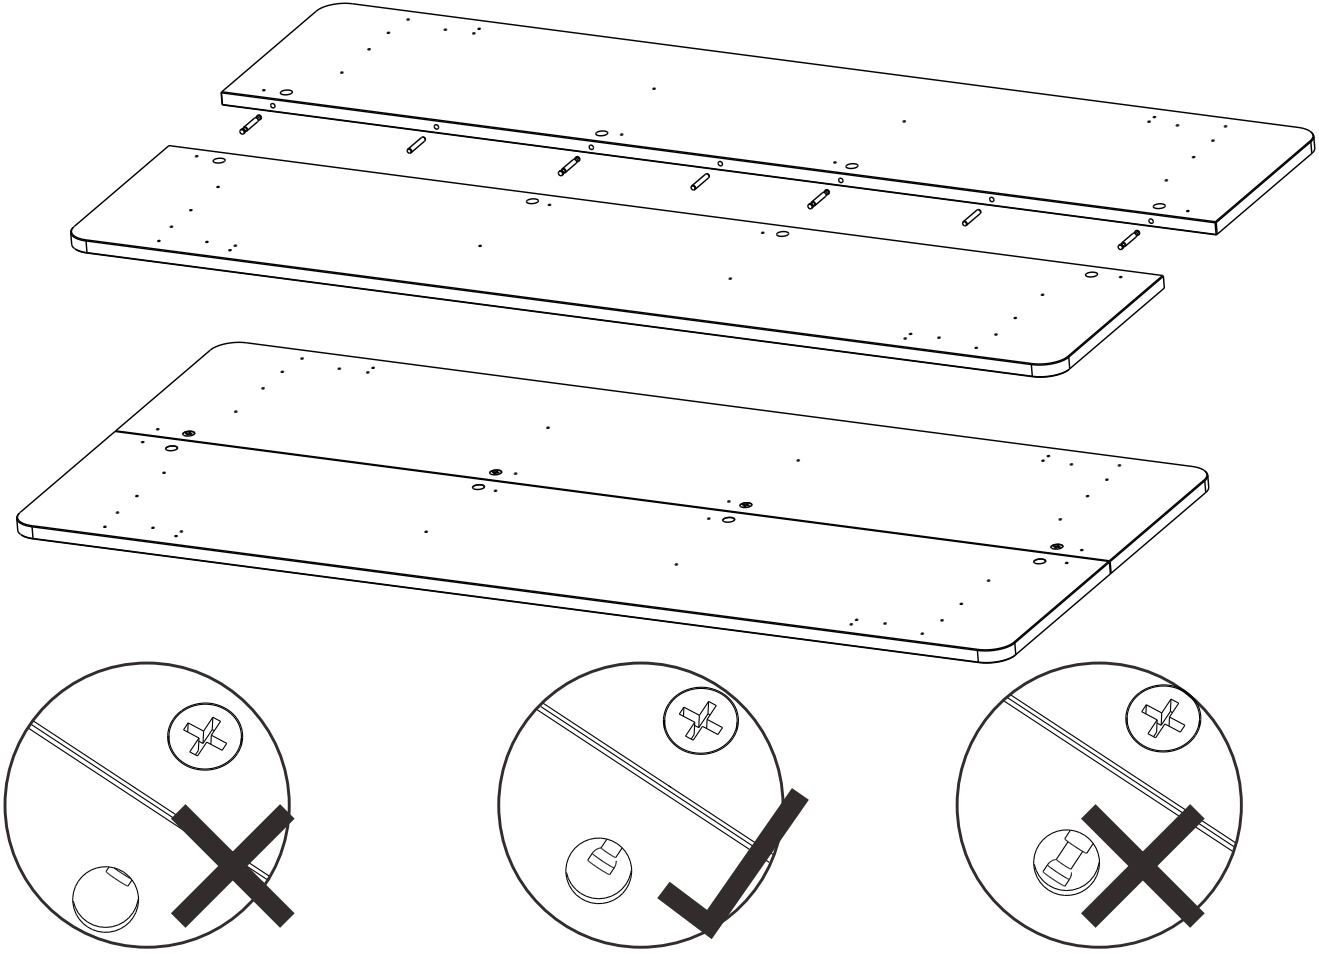 |
Checklist
Phillips Screw Driver |
| STEP : 10 | Checklist
V x4 Phillips Screw Driver |
|
| STEP : 11 | Checklist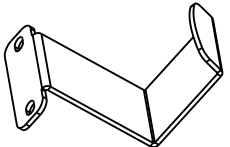 J x2 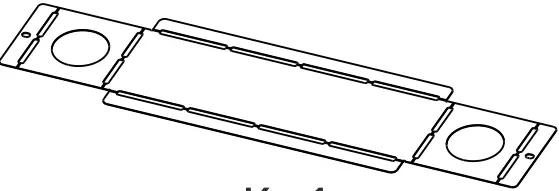 Kx1 Phillips Screw Driver
|
|
| STEP : 12 | 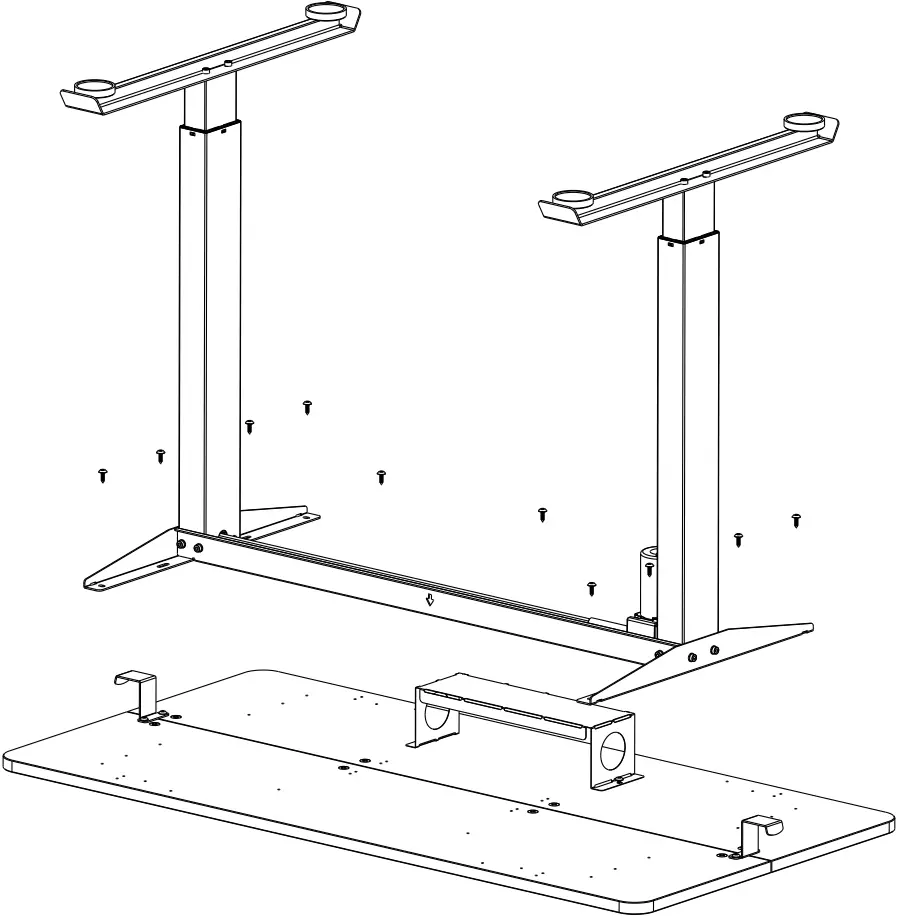 |
Checklist M-D x 10 Phillips Screw Driver |
| STEP : 13 | 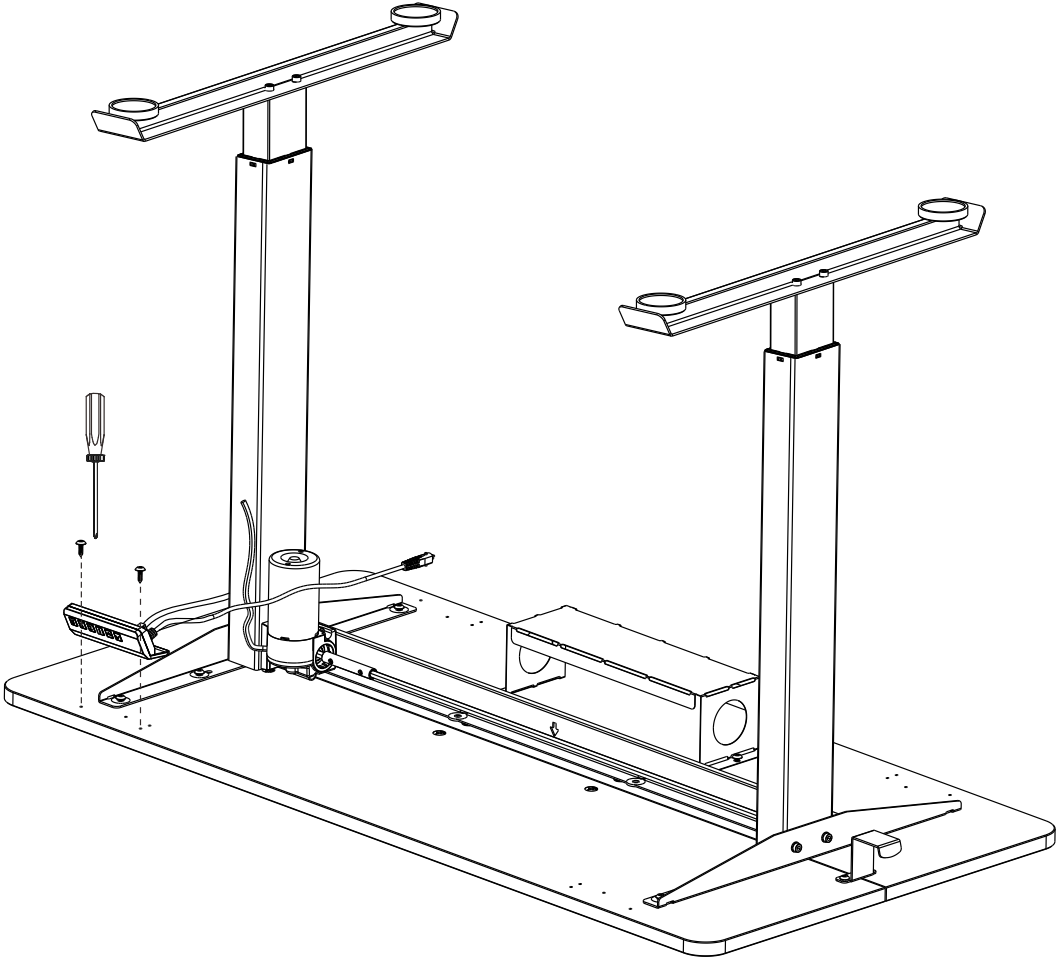 |
Checklist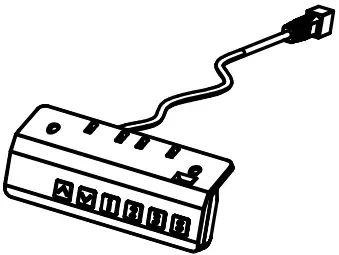 H x1 M-D x2 Phillips Screw Driver |
| STEP : 14 |  |
Checklist I x1 |
| STEP : 15 | 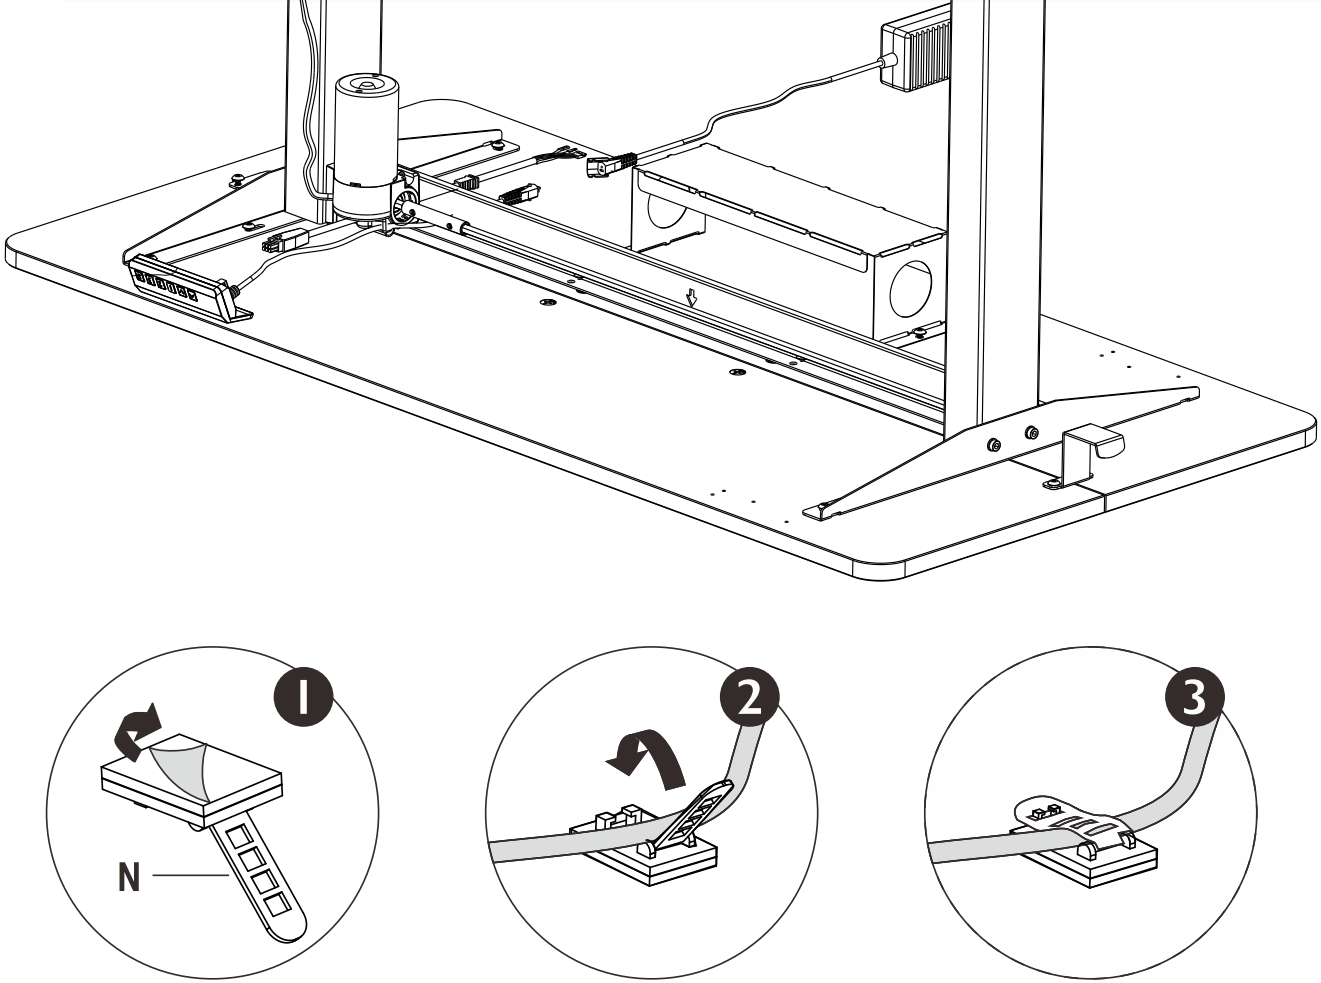 |
Checklist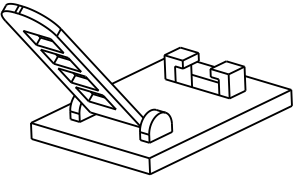 J x5 J x5 |
INITIAL USE
Hold the “▼“ button until the desk reaches its lowest height, then release.
Hold the “▼”button again for about 10 seconds until the desk lowers a bit more, then slightly rises and stops then release.
TECHNICAL SPECIFICATIONS
| Height Range | 27.9”(71cm) – 46.46”(118cm) |
| Travel Speed | 30mm(1.2”)per second |
| Weight Capacity | 100KG (220lbs) |
| Duty Cycle | 10%, Max. 2 mins on, 18 mins off |
| 3 Memory presets Soft Start/Stop Adjustable leveling |
ADVANCED SETTING
Press the ” S ” button for 5 seconds until the LED flashes. The menu contains 7 items as the table below. Short press the “S” button to select the item you’d like to set, then use the /▼“ buttons to adjust the value. Long press the “S” button to save the setting and a progress bar will appear. “SUS” will be displayed if it is saved successfully, and “FAL” will be displayed if it fails. The menu will return to the display height automatically if no operation within 10 seconds.
PROGRAMMING INSTRUCTIONS
MEMORY SETTINGS
Save up to four commonly used desk heights and recall them quickly.
- Use the UP or DOWN button to move the desk to the desired height.
- Press the “S”button.
- Press the “1, 2, or 3”button to assign the current height to a number on the handset.
- To bring the desk back to any of those assigned heights, press the numbered button.
HANDSET LOCK
The handset can be locked to prevent accidental activation or movement of the desk and to prevent desk
VHWWLQJVIURPEHLQJDFFLGHQWDOOFKDQJHGEFKLOGUHQRUFRZRUNHUV
TO LOCK: Press and hold the “ ” and ” ” buttons simultaneously for 5 seconds until the LED reads “Loc”.
TO UNLOCK: Press and hold the “UPµDQGµ’RZQµEXWWRQVVLPXOWDQHRXVOIRUVHFRQGVXQWLOWKH/(‘VZLWFKHV from “Loc”to the height display
| Press” ” key till hear the second “di” sound (around 55 . use “A” or ” W ” key| to choose (See the LED Flashes) | 1.Minimum Height |  |
108CM / 43° | Press °S” to fretum to the numerical display interface Set up SUS |
| Click “S” Key One Time | 69CM/27″ | |||
| 2.Maximum Height | |
116CM / 46″ | ||
| Click “s” Key Two Times | 81CM/ 32″ | |||
| 3.Starting Height | |
0-30CM/0-11.8″ | ||
| Click “S” Key Three Times | ||||
| 4.Upward Anti-Collision | |
|
||
| Click “S” Key Four Times | ||||
| 5.Downward Anti-Collision | |
|
||
| Click “S” Key Five Times | ||||
| 6.Sensor Anti-Collision | |
|
||
| Click “S” Key Six Times | ||||
| 7.Display Unit | |
|
||
| Click “S” Key Seven Times |
TROUBLESHOOTING
- If your desk does not respond when you try to raise it or lower it, or if the handset displays error messages,
check to make sure all the cables are secure(Legs to cables, cables to Control box). If the problem persists,
perform the reset procedure below.
RESET PROCEDURE
- Unplug the power cord and hold the S ” button on the Handset for 30 seconds.
- Plug the power cord backin.
- Hold the “W “ button until the desk reaches its lowest height, then release. Hold the “W”button again for about 10 seconds until the desk lowers a bit more, then slightly rises and stops then release.
- The handset will then display the current height, and you should be able to operate the desk.
- You may also need to do this if the desktop is ever unplugged or loses power.
If the error message persists after performing the Reset procedure, contact us or local distributors to get support.
| DESCRIPTION | CODE | TROUBLESHOOTING SOLUTION |
| Abnormal Standby Current | SO | Power on again. If the code persists, replace the Control Box |
| Abnormal Power Supply Board | SC1 | Power on again. If the code sersists, reolace the Control Box Power on again. If the code persists, replace the Control Box |
| Abnormal Memory | SC2 | |
| Abnormal Sensor | SC3 | Power on again. If the code persists, replace the Control Box |
| Collision Protection by Sensor | R-2 | The desktop will stop and retract 5cm(2″) |
| Overheated | HOT | Let the desk rest for 18 minutes |
| Communication Failure | R-5 | Check the connection between Handset and Control Box or replace Handset |
| Abnormal Voltage | R-6 | Power on again. If the code persists, replace the Control Box |
| Mechanical Failure | R-8 | Perform Reset procedure. If the code persists, replace the Leg |
| Rest not completed | RST | Perform Reset procedure |
| Short Circuit | EXO | Power on again. If the code persists, replace the Control Box |
| Overload | EX1 | Reduce the load on desk |
| Motor Open Phase | EX2 | Perform Reset procedure. If the code persists, replace the Leg |
| Wrong Running Direction | EX3 | Perform Reset procedure. If the code persists, replace the Leg |
| Collision Protection | EX4 | The desktop will stop and retract 5cm (2″) |
| Motor Stalling | EX5 | Perform Reset procedure. If the code persists, replace the Leg |
| Disconnections of Motor Cable | EX6 | Check the connection between leg and control box |
| Remarks: X means 1(the first leg), 2(the second leg), 3(the third leg) | ||
![]() In the event of a power outage or if the power cord is unplugged, a manual reset may be necessary (see Reset Instructions above)
In the event of a power outage or if the power cord is unplugged, a manual reset may be necessary (see Reset Instructions above)
![]() This product is designed with a duty cycle of 10% (2 min. On, 18 min. off)
This product is designed with a duty cycle of 10% (2 min. On, 18 min. off)
![]() Keep Children away from electric height-adjustable desks, control units and handsets.
Keep Children away from electric height-adjustable desks, control units and handsets.
There is a risk of injury and electric shock.
![]() Do not open any of components: lifting columns, control box, or handset. There is a danger of electric shock.
Do not open any of components: lifting columns, control box, or handset. There is a danger of electric shock.
![]() Keep all electrical components away from liquids
Keep all electrical components away from liquids