
![]()
Door Preparation Instructions for Door with No Holes
Schlage Encode™, BE489
Programming Guide: BE489-Programming [pdf]
Tools Needed
 If you are uncomfortable performing these steps, call a locksmith for assistance.
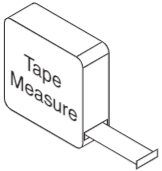

Pencil
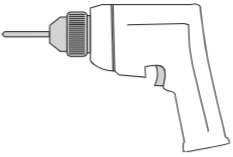
Drill and Drill Bits Bit Sizes: 18”, 1”
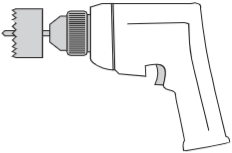
Hole Saws 1”, 2 18”

Chisel
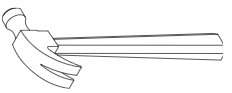
Hammer
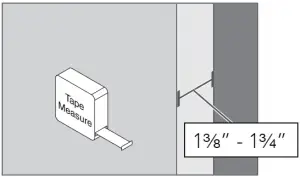
1 Measure door thickness.
If the door is thinner than 1 38” or thicker than 1 34”, then the lock will not fit properly on the door.
A thick door kit is used to fit the Schlage Encode to doors that are between 1 78” and 2 14” thick.
A thick door kit is available from Product Support at 888-805-9837
2 Mark door.
Mark lock centerline on door face, door edge and door jamb.

3 Prepare cross bore.
3a Measure backset and mark center of hole.
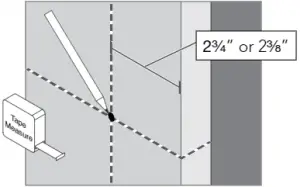
3b Drill hole with hole saw.

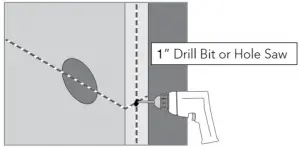
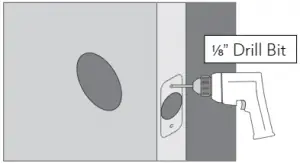
4 Prepare door edge hole.
4a Measure and mark 12 door thickness.
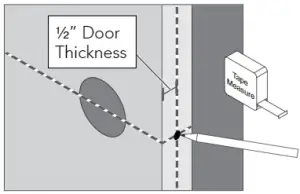
4b Drill hole in door edge.
5 Mortise for bolt.
5a Insert bolt into door edge hole. Trace bolt faceplate and mark holes.
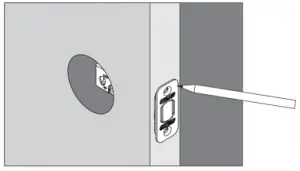
5b Remove bolt and drill two 18” pilot holes.
5c Use chisel and hammer to create bolt mortise.

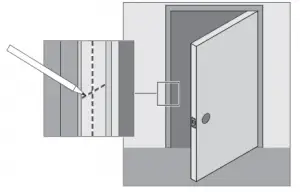
6 Measure, mark and drill holes in door jamb for strike.
6a Mark center for strike hole exactly opposite latch hole.
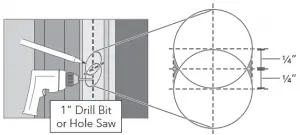
6b Measure, mark and drill two (2) 1” holes, 1 14” deep, as shown. Chisel out excess material on the sides.
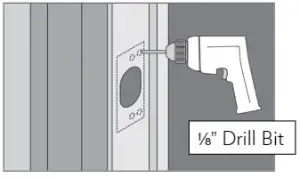
7 Mortise for strike and reinforcement plate.
7a Trace strike and reinforcement plate and mark holes.
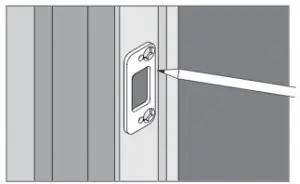
7b Drill four (4) 18” pilot holes.
7c Use chisel and hammer to create mortise for strike and reinforcement plate.

Questions about your new Schlage Encode Smart WiFi Deadbolt?
Please don’t return it to the store!

Let us help you first!
Schlage Customer Service Calling From:
USA: 888-805-9837
Canada: 800-997-4734
México: 018005067866

© Allegion 2018Schlage Encode door prep with no holes Rev. 10/18-a
Schlage Encode Smart Wi-Fi Deadbolt BE489 Installation Manual –
Schlage Encode Smart Wi-Fi Deadbolt BE489 Installation Manual –