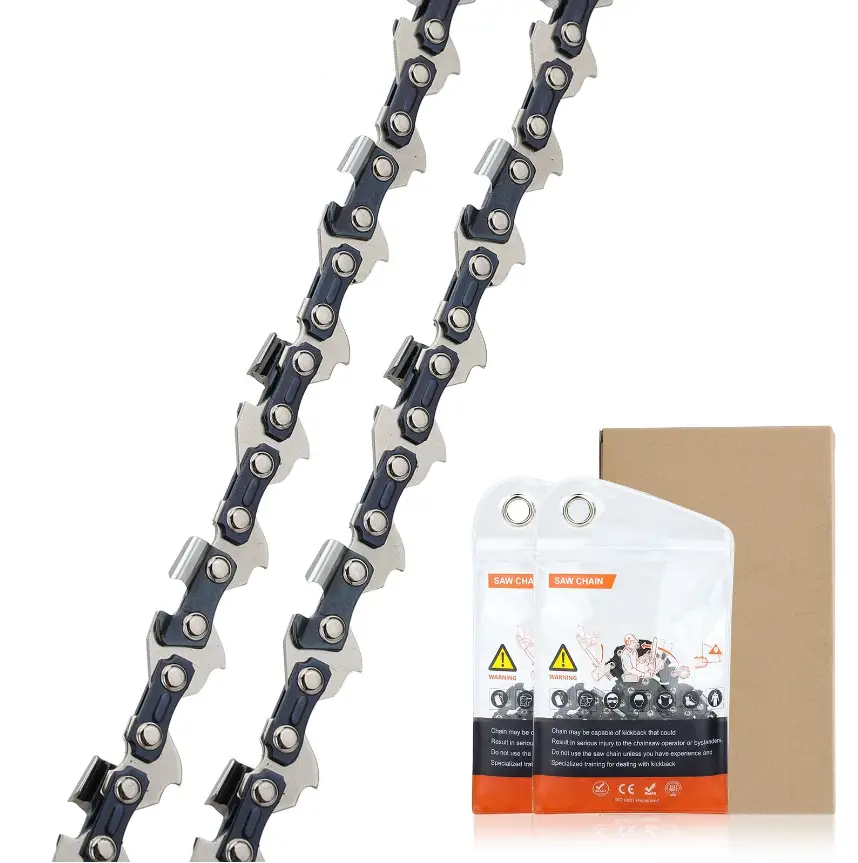
SAVIOR OCS1830 2 Packs 12 Inch Chainsaw Chain
Contents
Saw chain replacement
Part 1: mounting the bar and chain
Note: confirmation of saw chain specifications :
you can run chains of different pitches on this chain Saw – depending on the chain sprocket the chain pitch (1) must match the pitch of the sprocket and the guide bar. The drive link gauge (2) Must match the bar groove width (3).

![]() Unscrew the nuts and take off the chain sprocket cover.
Unscrew the nuts and take off the chain sprocket cover.

![]() Turn screw (4) counter clockwise until the tensioner slide (5) butts against left end of housing slot
Turn screw (4) counter clockwise until the tensioner slide (5) butts against left end of housing slot

Part 2: tensioning the saw chain
![]() Pull the hand guard (6) back toward the front handle.
Pull the hand guard (6) back toward the front handle.

![]() Fit the chain – start at the bar nose.
Fit the chain – start at the bar nose.
warning: wear work gloves to protect your hands from the sharp cutters.

![]() Fit the guide bar over the studs
Fit the guide bar over the studs
(7) -Cutting edges on top of bar must point to right – and engage the peg of the tensioner slide in locating hole (8) – Place the chain over sprocket (9) At the same time.

![]() Press down the throttle trigger interlock to release the chain brake.
Press down the throttle trigger interlock to release the chain brake.
![]() Now tum tensioning screw (10) Clockwise until there is very little chain sag on the underside of the bar-and the drive link tangs are located in the bar groove.
Now tum tensioning screw (10) Clockwise until there is very little chain sag on the underside of the bar-and the drive link tangs are located in the bar groove.
![]() Refit the sprocket cover – and screw on the nuts only finger-tight
Refit the sprocket cover – and screw on the nuts only finger-tight

Retensioning during cutting work
![]() Shut off the engine first – and then loosen the nuts.
Shut off the engine first – and then loosen the nuts.
![]() Hold the bar nose up and use screwdriver to tum tensioning screw (1) Clockwise until chain fits snugly against the underside of the bar.
Hold the bar nose up and use screwdriver to tum tensioning screw (1) Clockwise until chain fits snugly against the underside of the bar.
![]() While still holding the bar nose up, tighten down the nut firmly.
While still holding the bar nose up, tighten down the nut firmly.

![]() Shut off the engine.
Shut off the engine.
![]() Pull the hand guard toward the rear handle.
Pull the hand guard toward the rear handle.
![]() Press down the throttle trigger interlock to release the chain brake.
Press down the throttle trigger interlock to release the chain brake.
![]() Chain must fit snugly against the underside of the bar – and, with the chain brake disengaged. it must still be possible to pull the chain along the bar by hand.
Chain must fit snugly against the underside of the bar – and, with the chain brake disengaged. it must still be possible to pull the chain along the bar by hand.
![]() If necessary, recension the chain. A new chain has to be retensioned more often than one that has been in use for some time.
If necessary, recension the chain. A new chain has to be retensioned more often than one that has been in use for some time.
Saw chain maintaining & sharpening
Part 1: checking angles

warning: wear work gloves to protect your hands from the sharp cutters.
![]() Select sharpening tools according to chain pitch.
Select sharpening tools according to chain pitch.
![]() Lock the chain – push hand guard forward.
Lock the chain – push hand guard forward.
![]() To rotate the chain, pull the hand guard against the front handle to disengage the chain brake.
To rotate the chain, pull the hand guard against the front handle to disengage the chain brake.

![]() Hold the file horizontally (at right angle to side of guide bar) and file according to the angles marked on the file holder.
Hold the file horizontally (at right angle to side of guide bar) and file according to the angles marked on the file holder.
![]() Always file from the inside to the outside of the cutter. – two or three strokes of the file are usually enough.
Always file from the inside to the outside of the cutter. – two or three strokes of the file are usually enough.
![]() The file only sharpens on the forward stroke – Haft the file off the rotter on the backstroke.
The file only sharpens on the forward stroke – Haft the file off the rotter on the backstroke.
![]() Avoid touching the tie straps and drive rank’s with the file.
Avoid touching the tie straps and drive rank’s with the file.
![]() Rotate the file at regular intervals while filing to avoid one-sided wear.
Rotate the file at regular intervals while filing to avoid one-sided wear.
![]() Check angles with the filing gauge.
Check angles with the filing gauge.
Note: all cutters must be the same length.
If the cutters are not the same length ,they will have different heights. Th is makes the chain run roughly and can cause it to break.
Part 2: Depth Gauge Setting

Note: the depth gauge determines the height at which the cutter enters the wood and thus the thickness of the chip removed.
Specified distance or setting between depth gauge and cutting edge = a:
This setting may be increased by 0.2mm {O.008″) for cutting softwood in mild weather season-no frost
Part 3: Lowering Depth Gauges
![]() Place a tiling gauge (1) That matches the chain pitch on the chain – if the depth gauge projects from the filing gauge, the depth gauge has to be lowered.
Place a tiling gauge (1) That matches the chain pitch on the chain – if the depth gauge projects from the filing gauge, the depth gauge has to be lowered.

![]() File down the depth gauge until it is level with the filing gauge.
File down the depth gauge until it is level with the filing gauge.

![]() File the top of the depth gauge parallel to the stamped service marking (see arrow) – but do not lower the highest point of the depth gauge in this process.
File the top of the depth gauge parallel to the stamped service marking (see arrow) – but do not lower the highest point of the depth gauge in this process.
Note: the kickback tendency of the chainsaw is increased if the depth gauges are too low.

Saw Chain Troubleshooting
Part 1: Properly Sharpened Cutter
Cutter features:
- Top plate
- Square or round working corner
- Side plate
- Heel
- Rivet hole
- Chassis
- Gullet
- Toe
- Depth gauge
Sharpened cutters have:
j. Correct angle on top plate (degree of angle depends on chain type)
k. Razor-edge on top plate (no light should reflect from th is edge)
I. Slightly protruding •hook” or point(curve on non-chisel chain}
m. Razor-edge (with no nicks) on side plate
N. Top of depth gauge at correct height below top plate
O. Front of depth gauge rounded off

Part 2: Filing Errors
| Backslope on side plate cutting edge – cutter won’t feed into wood | |
 |
Cause File held too highSolution Refi le cutters to recommended angle |
| To much hook in side plate cutting edge – cutters grab, cut rough | |
 |
Cause File held too low or fi le is too smallSolution Refi le to recommended angle with right size file |
| Flat top plate cutting angle – chain won’t feed into wood, won’t cut Too-thin top plate causes rapid dulling | |
 |
Cause File handle held too high(low)Solution Refi le properly at recommended angle |
Top plate angle less than recommended
|
|
 |
Cause File held at less or more than recommended angle Solution Refi le at correct angle |
Part 3: drive link wear
| Nicked bottom or back | |
 |
Cause Cutting with loose chain, or wrong pitch sprocketSolutionAdjust chain tension. Install correct sprocket. File off burrs. Replace damaged drive links or replace chain |
| Battered and broken bottom | |
 |
Cause Chain Jumped bar. Spur sprocket hit drive linksSolution Replace damaged drive links, sharpen tangs with round file or replace chain. Remove burrs |
| Front or back peened | |
 |
Cause Wrong pitch sprocket or prolonged chain chatterSolution Replace sprocket. Adjust chain Tension. Chain may be damaged beyond repair |
Part 4: cutter and tie strap wear
| Edges burred and notch peened on tie straps | |
 |
Cause Chain chatter due to loose chain tension and improper filingSolutionCorrect chain tension. Refi le chain properly. Replace sprocket if badly worn |
| Peened notch in tie strap causing tight joints and broken drive links | |
 |
Cause Chain run on badly won spur sprocket or wrong pitch sprocketSolutionReplace worn :sprocket. Chain may need replacing |
| Peening on bottom of cutters and tie strap – causes tight joints | |
 |
Cause Loose chain tension. Result of dull cutters and forcing dull chain into woodSolutionKeep proper tension. Keep cutters sharp. Chain may need replacing |
| Blunt depth gauge causes rough cutting | |
 |
Cause Uneven fi lingSolution Use correct depth gauge Jointer to lower gauges evenly |
| Peening on front corner of cutters and intermediate tie straps – causes tight joints | |
 |
Cause Chain striking bar entry. Sprocket too small or loose chain tensionSolution Use proper bar and sprocket. Adjust chain tension correctly |
| Excessive wear on bottom of cutters and tie straps | |
 |
Cause Depth gauges too high. Cutting edge cannot get into woodSolution Lower depth gauges to proper setting. Keep cutters fi led correctly |
| Concave wear on bottom of cutters – connecting tie straps | |
 |
|
| Causes Chain tension too tight Normal wear from undercutting (cutting with top of bar) |
Solution Adjust chain tension reduce Cutting with top of bar |