![]() Hardwood Floating Shelf
Hardwood Floating Shelf![]()
 A hardwood collection from
The Ozark Mountains in
Southern Missouri
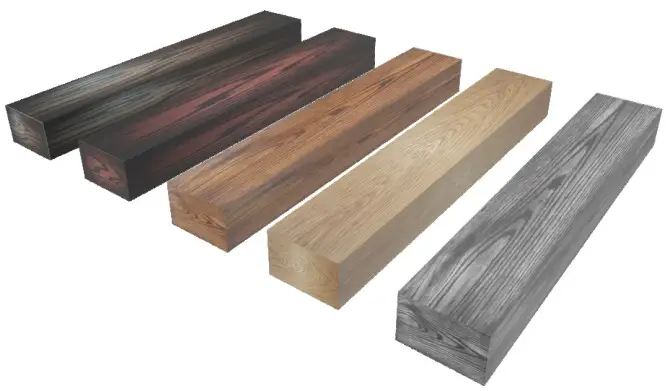
Hardwood Floating Shelf Solid Wood
Kit contains
1 x Floating Shelf
1 x Mounting Bracket
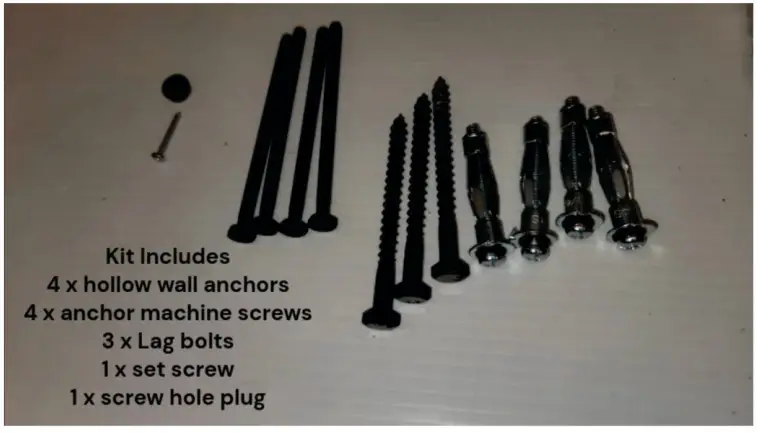
1 x Hardware Pack
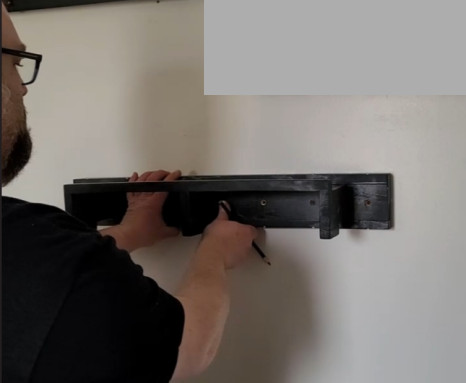
 Start by placing your bracket at your desired location. There are dots on your bracket marked for aligning your mounting holes. You will first need to mark the center line dots on the sides as shown
 Now you will make a level line between your bracket side marks.
 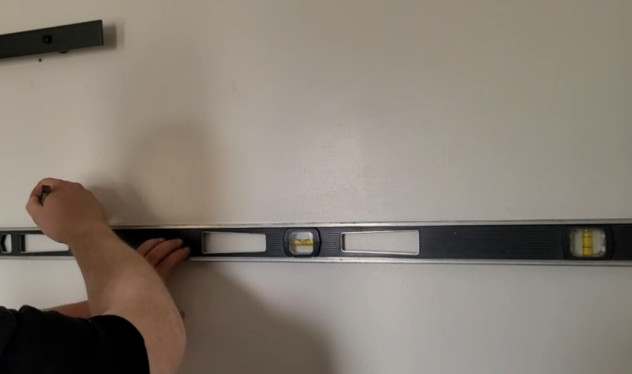 Next you will hold your bracket directly above your level line and mark the bottom dots that align with your mounting holes.
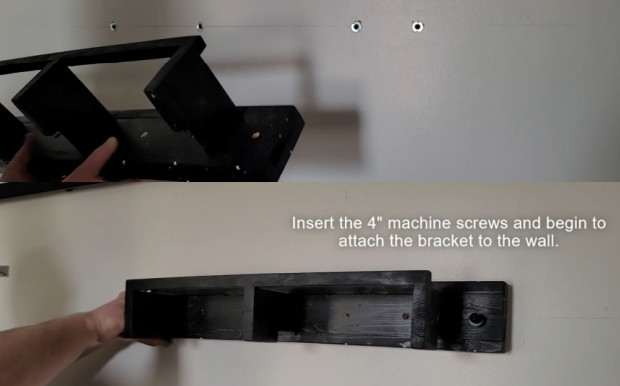
Using a stud finder, determine which mounting ethod you will proceed with based on yourstud layout.
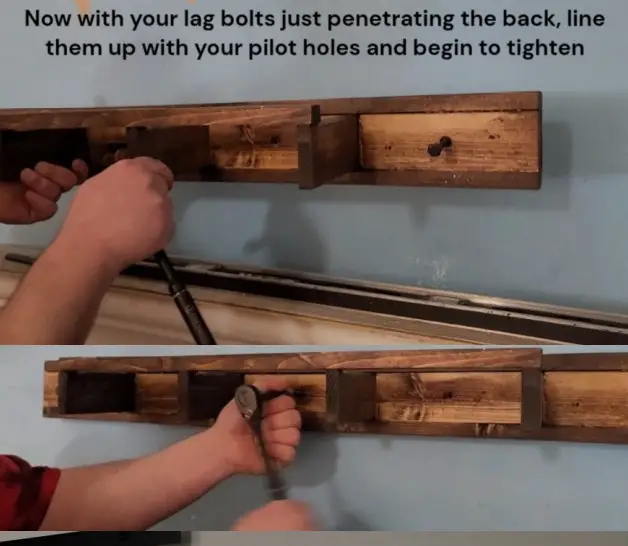
(We recommend 1ag bolt’into, stud method over=walkanchors if possible, or a combination of the 2) 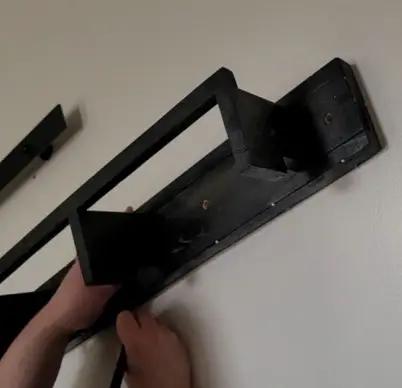 For Lag Bolt into stud method, you may drill 3/16″ pilot holes. This will make driving them into your studs easier in the next step
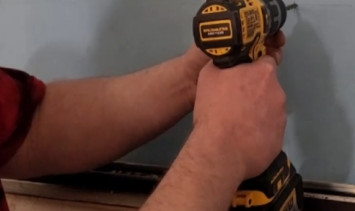
 For hollow wall anchor method you will need to drill 7/16″ holes on your marks to insert your anchors into.
 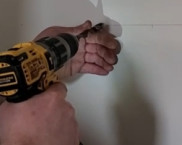 Insert the anchor and tighten the set screw with a #2 Phillips until you feel it tighten.
Be careful not to over tighten.
You will notice the anchor start to embed into the wall, this is when you should stop. Back out and remove your set screw at this point. 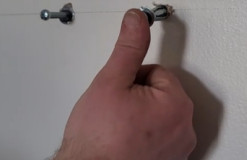
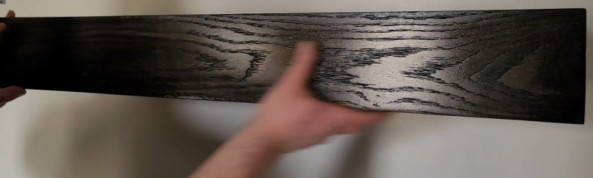
 Mount your shelf, you will have an allowance you can slide the shelf to fine tune your final placement.
Holding pressure towards the wall, tighten the set screw on top to Jock into place.alvggert hole plug and now you are finished! 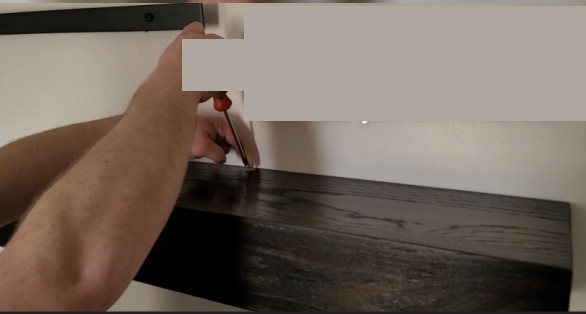
You may contact us with any questions by e-mail at:
[email protected]
OR
by telephone at: 573-325-1344
Congratulations on your purchasel
We thank you for choosing Rayne Mirrors!