QueenFun MFMB-US Gold Bathroom Mirror
Contents
BRAND SUPPORT
Thanks for choosing us!
Queen Fun is a brand that specializes in producing mirrors professionally. Your feedback is invaluable to us, and we would greatly appreciate it if you could share your ideas. We are dedicated to continuously improving our products to ensure customer satisfaction.
For any problems, such as product damage/missing accessories/mounting questions etc.,
please do not hesitate to contact us.
Our official email address: [email protected]
 Manufacturer warranty for 2 years from date of purchase.
Warm Remind: In order to facilitate the use of Queenfun products.please read this instruction carefully before the installation and keep it for the future use and the warranty.
PACKING LIST
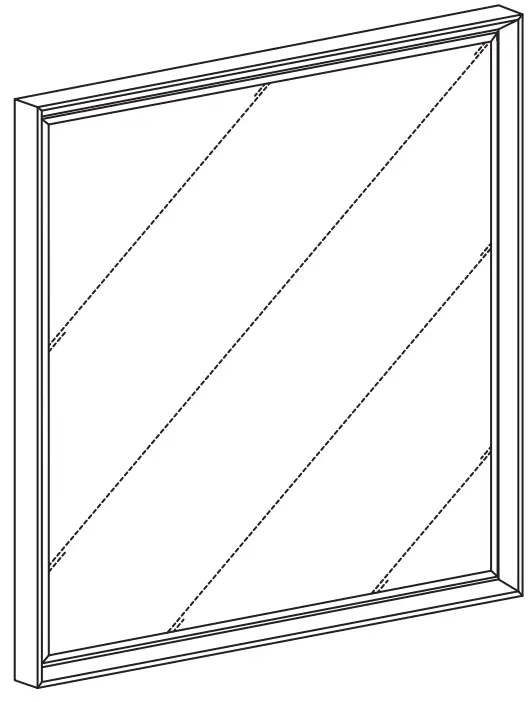
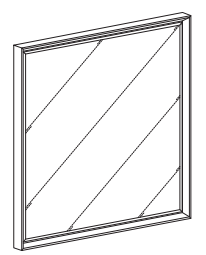
- Mirror x 1
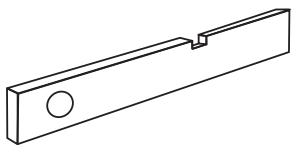
- Bracket x 1

- 5/32″ (<j>4*40mm) Screws x (4+2)

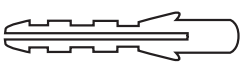
- 1/4″ (<j>6*40mm) Anchors x (4+2)
INSTALLATION
Advised Installation Tools (Not offering)
- Electric Drill

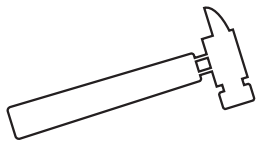
- Hammer
- Marker Pen

- Tape Measure

- Level
- Phillips Screwdriver

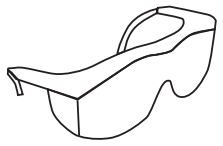
- Safety Goggles
- Before installation, please confirm the installation position and installation height of the hang bracket supplied, and use a spirit level to make sure the bracket be leveled.
Then mark the hole positions on the wall. The distance between the bottom of bracket to the top of the mirror is 2 5116″ (58.5mm).
- The recommended installation safety distance is 3 inch(at least) from the faucet.

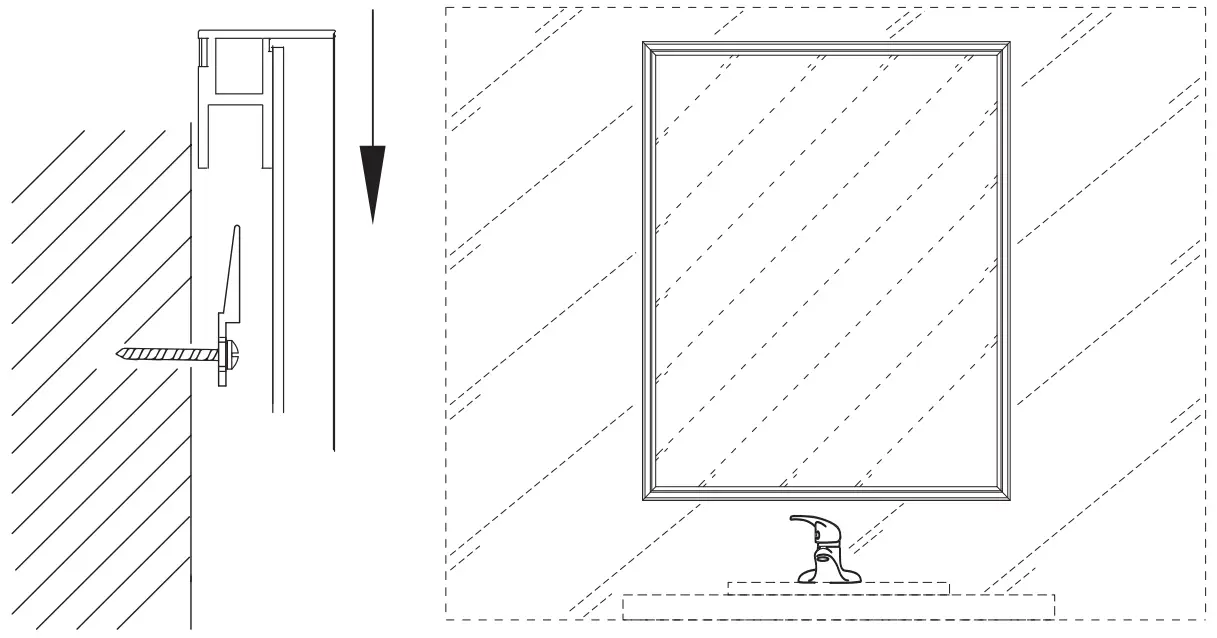
Tips: The mirror can be hung on horizontally or vertically.
You can choose the hanging method according to your preference.
- To punch holes on the marked spots with an electric drill, and then punch the wall anchors with a hammer.
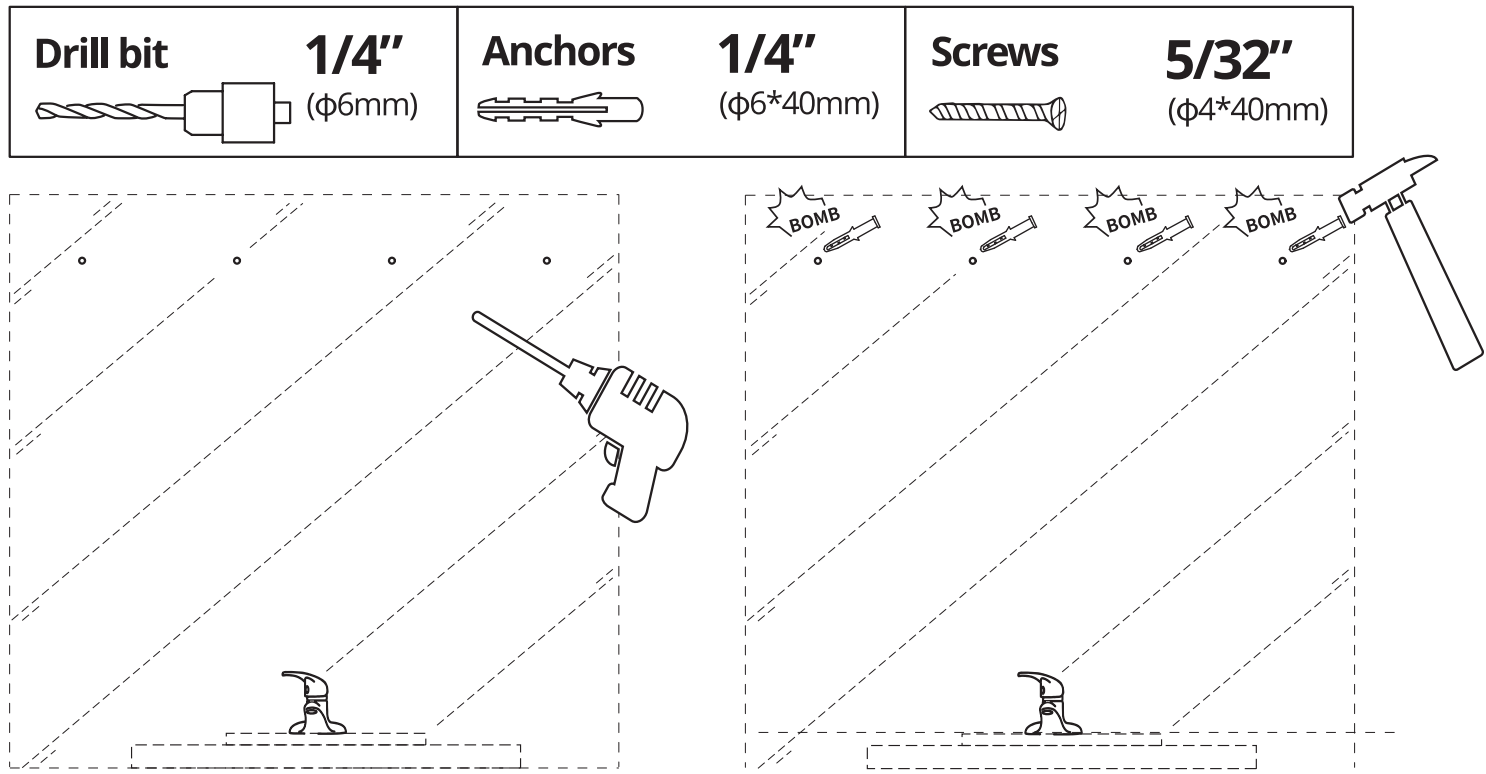
Note: Please wear goggles and pay attention on your safety. - Mount the bracket to the wall with screws. Q/11/

- Align the mirror hook with the bracket slot, slowly lower the mirror so that the hook fits into the slot, and gently shake the mirror to ensure that the mirror is securely installed.
Note: Two-person installation.
CUSTOMER SUPPORT
Congratulations!
If you have any problem, please feel free to contact us
[email protected]