Contents
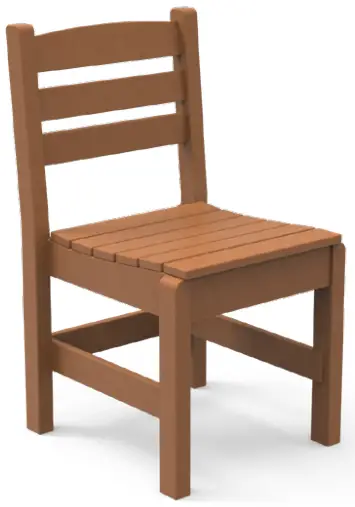
Polybird P10-R Dining Side Chair
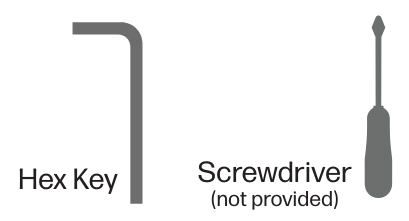
TOOLS
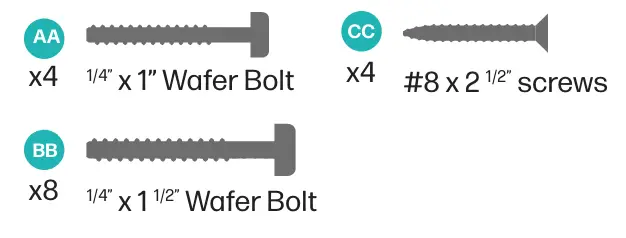
HARDWARE
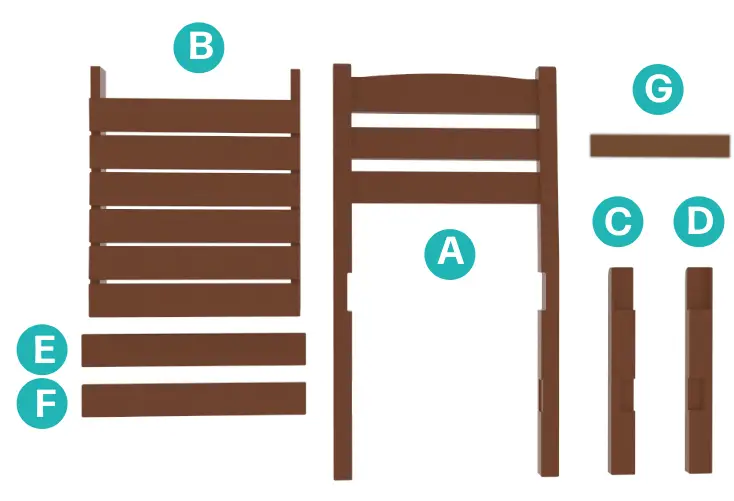
PARTS
INSTALLATION INSTRUCTION
Note before starting: wait until the whole piece is assembled to tighten the bolts completely.
- Attach front legs C & D to seat B using two 1/4” x 1” wafer bolts (AA) per leg, as shown.

The chair assembly should look like this.
- Attach seat back A to chair assembly from step 1. Using four 1/4” x 11/2” wafer bolts (BB), secure seat back A to seat B, as shown.

- Attach cross-braces E & F by fitting in notches in legs C & D. Use four 1/4” x 11/2” wafer bolts (BB) to secure cross braces.

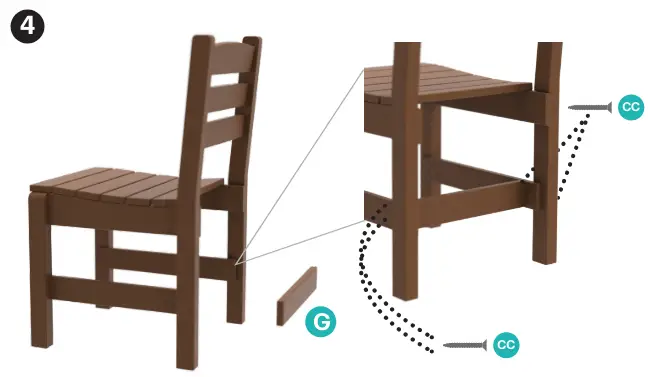
- Attach brace G to cross braces using two 2 1/2” screws (CC) on each side.
We hope you enjoy your new piece of furniture for years to come!