![]()
Contents
Yealink IP Phone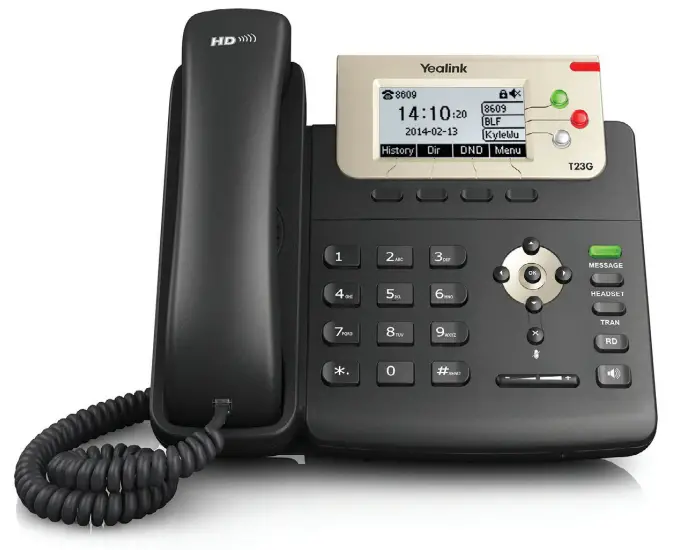
Quick Installation Guide
Introduction
Integrating a Yealink IP phone with Ooma Office is quick, and can be accomplished in just a few simple steps. By following the instructions below to provision the phone, you can put it into service immediately without any manual configuration.
Package Contents

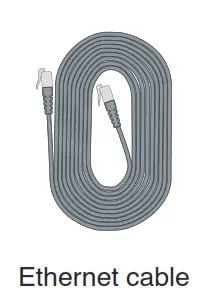
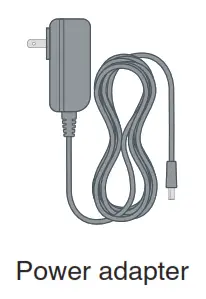
Yealink IP phone Ethernet cable Power adapter

Register Phone Online
In order to get started, you must first register the Yealink IP phone to your Ooma Office account. You can do this by visiting the following URL and followingthe steps on the screen: https://office.ooma.com/add_ip_phone


Assemble Phone
Follow the instructions in the phone’s user manual to assemble the phone and connect the power supply.

Start Up Phone
Use the Ethernet cable that came with the phone to connect the INTERNET port on the back of the Yealink IP phone to an available wired Internet connection.
The start up process will take several minutes, during which the IP phone may restart a few times.
Once you see your extension number (e.g. x101) displayed on the screen with a solid black phone icon and your name, the Yealink IP phone is ready to place and receive calls!
Ooma Yealink IP Phone User Manual – Optimized PDF
Ooma Yealink IP Phone User Manual – Original PDF