Mito Red Light MitoPRO Floor Stand 5.5 × 8.5 Inch Instructions
Contents
Instructions: MitoPRO+ Floor Stand
Step 1: Unbox your stand and unpackage the provided hardware.
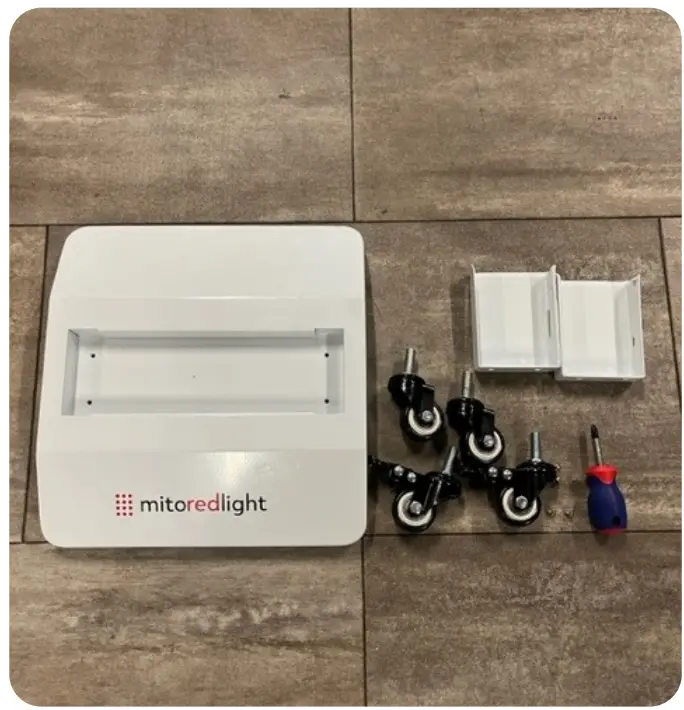
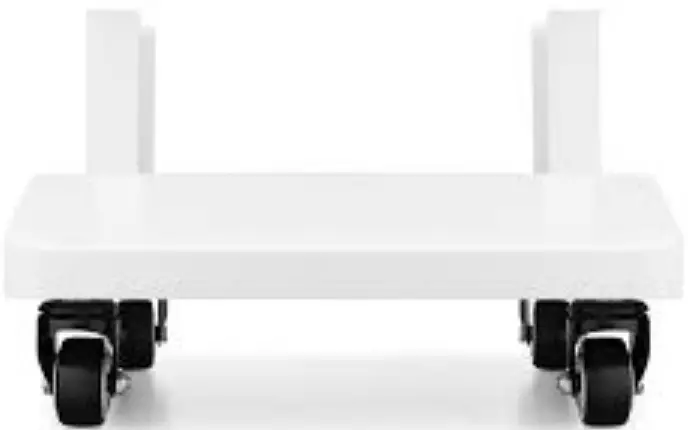
Step 2: Thread the provided casters into the base of the floor stand and hand tighten. (optional).
Step 3: Flip the stand onto its casters and install the 2 side braces and tighten using the provided screws with a Philips head screwdriver. (Ensure the holes line up as shown in the picture).

Instructions: MitoPRO+ Floor Stand – Single Panel
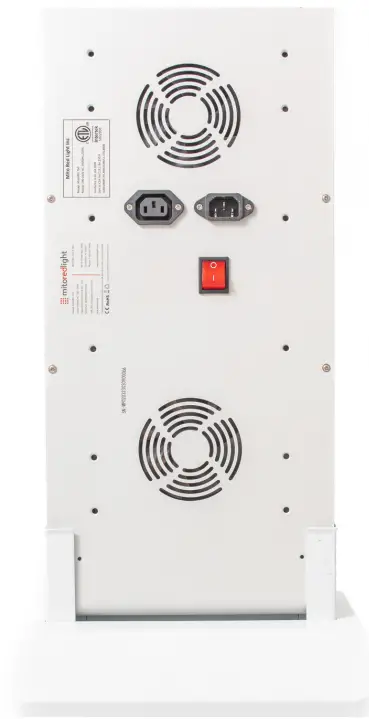
Step 1: You will need to remove the lower two rubber feet from the back of your unit using a small Philips head screwdriver before installation into the floor stand.
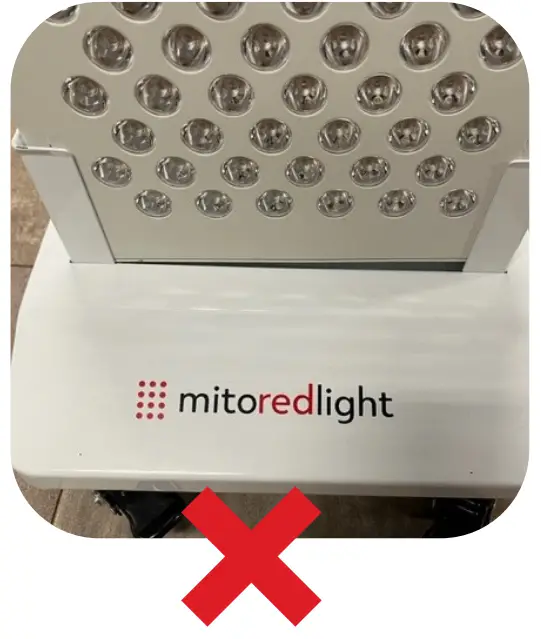
Step 2: Insert your light into the Floor stand and ensure it is seated properly.
Important note: ensure the panel is fully seated into the bottom of the stand by pushing downwards on the top of the panel.
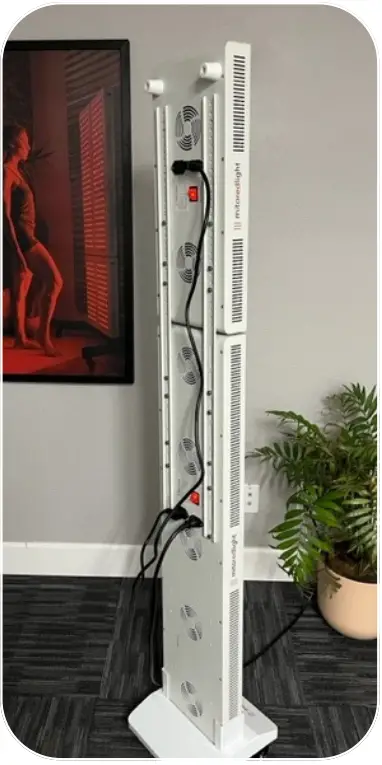
Instructions: MitoPRO+ Floor Stand – Two Panels
Step 1: Start by laying down both MitoPRO 1500+ and MitoPRO 750+ panels face down with the 750+ oriented on top of the 1500+ like shown below. Layout the provided brackets and hardware. You will need a minimum of 16 screws (4 screws top and bottom of each panel per side).
Step 2: You will need to remove the lower two rubber feet from the back of the bottom of the 750+ and all four from the 1500+. Lay out the brackets on the back of the panel and screw down as shown below.
Step 3: Using the provided two-panel power cable, plug one end into the 750+ panel and the other into the 1500+. The power cord with outlet plug will plug into the remaining port on the 1500 and will plug into wall power.

User Manual and Instructional Videos This user manual and instructional videos can be found here: https://mitoredlight.com/pages/user-manual
Follow Us!
![]() /mitoredlight
/mitoredlight
![]() /mitoredlightofficial
/mitoredlightofficial
![]() @MitoRedLight
@MitoRedLight
![]() @mitoredlightofficial
@mitoredlightofficial