MAXPEEDINGRODS LK-AB-TOYTUN-0714-VLC Air Suspension Bags Kit
Contents
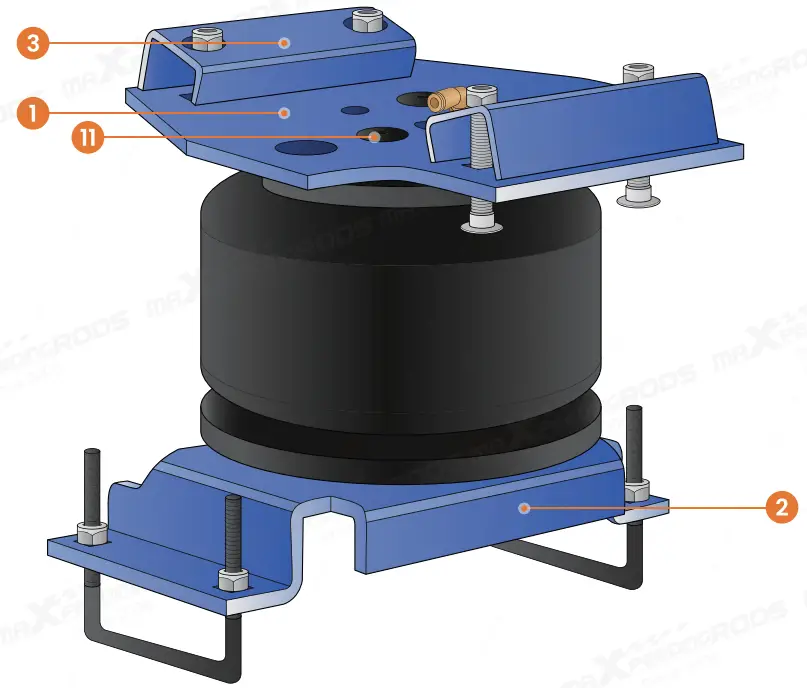
AIR SPRING BAG KIT LIST
| Mounting Brackets | |||||
| 1 | 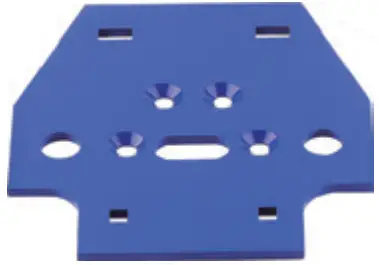 |
2X Upper mounting bracket | 2 | 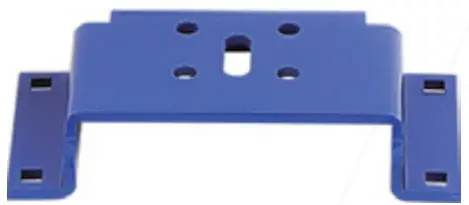 |
2X Lower mounting bracket |
| 3 |  |
4X Clamp block | 4 |  |
2X Rolling plate |
| Air spring bag and Air line | |||||
| 5 |  |
2X Air spring bag | 6 |  |
1X Air line cp6 (5m) |
| All Hardware kits | |||||
| 7 | 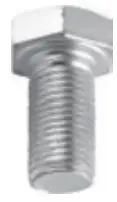 |
4X Hex head flange bolt M10*1.5*20 |
8 | 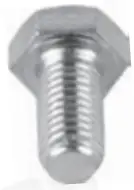 |
4X Hex bolt 3/S-24UNF*20 |
| 9 | BX Carriage bolt MS*1.25*51 |
10 | 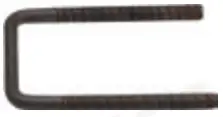 |
4X U-bolt M10*1.5*90-90*122 |
|
| 11 | 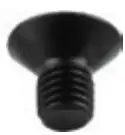 |
4X Hex screw M10*1.5*16 |
12 |  |
BX Hex lock nut M10*1.5 |
| 13 | |
BX Hex lock nut MS*1.25 |
14 | |
1OX Flat washer MS |
| 15 |  |
12X Flat washer M10 |
16 |  |
2X 90° Air Hose fitting R2 l/S |
| 17 | 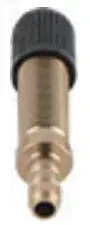 |
2X Inflation valve 8V1 (with cap) |
18 | 4X Hex nut 8V1 | |
| 19 |  |
2X Anti-slip gasket øp8 |
20 |  |
2X Rubber gasket øpl7* 7*2 |
| 21 |  |
6X Zip tie | 22 |  |
4XWasher MS |
PRE-INSTALLATION NOTICE
- This product will not increase the load capacity of your vehicle.
- Do not exceed the manufacturer’s recommended weight limit.
- The installation process may require drilling, professional installation is recommended to ensure personal safety.
- All modifications must be installed by qualified personnel and in compliance with your local modification regulations.
INSTALLATION GUIDE
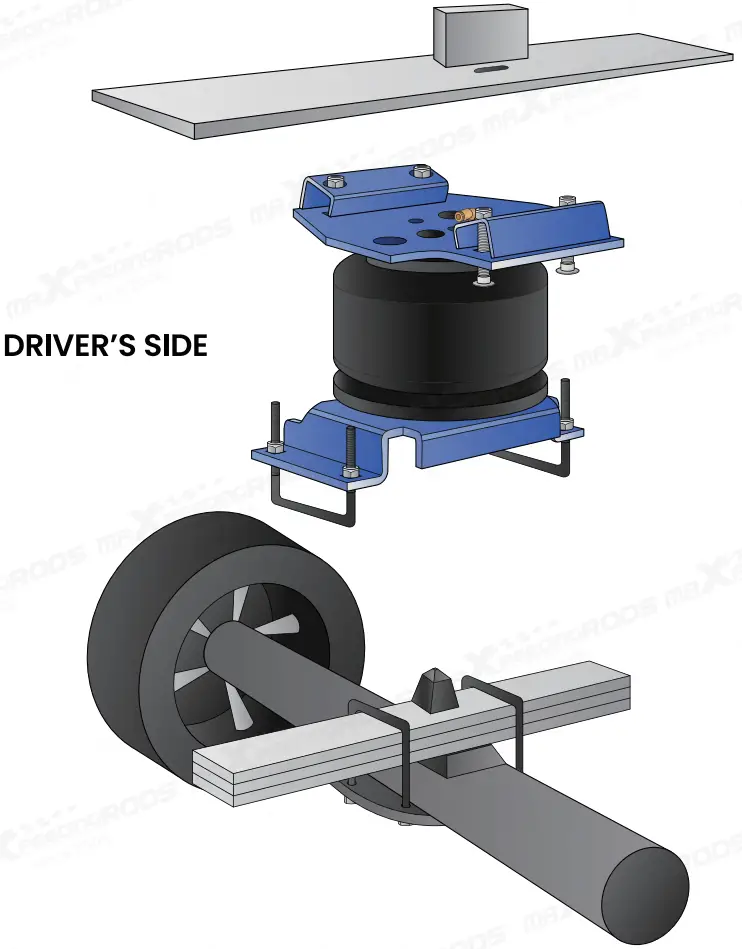
ASSEMBLING THE AIR SPRING

NOTE:
The holes for installing the upper bracket are different on the driver’s side and the passenger’s side.
REMOVING THE JOUNCE BUMPER AND PLACING THE ASSEMBLY ON THE AXLE
STEP1. Raise the vehicle and support it using safety stands so that the axle can be safely dropped away from the frame, and the air spring assemblies can be put into position between the axle and frame.
STEP2. Bend the brake line bracket forward to gain room for the lower bracket.
STEP3. Cut and leave 3/4″ of the jounce bumper on the leaf spring.

STEP4. Place the assembly on the leaf spring and let the air fitting pass through the hole in the frame.

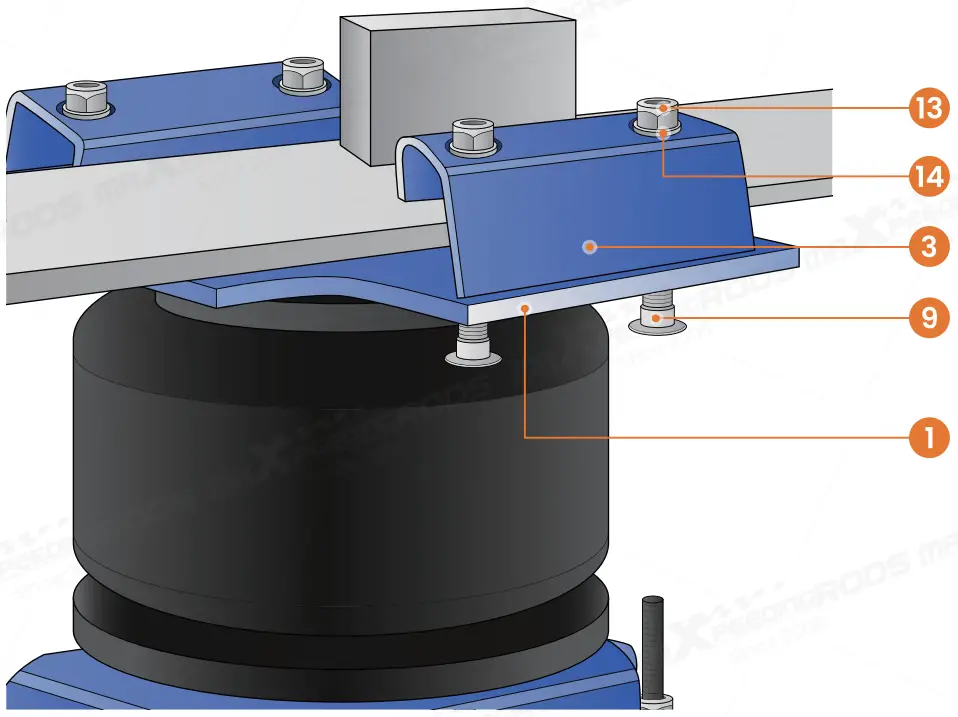
INSTALLING THE UPPER BRACKET
STEP1. Install the clamp block ( 3 of the Air spring bag kit list) to the frame.
And secure the clamp block to the upper mounting bracket with the carriage bolts( 9) of the Air spring bag kit list).
INSTALLING THE LOWER BRACKET
STEP1. Adjust the assembly so that the air spring is perpendicular to the bottom and top mounting brackets without twisting.
STEP2. Install the lower mounting bracket to the leaf spring with U-bolts (10) of the Air spring bag kit list).
NOTE: If necessary, you can trim the excess length on the nut of the U-bolt.
STEP3. Repeat the same installation steps on the other side.
INSTALLING THE AIR LINES
STEP1. Cut the air line appropriately and push the hose into the fitting then pull back and make sure it’s locked in place.
STEP2. Install the inflatable valve in a selected location, usually on the license plate at the rear of the vehicle.
CHECK AIR TIGHTNESS
- Put some air into the air spring bag, then spray a soapy solution on all connections and valves while checking for exiting air bubbles.
INSTALLATION COMPLETED
WARNING
Cancer and Reproductive Harm www.P65Warnings.ca.gov