![]()
WOODEN WALL HOOK

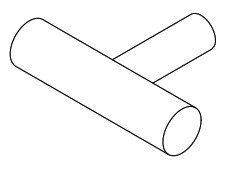
Wooden Wall Hook


- Measure and mark desired height of hook on wall.

- Using a 5 ⁄₁₆” drill bit, drill a hole through wall at desired height.

- Insert drywall anchor into the drilled hole.
A hammer may be used to gently tap the anchor until it is flush with the wall, taking care not to drive the collar of the anchor beneath the surface of the wall.
- Insert flat end of hanger bolt into the back of the hook. Twist into place until half of the hanger bolt remains visible.

- Insert hook into drywall anchor.
Twist until flush with wall.
- Twist hook to desired orientation.
Hook may be positioned vertically or horizontally.
TIP
The hook may rotate with rough use or if used to hang items on the component parallel to the wall.
To prevent the hook from rotating, an adhesive such as an epoxy or suitable glue can be applied between the back of the hook and the wall to set hooks in desired position.
Done!