Contents
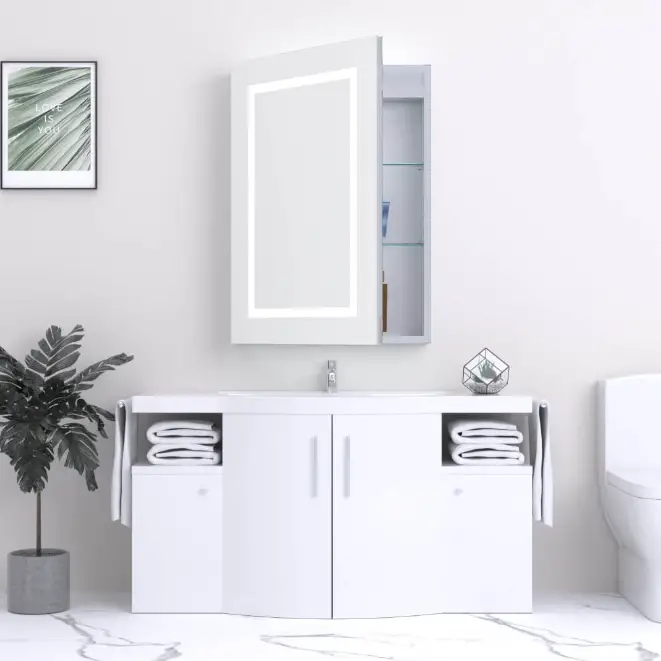
 Kentmere 0730 Non-Illuminated Bathroom Mirror and Furniture
Product Information
Specifications
- Product: Cup Handle
- Model Number: 0730
Parts List
- 1. Cup Handle
- 2. Cup Handle Screw
- 3. Wall Screw
- 4. Wall Plug
- 5. Washer
Cabinet Installation
Follow the steps below to install your cup handle onto a cabinet:
- Secure the cup handle to the cabinet using the cup handle screw.
- Attach the cabinet to the wall using the wall screw and wall plug for stability.
- Place the washer to ensure a secure fit.
Troubleshooting
If you encounter any issues with your product, please follow these steps to seek assistance:
- Log in to your account and contact our customer services team through the self-serve option.
- Contact us via our website at betterbathrooms.com/content/contact-us.
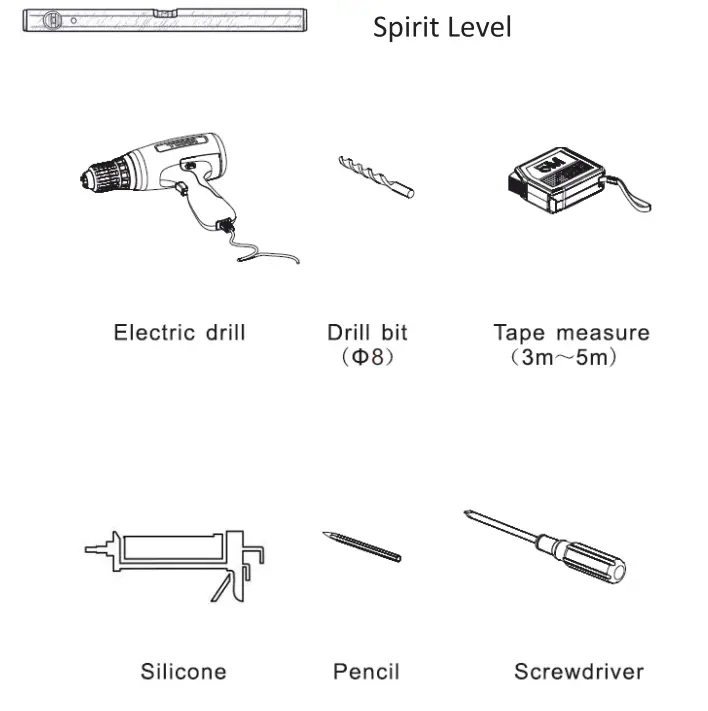
INSTALLATION TOOLS
 PARTS LIST

MIRROR INSTALLATION
Hold the bracket up to the wall over the drilled holes and secure using the screws provided.
Ensure the brackets on the rear of the unit are fully tightened.
Lift the product on the wall-mounted brackets to engage both sections of the brackets.
Once installed a bead of silicone can be applied around the edges of the unit if required.
CABINET INSTALLATION
After the position of the brackets is marked, drill the holes in the wall, using a 10mm drill bit (not supplied), to a depth of approximately 65mm.
Insert the wall plugs tap flush with the wall surface and secure the wall brackets into place.
Check the brackets fitted to the unit are fully #tightened.

BENCHTOP INSTALLATION
Please note for the benchtop, the basin hole has been drilled and there is no tap hole. Before installing the benchtop, confirm your selected basin will fit the benchtop. If you need to match a tap, please drill a tap hole according to your tap and the drilled edge must be sealed. After the basin hole and tap hole are confirmed, the benchtop can be fitted to the unit, by applying a bead of silicone between the unit and benchtop to provide a seal and fixing for the benchtop to the unit.
Also, run a bead of silicone along the back edge of the base where it meets the wall.

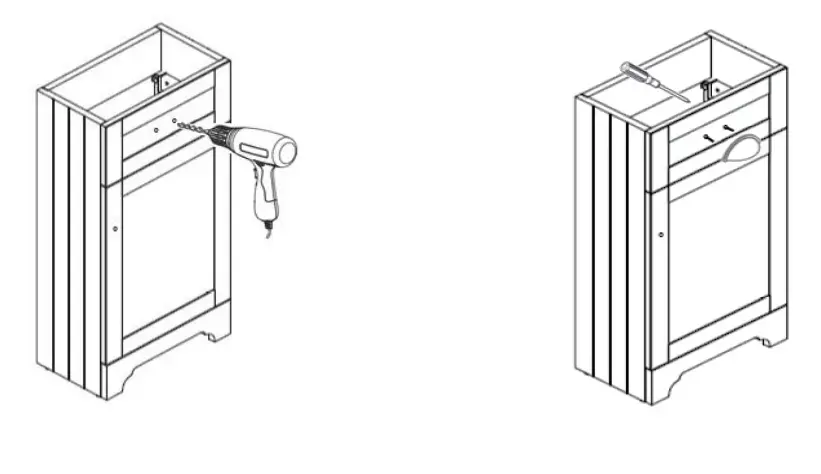
DOOR HANDLE INSTALLATION
The doors which are to be fitted with handles, either the round or shell type are provided with pilot holes that should be drilled to allow fitting of the handle screw through the door and into the handle.
Drill the holes, then place the screw through the unit from inside the door, connect this to the handle and tighten.
CLEANING AND MAINTENANCE
Wipe the product clean and dry regularly, especially when the product is subject to steam or splashes. Do not use harsh chemicals or materials on the product, as this will damage the product and invalidate your guarantee.
To clean and maintain the product, wipe using a clean damp cloth and wipe dry with a soft cloth.
We hope your new product goes above and beyond your expectations. However, should any problems occur, please:
- log in to your account and contact our customer services team via your self-serve portal – betterbathrooms.com/CustomerAccount/Login
- contact us via betterbathrooms.com/content/contact-us
FAQs
Q: How do I clean the cup handle?
A: Use a damp cloth with mild soap to wipe the cup handle. Do not use abrasive cleaners.