Contents
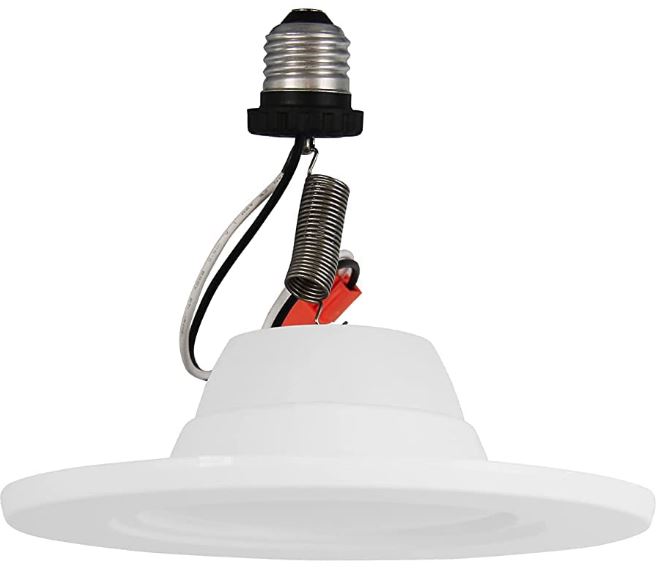
JOLUX LED Spring Hook Retrofit Downlight
INSTALLATION INSTRUCTIONS
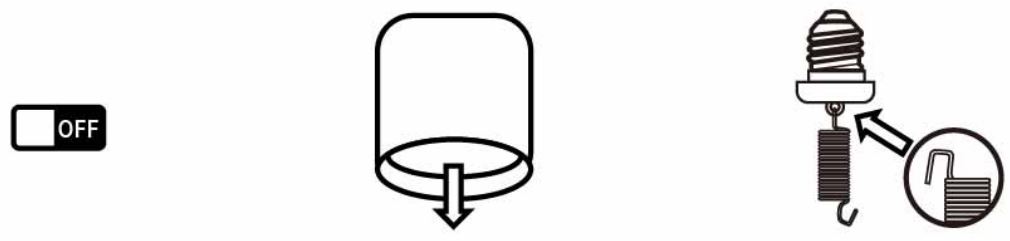
- Turn power off
- Remove previous fixture or bulb
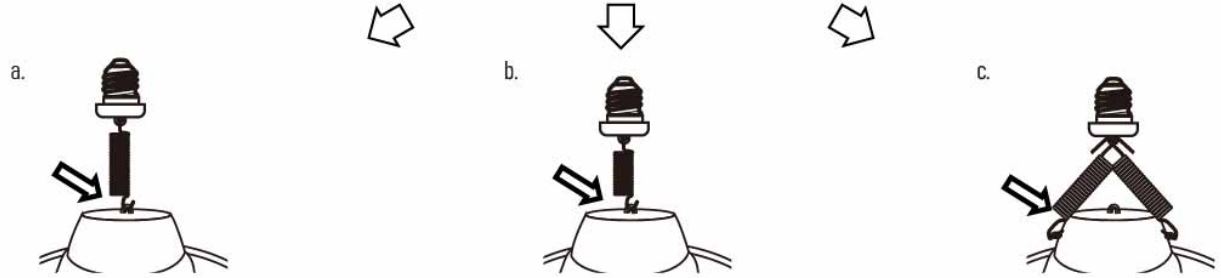
- Use the right angle side of short spring to hook the ring of E26 adaptor
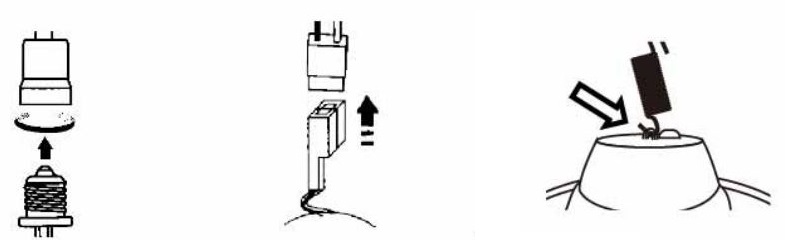
- Screw in the E26 adaptor into the open socket
- Plug in the quick connector
- Pull another side of spring to hook the ring on lamp backside
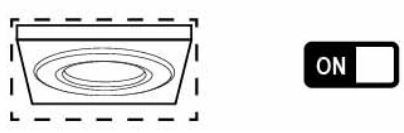
- Release the lamp to be flush with ceiling
- Turn power on and test
Spring Adjustment
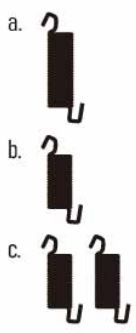
- One long spring hook When the distance from the lamp socket to the ceiling is greater than 5.71 inches.
- One short spring hook When the distance from the lamp socket to the ceiling is between 5.12 and 5.71 inchese
- Two short spring hooks: When the distance from the lamp holder to the ceiling is less than 5.12 inches
WARNING
- Risk of fire or electric shock. LED Retrofit Kit installation requires knowledge of luminaires electrical systems. If not qualified, do not attempt installation. Contact a qualified electrician.
- Install this kit only in luminaires that have the construction features and dimensions shown in the photographs and/or drawings and where the input rating of the retrofit kit does not exceed the input rating of the luminaire.
- Do not make or alter any open holes in an enclosure of wiring or electrical components during kit installation.
- To prevent wiring damage or abrasion, do not expose wiring to edges of sheet metal or other sharp objects.