iskydance R9 Ultrathin RGB/RGBW RF Remote
Controller User Manual

Features
- Apply to RGB or RGBW LED controller.
- Each remote can match one or more receiver.
- CR2032 battery powered.
- Operate with LED indicator light.
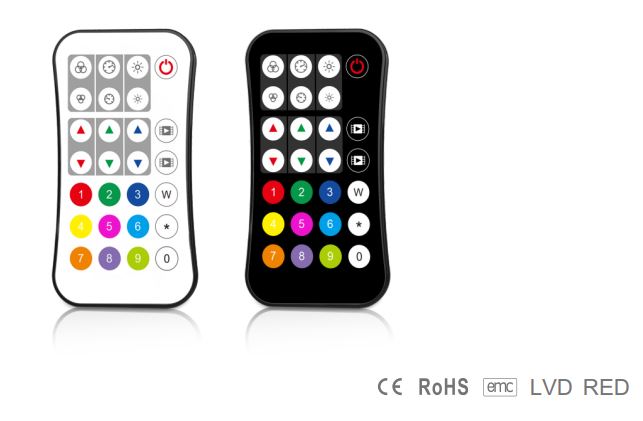
- White & Black available.
Technical Parameters

Mechanical Structures and Installations

To fix the remote, two options are offered for selection:
Option 1:
fix the remote’ back holder on the wall with two screws.
Option 2:
adhere the remote’ back holder to the wall with paster.
Option 1:
fix the remote’ back holder on the wall with two screws.
Option 2:
adhere the remote’ back holder to the wall with paster.

Note: If the LED indicator is not on when press key, it is due to dead battery or bad contact caused by multiple plugging, please replace the battery, or raise the battery shrapnel with a screwdriver.
Key function
Pull out the plastic battery barrier sheet from the battery compartment located on the bottom of the remote before key operation.

Mode+/-: Short press switch dynamic mode built in controller, long press 2s Mode+ run mode cycle, long press 2s Mode- run the first mode.
The remote is default 10 dynamic mode, when match with SPI controller which have 32 dynamic mode, please long press 2s Mode+ key firstly.
Speed+/-: Adjust dynamic mode speed, short press 10 levels, long press 2s get the fastest / slowest speed.
Bright+/-: Adjust brightness, short press 10 levels, long press 1-6s for continuous 256 levels adjustment.
R/G/B+/-: Adjust R/G/B brightness respectively, short press 10 levels, long press 1-6s for continuous 256 levels adjustment to achieve millions of colors.
White: Adjust white color, for RGB light, short press turn on/off white(RGB mix), long press 1-6s adjust saturation continuously.
For RGBW light, press W key will adjust W channel brightness. short press turn on/off W channel, long press 1-6s adjust W channel brightness continuously.
Scene: Short press recall the scene, long press 2s save the current color into the scene.
The LED indicator will light up longer when save OK.
Use R9 remote set SPI digital LED strip
- Set LED strip length [Pixel number(8~1024)]. * + 3 number + * for example:
*032* set pixel number to 32.
*600* set pixel number to 600.
*1024* set pixel number to 1024. - Set LED strip chip type. * + 2 number + *
*11*:TM1803
*12*:TM1809, TM1804, TM1812, UCS1903, UCS1909, UCS1912, SK6813, UCS2903, UCS2909,
UCS2912, WS2811, WS2812, WS2813, WS2815
*13*:TM1829
*14*:TLS3001, TLS3002
*15*:GW6205
*16*:MBI6120
*17*:TM1814B(RGBW)
*18*:SK6812(RGBW), WS2813(RGBW), WS2814(RGBW)
*19*:UCS8904B(RGBW)
*21*:LPD6803, LPD1101, D705, UCS6909, UCS6912
*22*:LPD8803, LPD8806
*23*:WS2801, WS2803
*24*:P9813
*25*:SK9822
*31*:TM1914A
*32*:GS8206,GS8208
*33*: UCS2904
*34*: SM16804
*35*: SM16825
*36*: SM16714(RGBW)
*37*: UCS5603
*38*: UCS2603 - Set LED strip RGB order. * + 1 number + *
*1*:RGB, *2*:RBG, *3*:GRB, *4*:GBR, *5*:BRG, *6*:BGR
Match Remote Control (two match ways)
End user can choose the suitable match/delete ways. Two options are offered for selection:
Use the controller’s Match key
Match:
Short press match key, immediately press on/off key on the remote. The LED indicator fast flash a few times means match is successful.
Short press match key, immediately press on/off key on the remote. The LED indicator fast flash a few times means match is successful.
Delete:
Press and hold match key for 5s to delete all match,
The LED indicator fast flash a few times means all matched remotes were deleted.
Press and hold match key for 5s to delete all match,
The LED indicator fast flash a few times means all matched remotes were deleted.
Use Power Restart
Match:
Switch off the power, then switch on power, repeat again.
Immediately short press on/off key 3 times on the remote.
The light blinks 3 times means match is successful.
Switch off the power, then switch on power, repeat again.
Immediately short press on/off key 3 times on the remote.
The light blinks 3 times means match is successful.
Delete:
Switch off the power, then switch on power, repeat again.
Immediately short press on/off key 5 times on the remote.
The light blinks 5 times means all matched remotes were deleted.
Switch off the power, then switch on power, repeat again.
Immediately short press on/off key 5 times on the remote.
The light blinks 5 times means all matched remotes were deleted.
Safety information
- Read all instructions carefully before you begin this installation.
- When installing battery, pay attention to the battery positive and negative polarity.
A long time without the remote control, remove the battery.
When remote distance becomes smaller and insensitive, replace the battery. - If no response from the receiver, please re-match the remote.
- Gently handle remote, beware of falling.
- For indoor and dry location use only.