IRON TRUSS FABRICATION R230805 2022 Plus Tundra Rear Debris Shields Instruction Manual
REAR DEBRIS SHIELDS
- ENSURE YOUR VEHICLE IS SECURED IN PLACE AND THE PARKING BRAKE IS ENGAGED
- YOU DO NOT NEED TO REMOVE THE WHEELS FOR THIS INSTALLATION
- WORKING ON A MOTOR VEHICLE HAS INHERENT RISKS. PROCEED WITH CAUTION
- Verify contents of package.
- a. 2022+ Tundra Rear Debris Shield Parts/Materials Bag
i. 4 Rear Bed Frame Brackets W/ PEM
ii. 4 1/4 Flat Washers, Stainless Steel
iii. 4 M6 Hex Head Bolts, Stainless Steel
iv. 4 10-24 Button Head Screws, Stainless Steel, Black
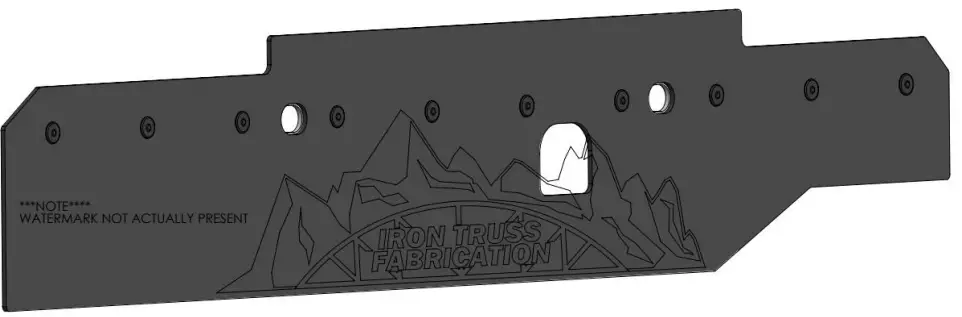
v. 4 Fender Washers, Stainless Steel, Black - b. 1 Rear Debris Shield Passenger
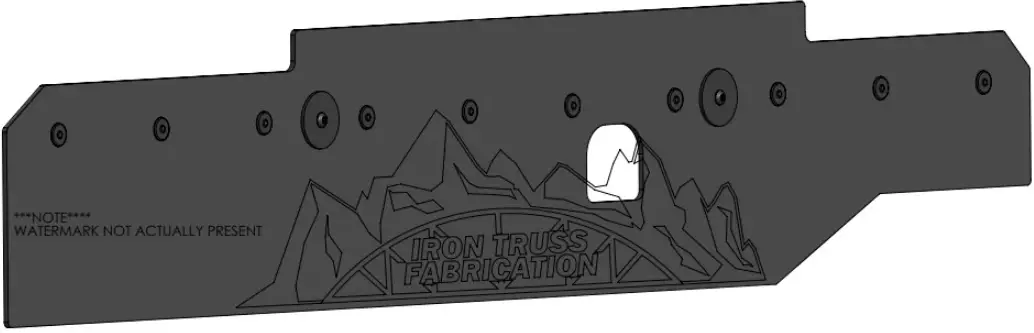
- c. 1 Rear Debris Shield Driver
- a. 2022+ Tundra Rear Debris Shield Parts/Materials Bag
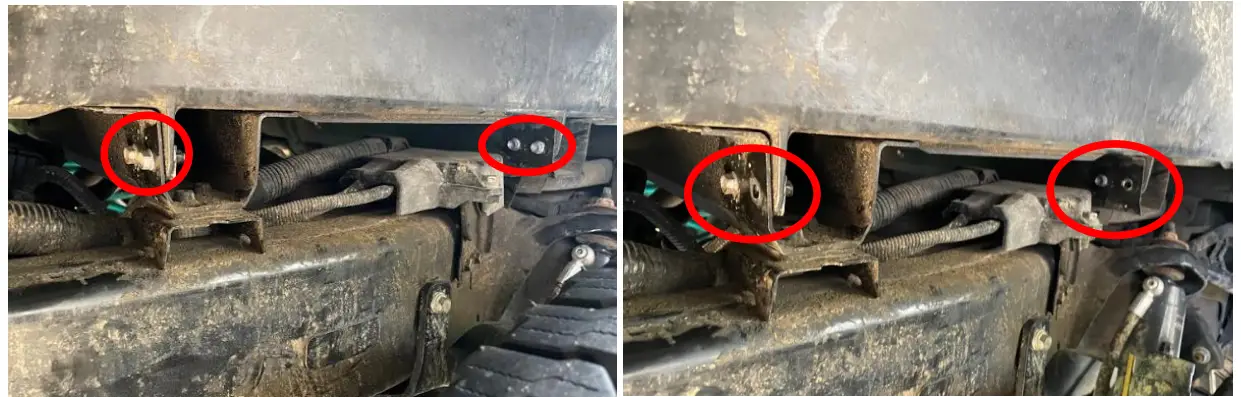
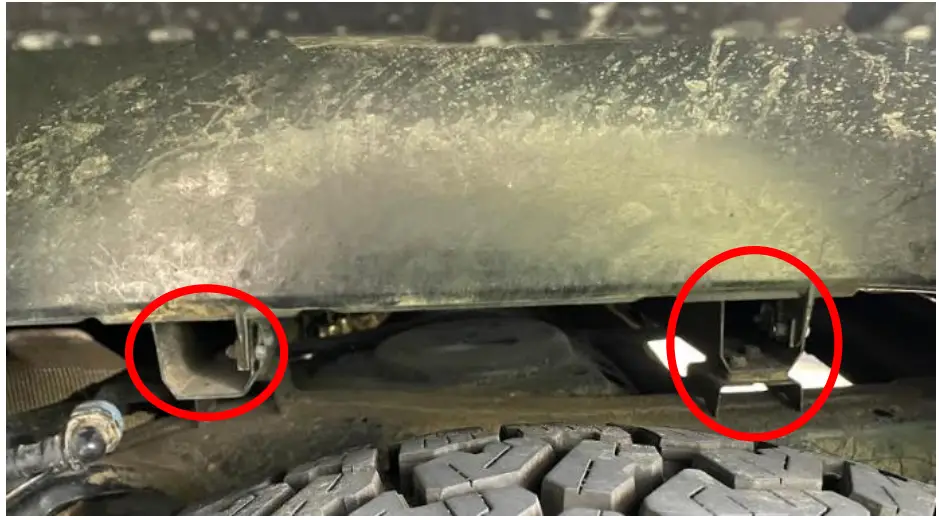
- Locate the Rear Passenger Bed supports.
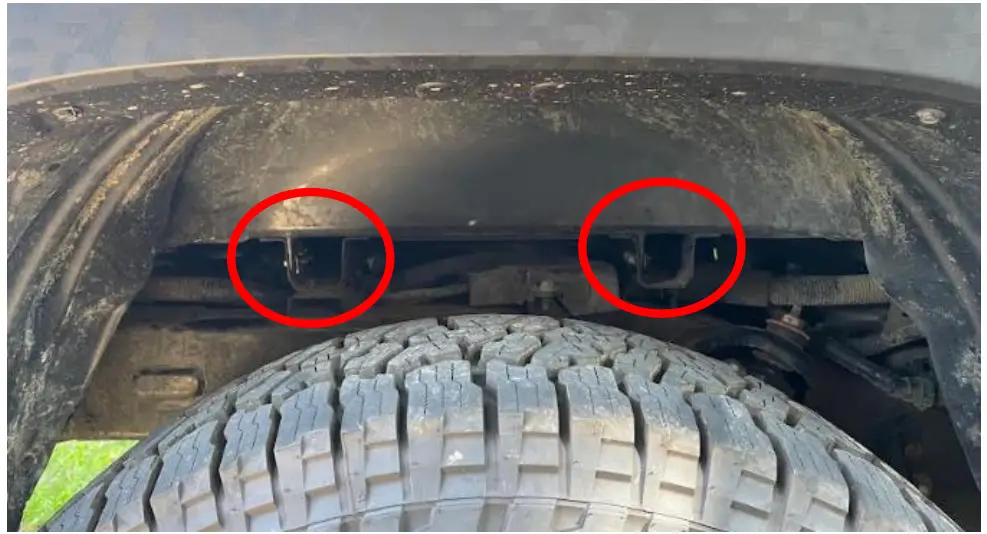
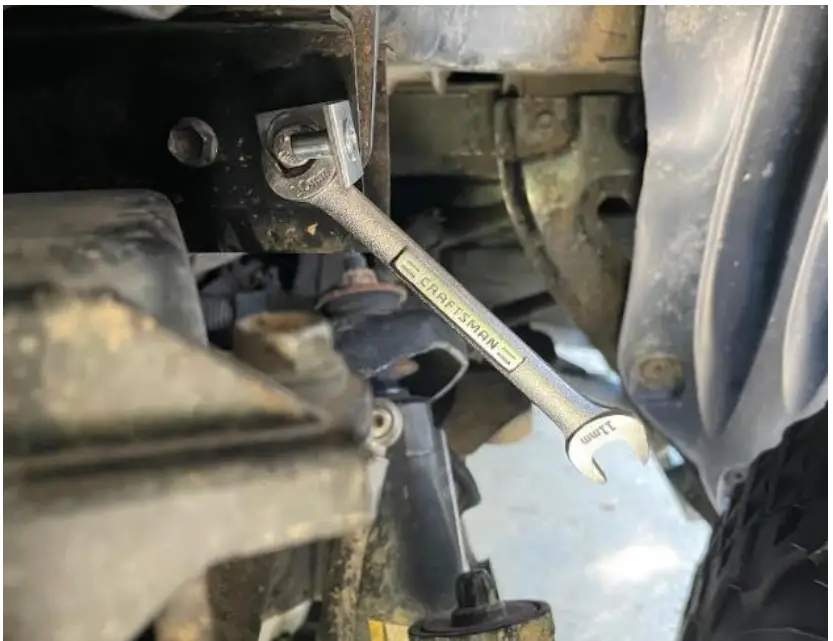
- Remove the 2 front most bolts utilizing a 10mm socket or wrench.
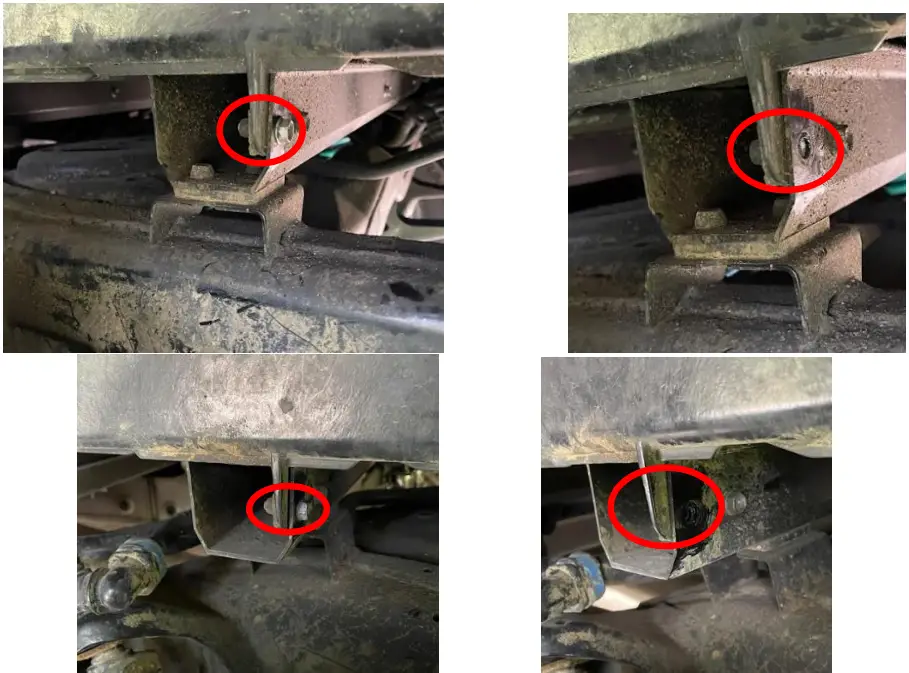
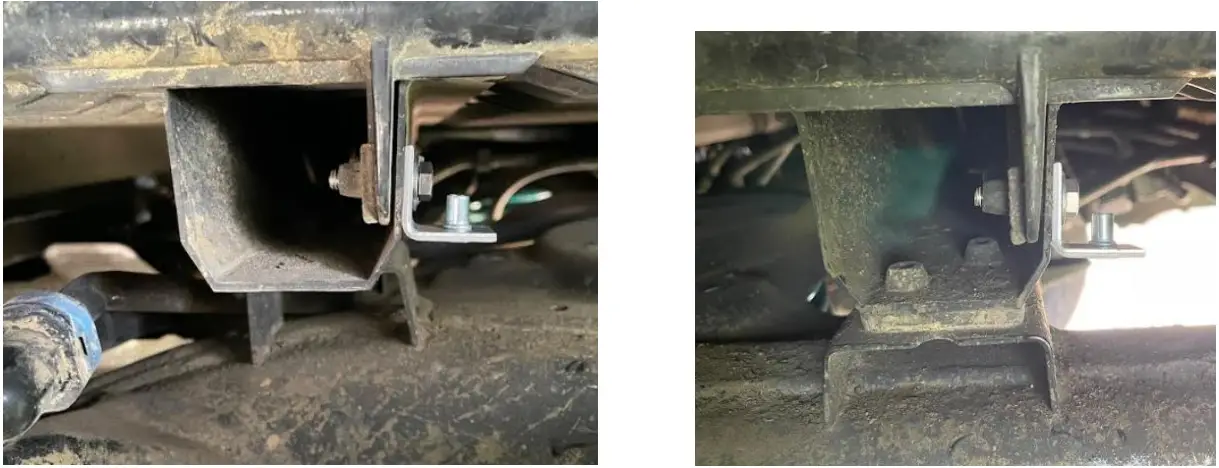
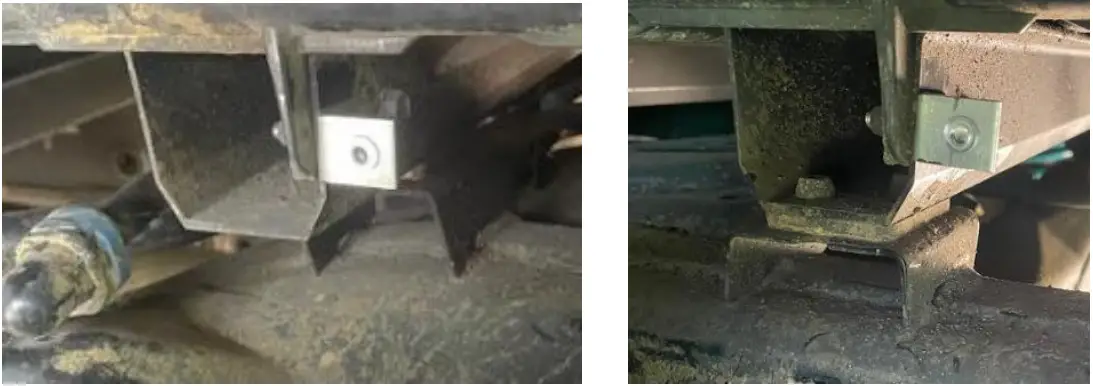
- Loosely Secure 1 Rear Bed Frame Brackets W/ PEM in place utilizing 1/4 Flat Washer and 1 M6 Hex Head Bolt onto the left most bed support. Repeat on the right most bed support.
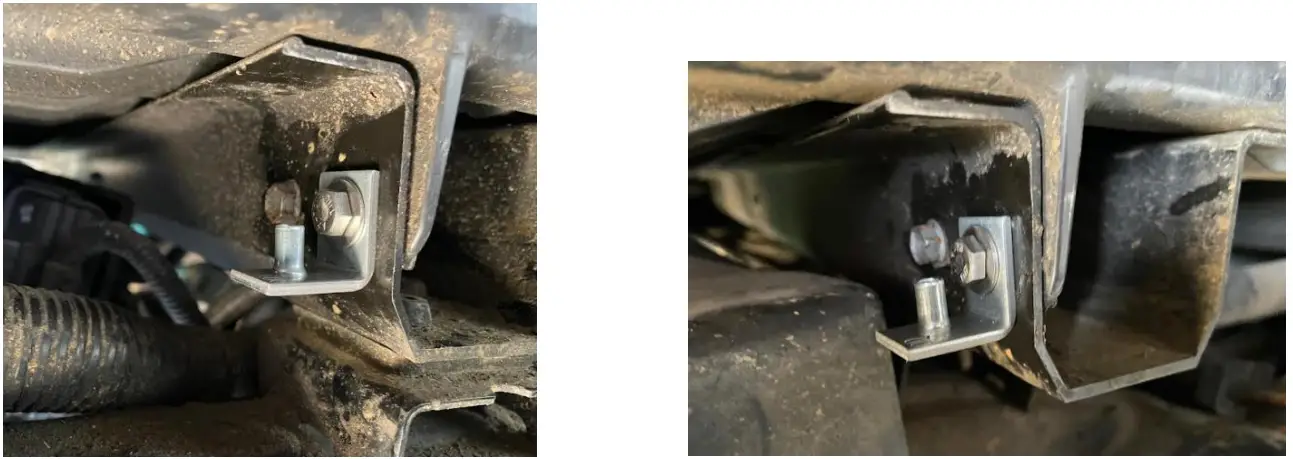
- Rotate the Left Most Bracket up as shown and hand tighten the M6 Hex Bolt in place.
- You might have to remove the rear bolt in order to get a 10mm wrench in place.
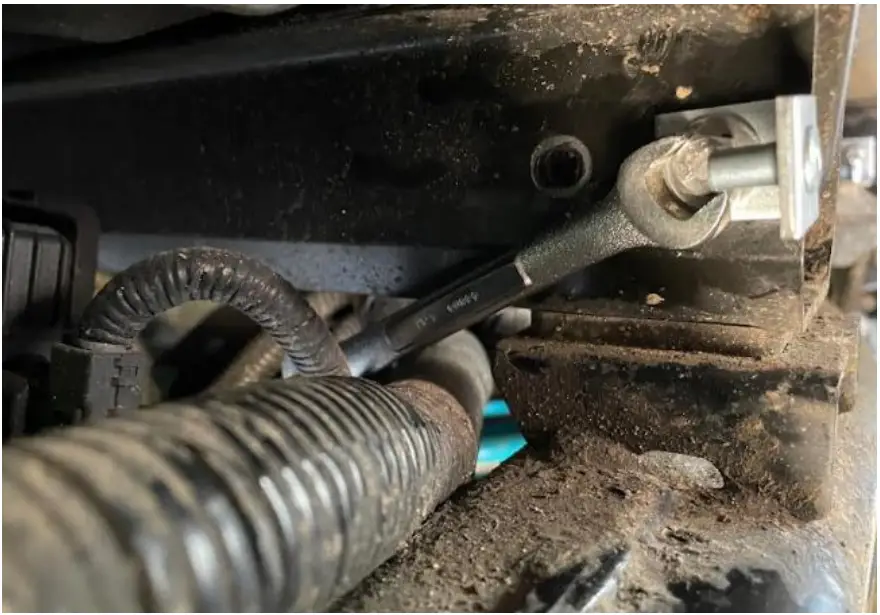
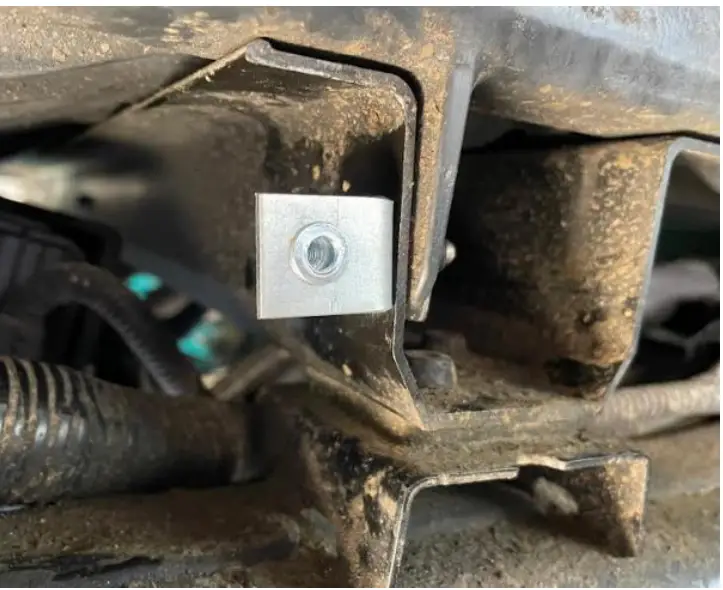
- Rotate the Right most bracket up as shown and hand tighten the M6 Hex Bolt in place. This side is accessible from the bottom with a 10mm wrench.
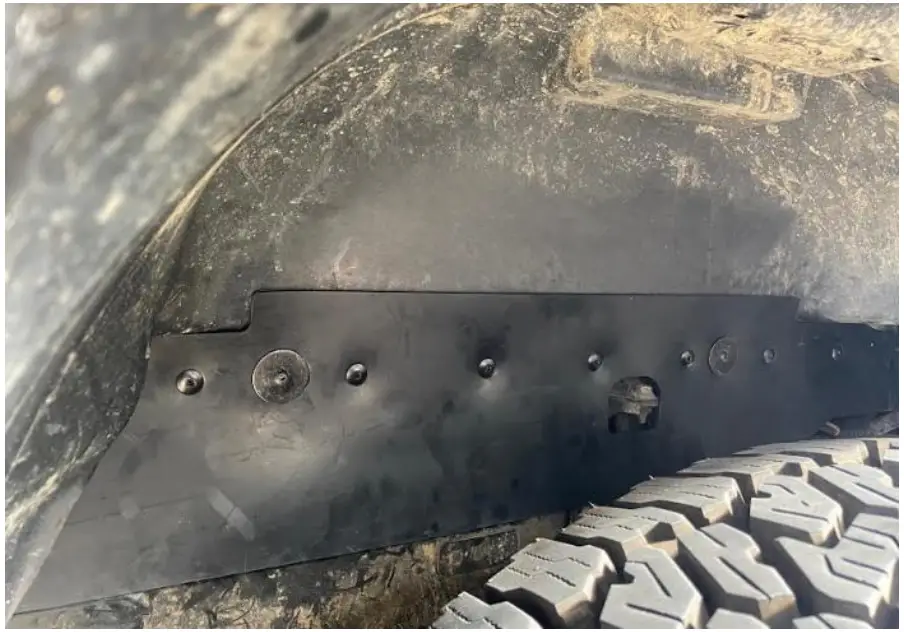
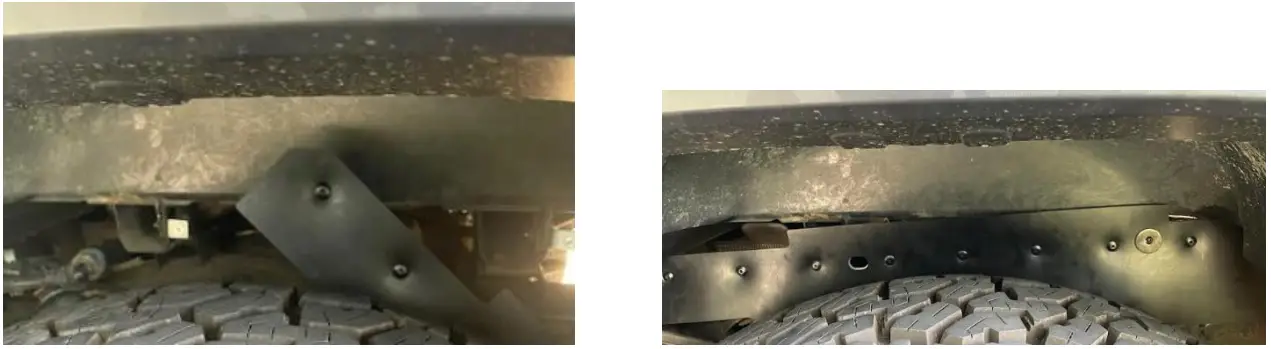
- Feed the Rear Debris Shield Passenger into the wheel well.
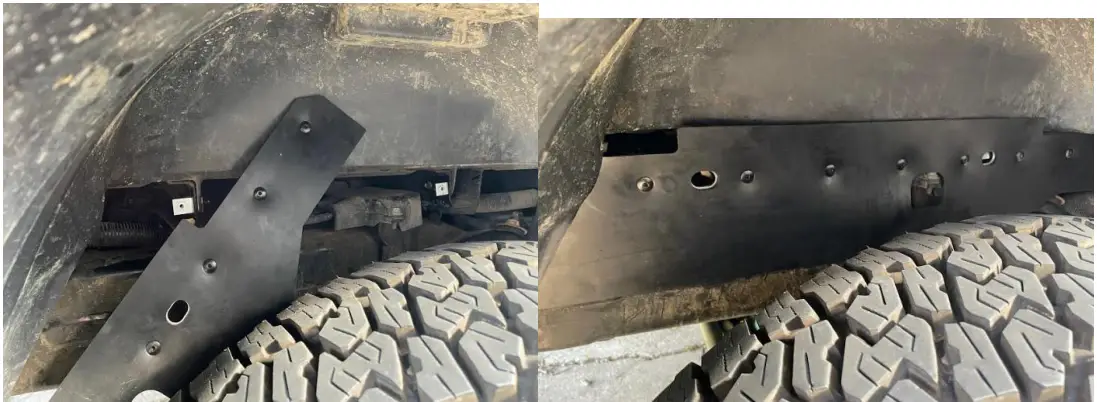
- Secure each side of the debris shield in place with 1 10-24 Screw and 1 Fender Washer.
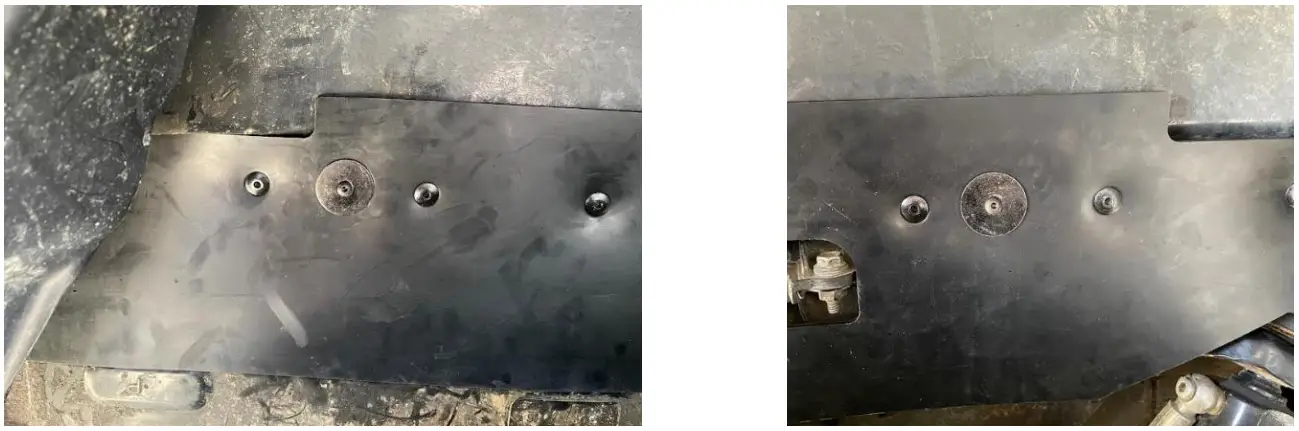
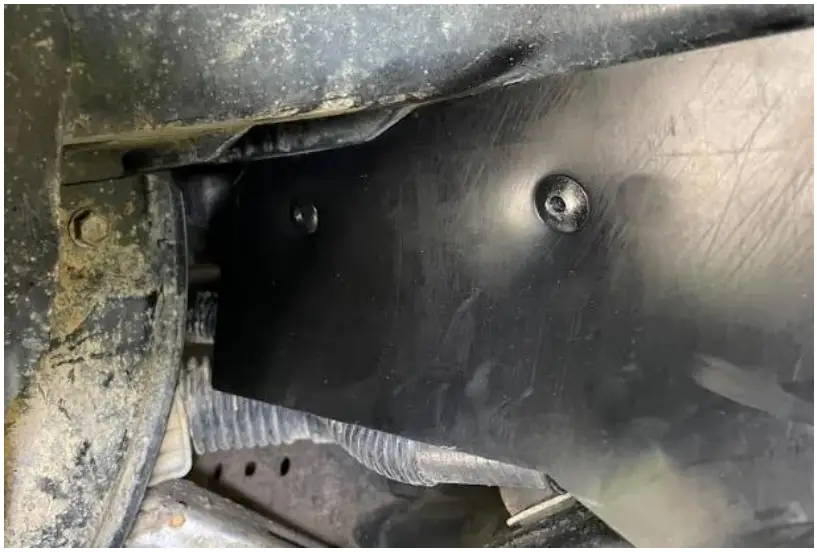
- Slide the front most side of the debris shield behind the bed rib as shown. Adjust the Debris shield until adequate fitment is achieved and hand tighten the 10-24 screws in place.
- The Rear Debris Shield Passenger is now installed. Move onto the Driver’s side.
- Locate the Rear Passenger Bed supports.
- Remove the 2 front most bolts utilizing a 10mm socket or wrench.
- . Loosely Secure 1 Rear Bed Frame Brackets W/ PEM in place utilizing 1/4 Flat Washer and 1 M6 Hex Head Bolt onto the left most bed support. Repeat on the right most bed support.
- Rotate the brackets up and hand tighten the M6 Bolts in place
- Feed the Rear Debris Shield Driver into the wheel well.
- Secure each side of the debris shield in place with 1 10-24 Screw and 1 Fender Washer.
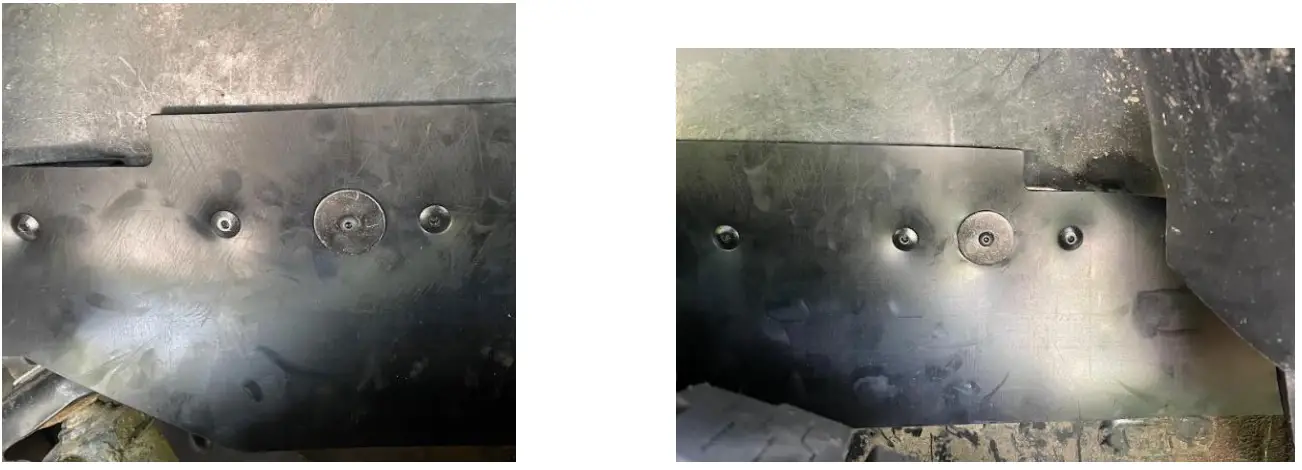
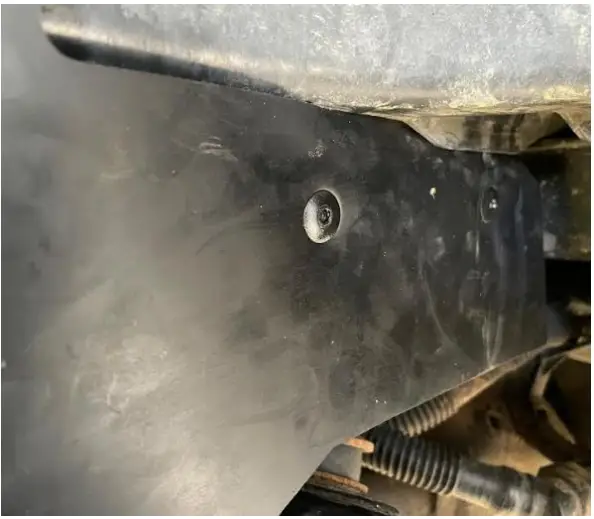
- Slide the front most side of the debris shield behind the bed rib as shown. Adjust the Debris shield until adequate fitment is achieved and hand tighten the 10-24 screws in place.
- The Rear Debris Shield Driver is now installed.
© 2023, IRON TRUSS FABRICATION
https://irontrussfabrication.com/