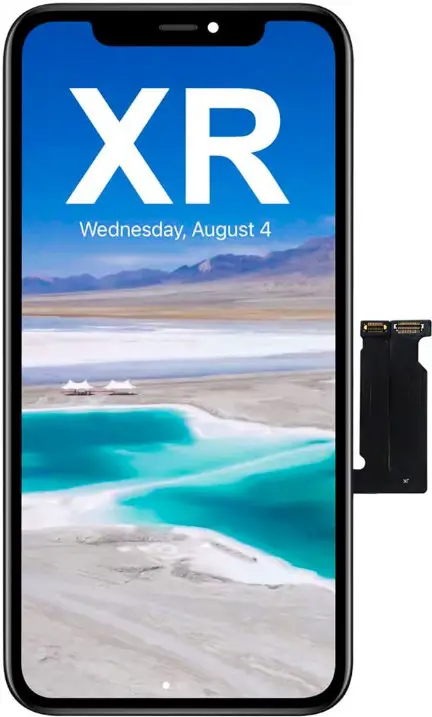
EFAITHFIX A1984 iPhone XR LCD Screen Replacement Instruction Manual

Contents
INSTALLATION STEPS
- Tear the back film and install the earpiece
- Attach the waterproof adhesive
- Connect the earpiece cable, display cable, touch cable and battery cable
- Disconnect the battery cable, display cable, touch cable and earpiece cable

- Disconnect the battery cable, display cable, touch cable and earpiece cable
- Test image display and touch

- Disassemble the earpiece
- Tighten the screw to fix the panel
- Screen installation completed

What to do next

TOOL INTRODUCTION

- Pentalobe screwdriver
- Y-shaped screwdriver
- Phillips screwdriver
- Spudger
- Triangle
- Sucker and sim card pin
- Waterproof adhesive
- Screw mat

The role of screw mat
When replacing the screen of the mobile phone, place the screw parts on the screw pads according to the corresponding positions, so as to avoid the loss of the screws or the wrong installation, which may lead to the black screen of the mobile phone.
PRECAUTIONS
Please read this manual carefully before using this product
There is a possibility of personal injury and property damage when used incorrectly
- It is best to ask professionals to install, our instructions are for reference only.
- Before replacing the screen, you can use a hair dryer to blow the edge of the screen to facilitate the separation of the screen with a suction cup.
- Please keep your phone power off and disconnect the battery cable when assembling.
- There are different size and length screws when you replace your iphone display assembly, please use screw mat to mark. each screw and put them in the original place [ VERY IMPORTANT ] otherwise the screen will be easy broken if you put the screw in the wrong place.
- Check the screen replacement to make sure the flexible cable in good condition and no debris / visible dust on the connector.

DISASSEMBLY STEPS
- Split screen

- Disassemble panel

