DUMOS C-5025 Ergonomic Desk Chair Instruction Manual
Contents
Product Instruction
To deodorize the leather please leave the chair in shady outside for 1-2 days

For longer use
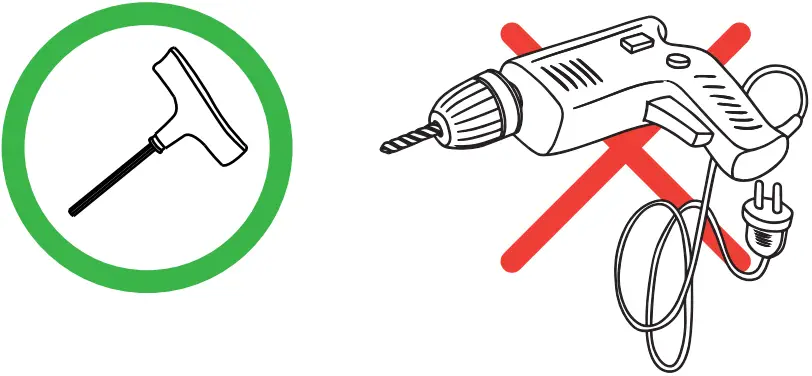
Re-tighten bolts every 6 months by using the enclosed allen-key. *Using an electric drill can damage the chair. Please re-tighten bolts manually.
Safety Information
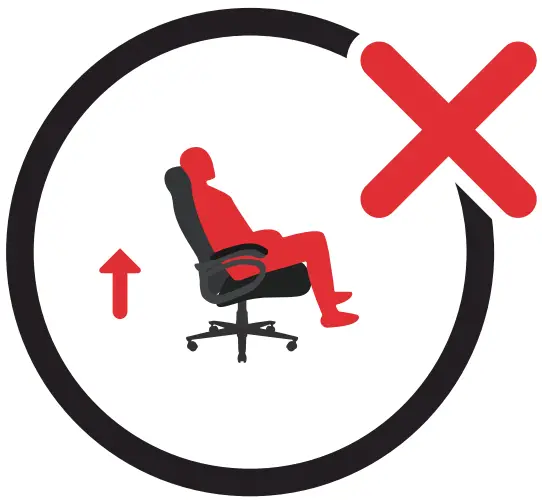
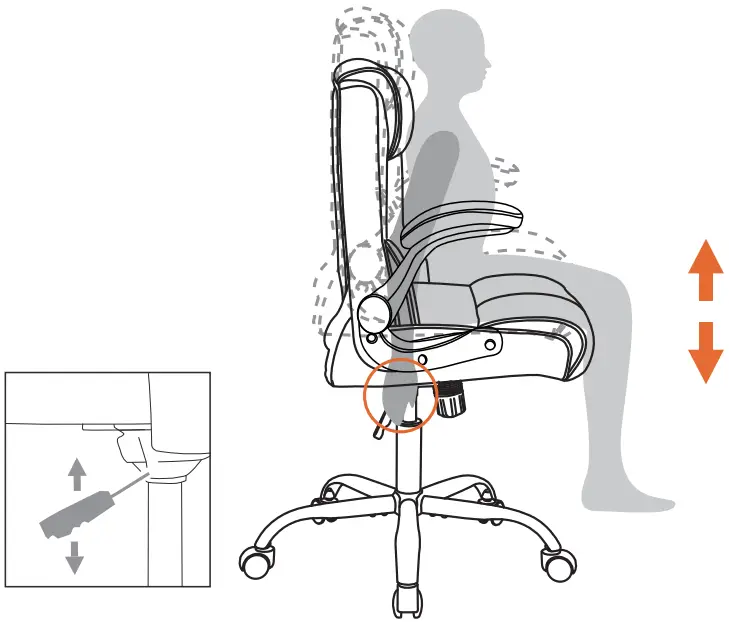
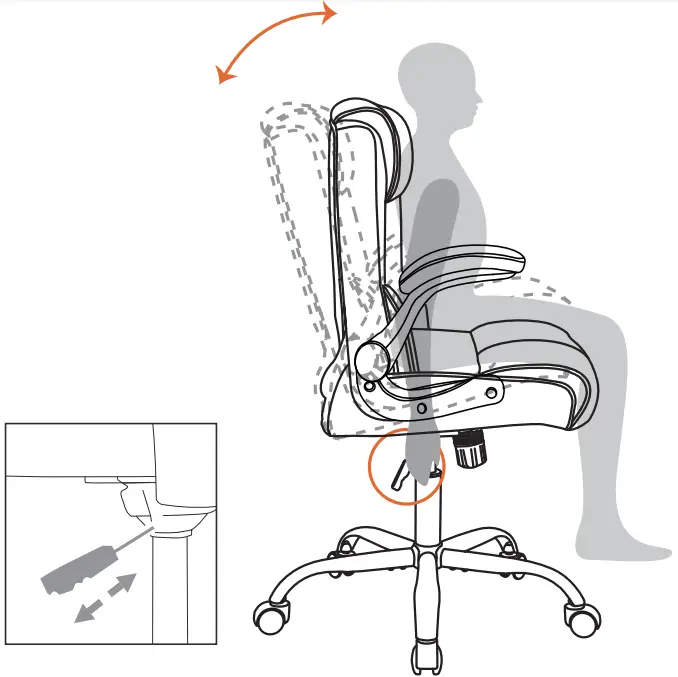
- Sit in the center of the chair, with your back to the backrest

- Do not sit at the front edge of the chair

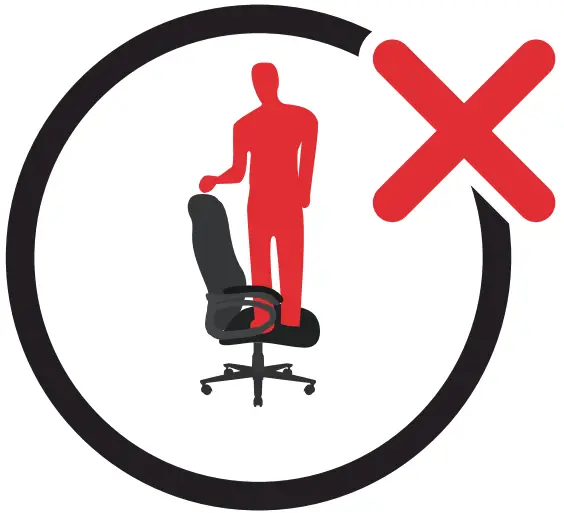
- Do not stand on the chair
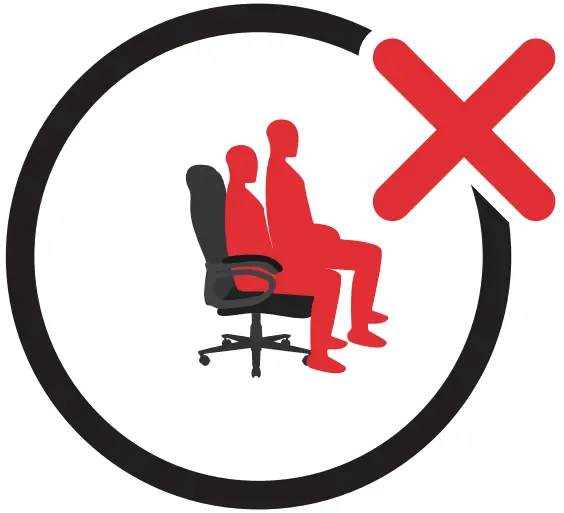
- Do not use the chair with more than one person
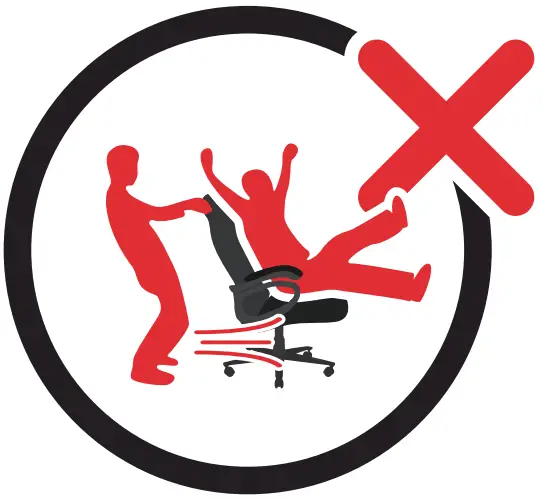
- Do not push the chair around when a person is sitting in it
- Do not push down the backrest when a person is reclining

- Do not place all your weight on only the backrest
Package List
- 1Backrest

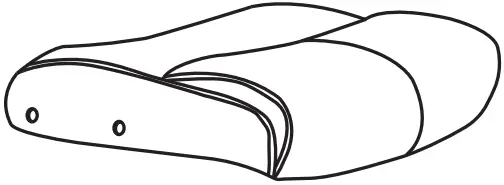
- 1Seat Cushion
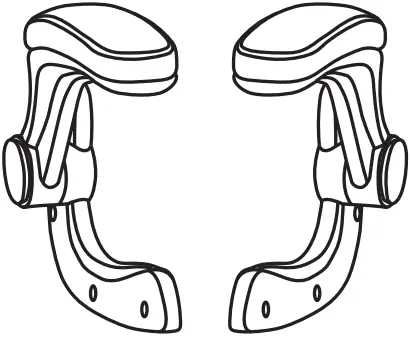
- 1L * 1R Armrest
- 1 Mechanism
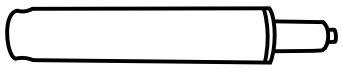
- Gas Lift
- 1Base

- 5 Legs
- 5 Casters
- M6*25mm 2 Bolts

- M6*20mm *2 Bolts

- M6*25mm *8Bolts
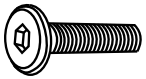
- M6*14mm 10Bolts

- *8Caps

- 1 Wrench

Assembly Instruction
- Turn Base (6) upside down. Install Legs (7)*5 to the Base (6) with Bolts (12)*10.

- Press Casters (8)*5 into the holes at the end of Legs (7)*5.

- Turn the Base back, and insert Gas Lift (5) into the center hole of the B

- Attach Mechanism (4) to the Seat Cushion (2) with Bolts (9)*2 at the front and Bolts (10)*2 at the back.
NOTE:
Make sure the “FRONT” direction of Mechanism (4) and Seat Cushion (2) are the same

- Align the center hole of the Seat Mechanism with Gas Lift (5)and press the Seat Cushion down until it is fully secured. Attach Armrests (3)*1L*1R to both sides of the Seat Cushion (2) with Bolts (11)*4.
NOTE:
Bolts are only tightened 30%’

- Tilt the Backrest (1) down. Attach Armrests (3)*1L*1R to the screw holes on the lower side of the Backrest (1) with Bolts (11)*2.
NOTE:
Bolts are only tightened 30%
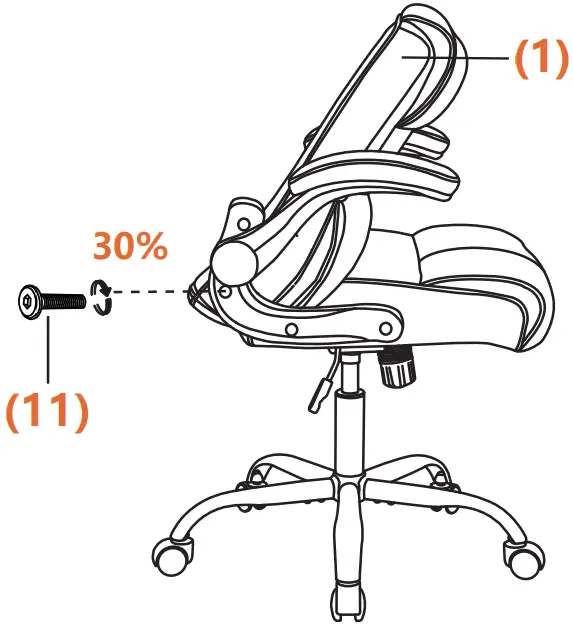
- Rotate the Backrest (1) up. Attach Armrests (3) *1L*1R to the screw holes on the upper side of the Backrest (1) with Bolts (11)*2.
NOTE:
Bolts are only tightened 30%.

- Adjust the balance on each side of the Chair, and 100% tighten the Bolts (11)*8 on both sides of the Armrests. Then Press Caps (13)*8 into screw holes of each side.

Instructions For Use
CAUTION:
- Before using the chair, check to ensure that all bolts are fully tightened.
- Lubricate all parts and tighten all bolts every 6 months or whenever needed
[email protected]
(909)637-7665 | (909)637-7593