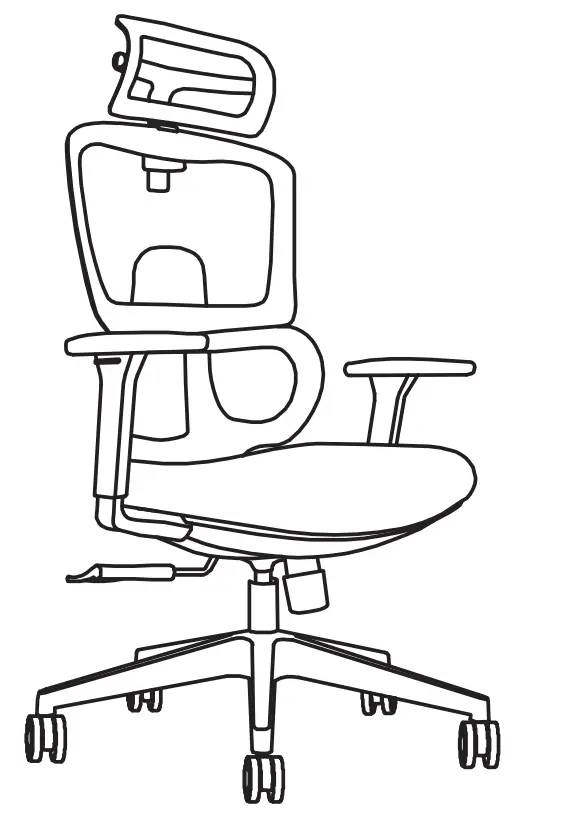
DRiPEX Q202A-D202 Ergonomic Office Chair

Contents
PARTS
- Base joint

- Base legs (x 5 pcs)

- SGS cylinder

- Base joint Cap

- Castors (x 5 pcs)

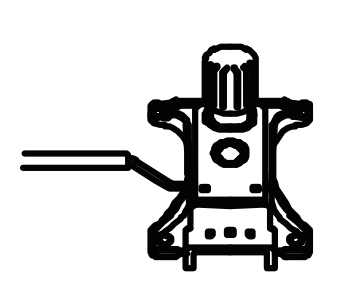
- Tilt/height control
- Seat

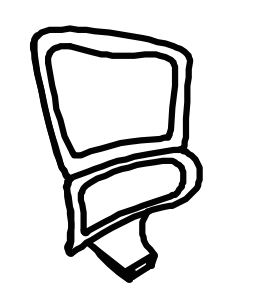
- Arms

- Backrest
- Headrest

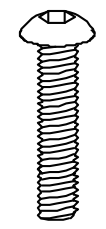
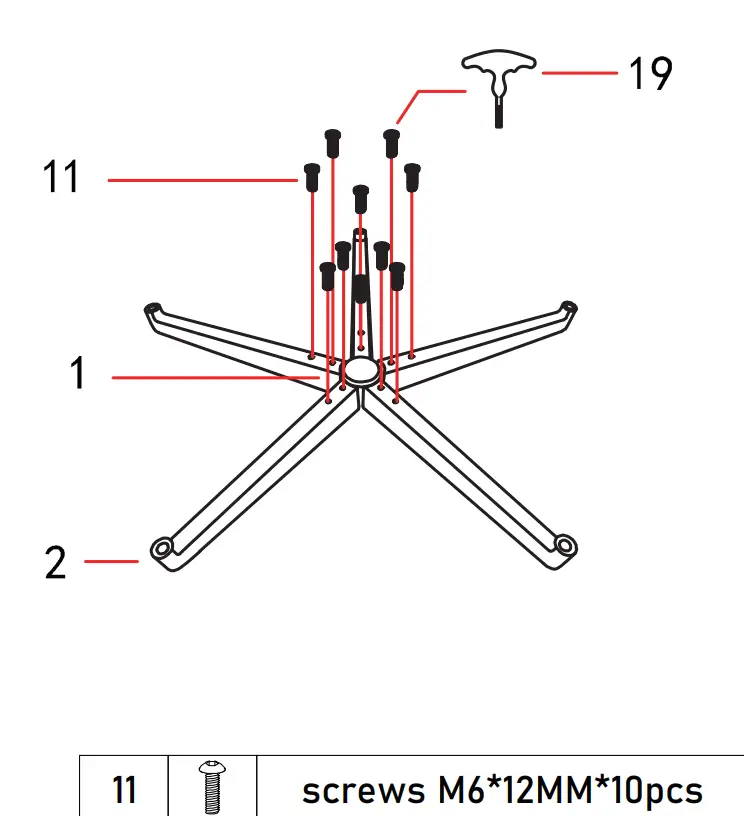
- Base Screws (x 10 pcs) M6*12MM

- Screws M6*40MM (x 6 pcs)

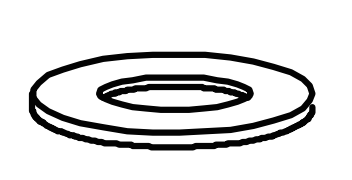
- Washers M6*15MM ( x 6 pcs )
- Screws M6*55MM ( x 4 pcs )

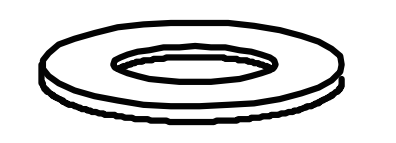
- Washers (x 7 pcs) M8*17MM
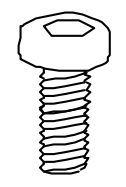
- Screws (x 3 pcs) M8*20MM
- Washers ( x 3 pcs) M8*13MM

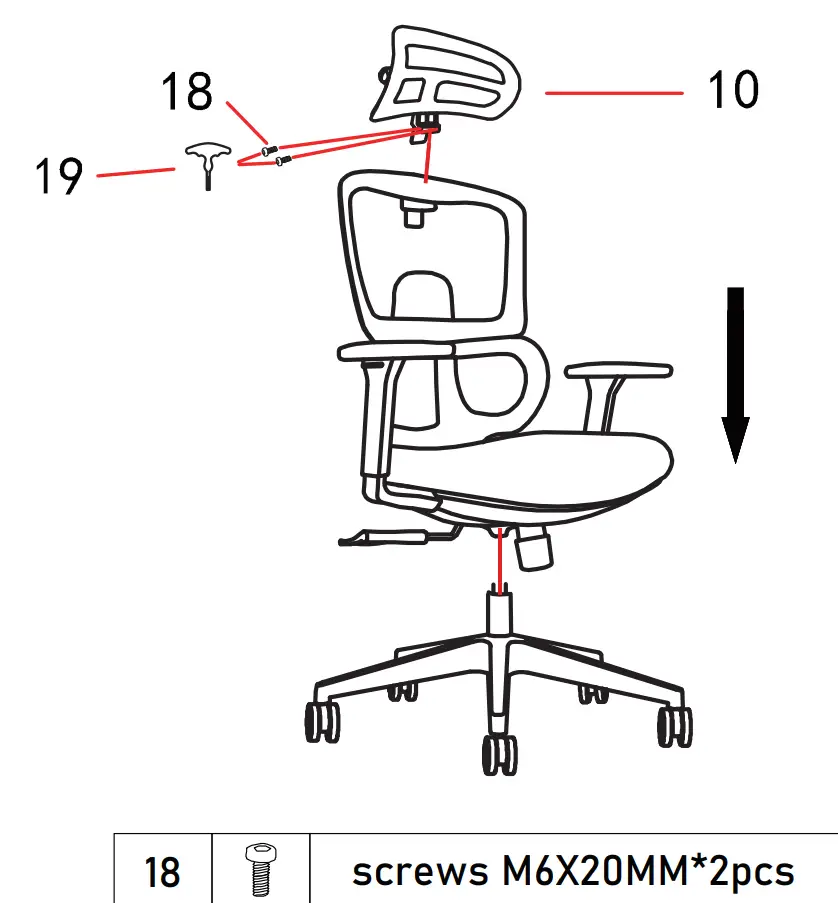
- Screws M6*20MM (x 2 pcs)
- Screwdriver

ASSEMBLY INSTRUCTIONS
Step 1
Insert base legs into base joint, screw together
Step 2
Keep the gap on the castor loop down

Step 3
Insert a little, make sure the castor precisely aligned with base leg hole

Step 4
Push castor into base leg hole with both of your thumbs

- If jammed, pull out the castor, switch to other castors then push it into holes again.
Follow the installation video on Amazon
Step 5
Insert base caps and cylinder into base

Step 6
Arms to seat
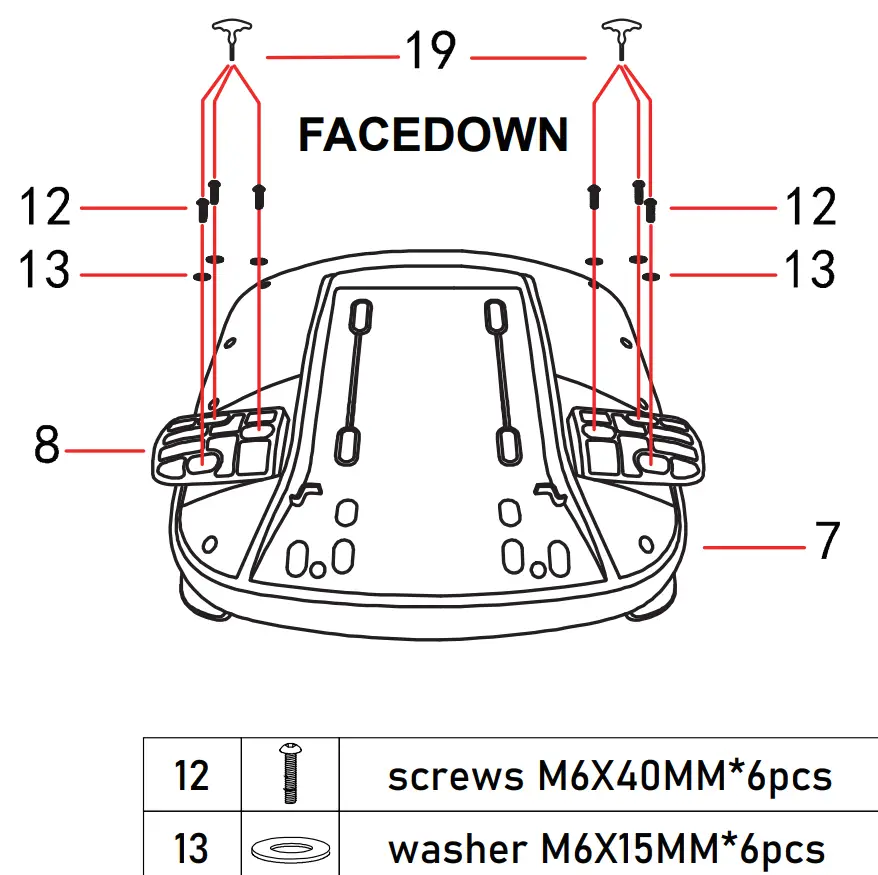
Step 7
Tilt control to seat

|
14 |
|
screws M6X55MM*4pcs |
|
15 |
|
washer M8X17MM*4pcs |
Step 8
Backrest to seat

|
16 |
|
screws M8X20MM*3pcs |
|
15 |
|
washer M8X17MM*3pcs |
|
17 |
|
washer M8X13MM*3pcs |
Step 9
Insert headrest into the connector (on the top of backrest), then raise headrest to its highest point; Screw the connector. Adjust headrest height
Step 10
TILT/HEIGHT CONTROL
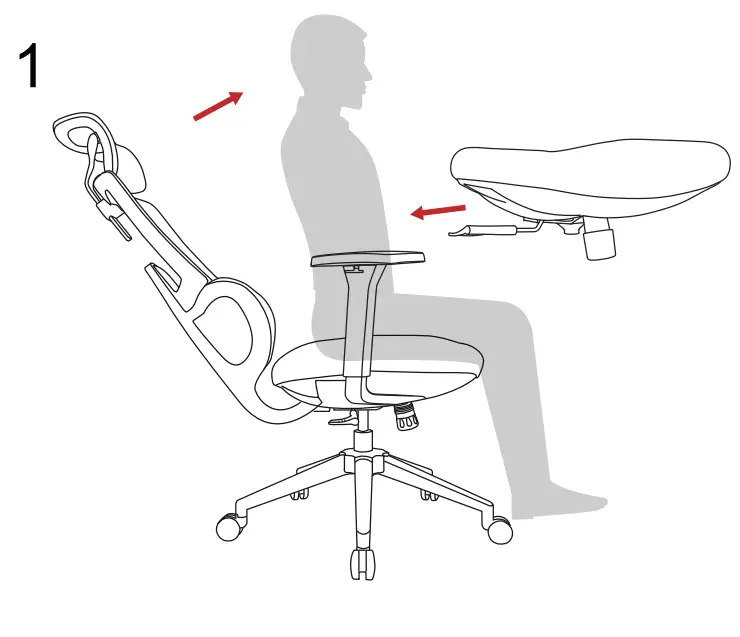
To Lower the Seat
- Keep seated on the chair
- Pull out the lever to unlock
- Lift up the lever handle
- Push in lever to lock
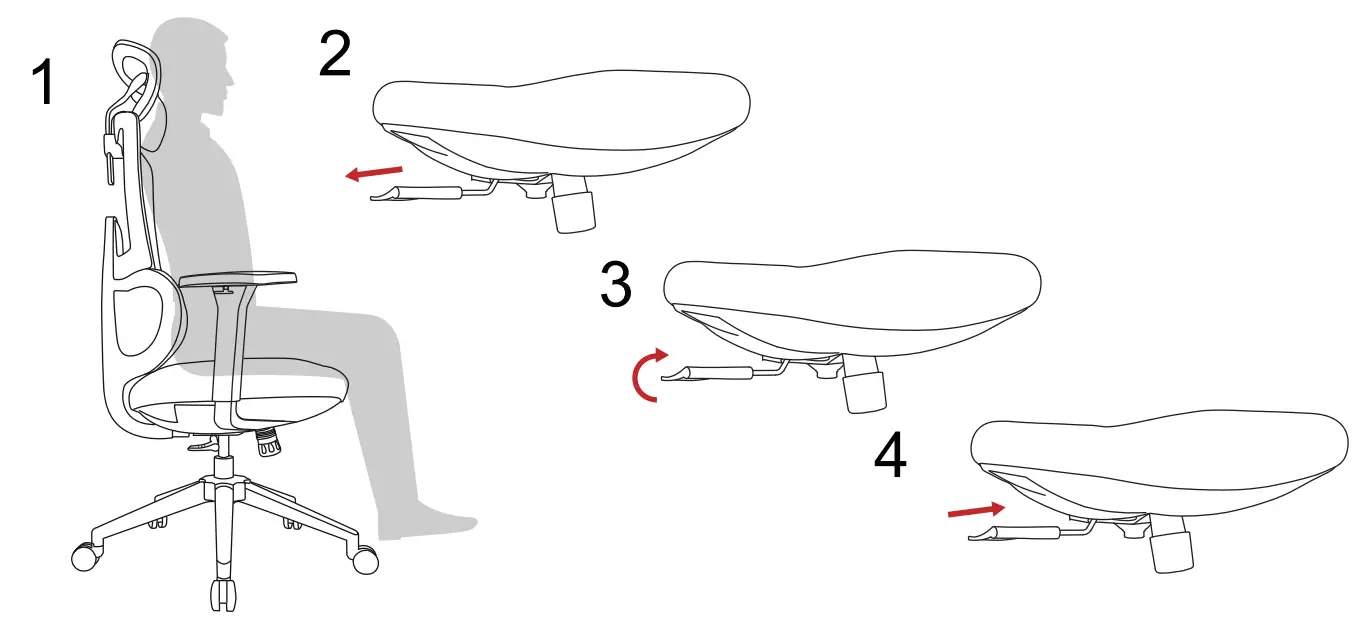
To Raise the Seat
- Pull out the lever to unlock
- Buttocks off the seat, then lift up the lever handle
2
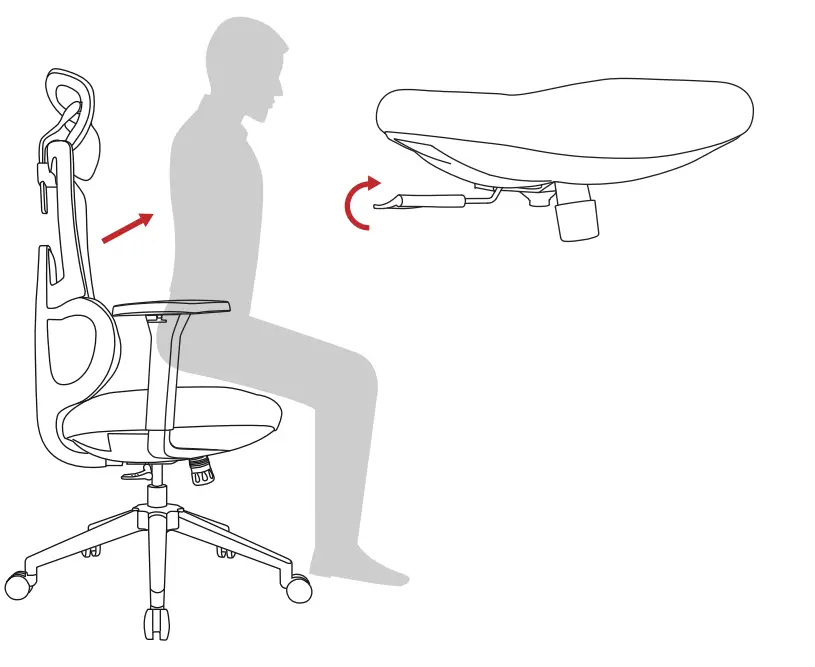
- Push in lever to lock, sit down

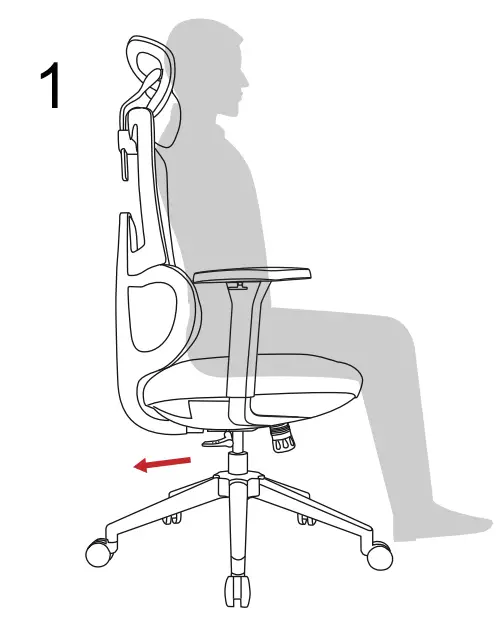
To Recline
- Lay your back on the chair back.
Pull out the lever to unlock - Press chair back with your back to tilt to 107° or 130°
- Push in lever to lock
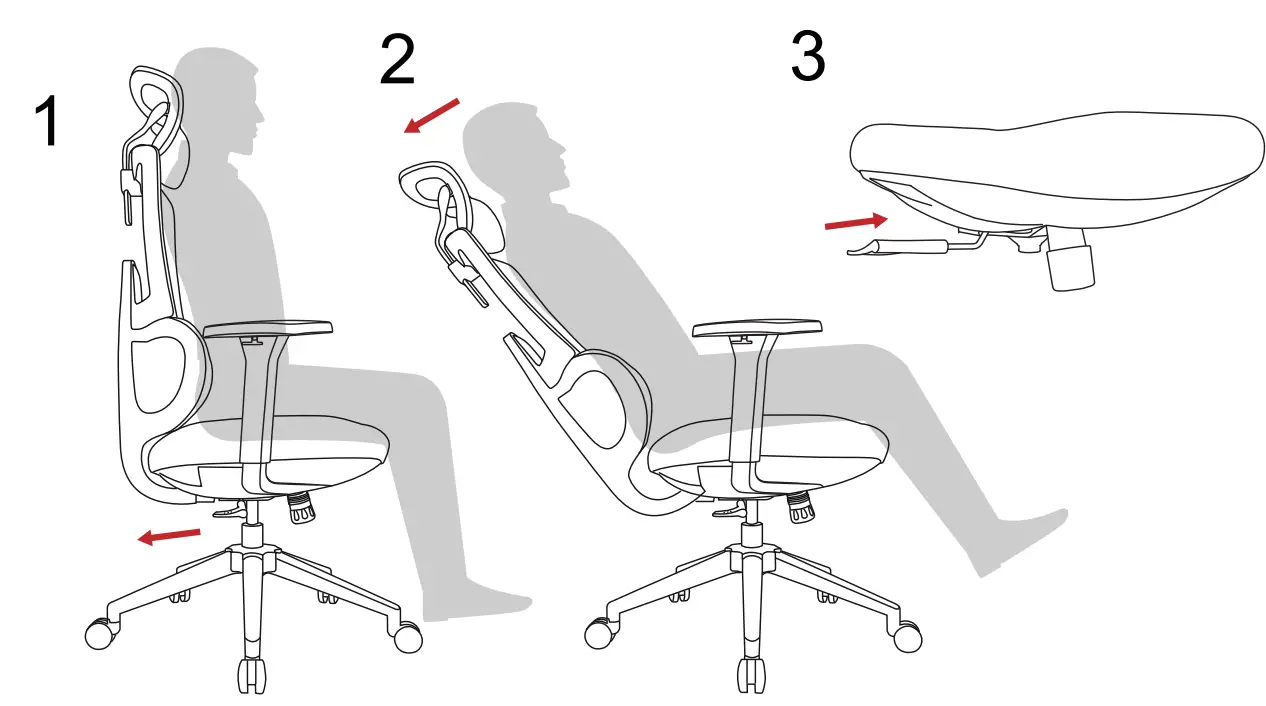
If sticks, press chair back with your back a little, then repeat the above steps
Recline backward
- Your back off the chair back.
Then, pull out the lever to unlock - Press chair back to 130° with your back.

- Your back off the chair back again (chair back will automatically back to 95°)
3
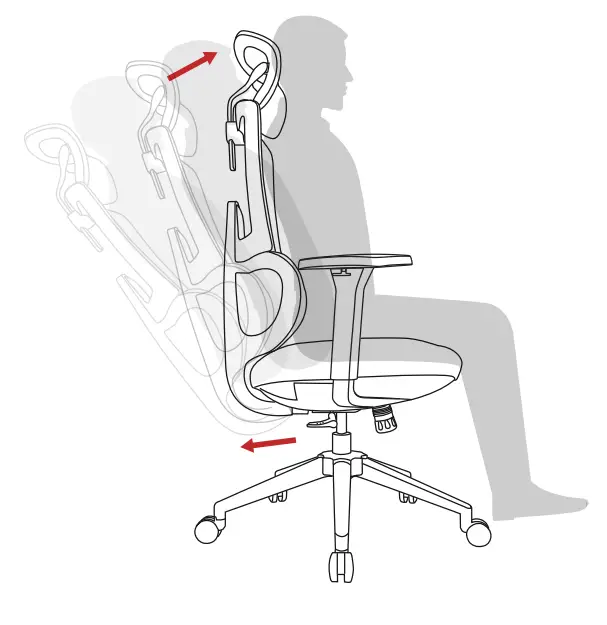
- Push in lever to lock

If sticks, press chair back with your back a little, then repeat the above steps
|
CARE AND CLEANING |
|
|
|
|
 |
For parts missing or any quality issues, please message us via Amazon or email with your order id + photo/video proof. We’ll respond within 24 hours. |
 NOTES AND WARNINGS
CUSTOMERS SUPPORT
