![]() RoboMaster EP Core Advanced Educational Robot
RoboMaster EP Core Advanced Educational Robot
User Guide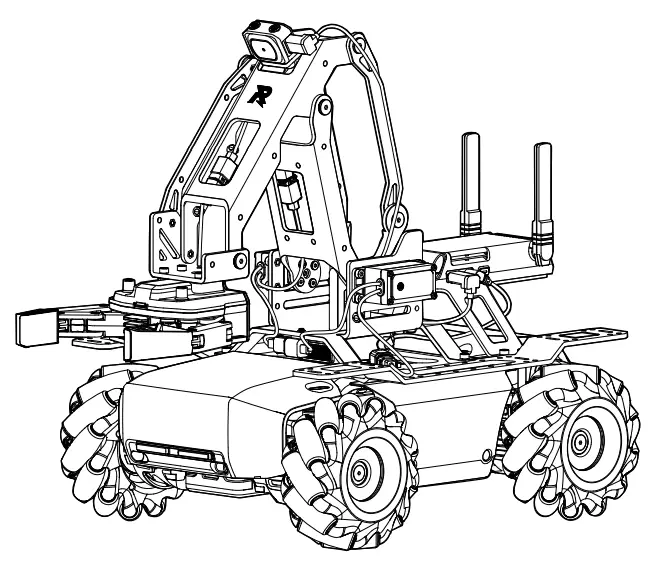 RoboMaster EP CORE
Quick Start Guide
Contents
Introduction
The RoboMasterTM S1 Education Expansion Set Core (EP Core) is an all-in-one education solution for STEAM classrooms. It provides an official SDK that can be used with powerful mechanical accessories and interfacesto expand hardware possibilities. Together with rich teaching resources and a continually-updated competitiondatabase, the EP Core delivers a new classroom experience to make education easier for both teachers andstudents, expanding the boundaries of the future of education.
Downloading the RoboMaster App and Watching Tutorial Videos
 |
 |
| https://www.dji.com/robomaster-ep/video | https://www.dji.com/robomaster-ep/video |
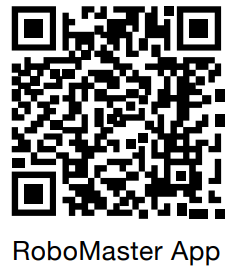
Search for the RoboMaster app in the App Store or Google Play or scan the QR code to download the app on your mobile device.
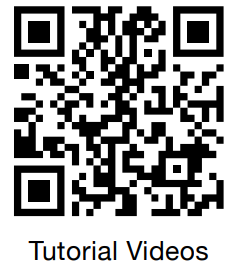
Visit the official DJI website https://www.dji.com/robomaster-ep-core/video or go to the app and enter the Guide page to watch the tutorial videos for assembly and use. You can also assemble the robot according to the assembly guide in the quick start guide.
The RoboMaster app supports iOS 10.0.2 or later or Android 5.0 or later.
Users can also download the RoboMaster software for Windows or Mac from the official DJI website on a computer to control the robot with a keyboard and mouse. https://www.dji.com/robomaster_app.
![]() After assembly, use your DJI account to activate the robot in the RoboMaster app. Activation requires an internet connection.
After assembly, use your DJI account to activate the robot in the RoboMaster app. Activation requires an internet connection.
Specifications
| Structure | |
| Dimensions | 390×245×330 mm |
| Weight | Approx. 3.3 kg |
| Intelligent Controller | |
| Operating Frequency | 2.4 GHz, 5.8 GHz, 5.1 GHz (limited to indoor use) |
| Intelligent Battery | |
| Capacity | 2400 mAh |
| Charging Voltage | 12.6 V |
| Battery Type | LiPo 3S |
| Energy | 25.92 Wh |
In the Box
Check that all of the following items are in your package. If any item is missing, contact DJI or your local dealer.


* (+x) refers to the quantity of spare items included in the package.


 The screw box A includes the following items:

 * Refers to the quantity with spare items included in the package.

The screw box B includes the following items:


* Refers to the quantity with spare items included in the package.


Overview
| 1. Robotic Arm Triangle Link 2. Robotic Arm (1 of 2) 3. Robotic Arm Connecting Rod #1 4. Robotic Arm Endpoint Bracket 5. Robotic Arm (2 of 2) 6. Camera 7. Robotic Arm (2 of 2) Short Rod 8. Robotic Arm (2 of 2) Long Rod 9. Robotic Arm Connecting Rod #2 10. Robotic Arm Connecting Rod #3 11. Cable Clamp 12. Intelligent Controller 13. Rear Extension Platform 14. Servo |
15. Servo Gear Buffer 16. Servo Gear 17. Robotic Arm (2 of 2)Connecting Rod 18. Robotic Arm Base 19. Robotic Arm Cable Fixer 20. Robotic Arm Limit Block 21. Robotic Arm Support Base 22. Speaker 23. Speaker Support 24. Gripper 25. Chassis Extension Platform 26. Left-Threaded Mecanum Wheel 27. Right-Threaded Mecanum Wheel 28. Chassis Cover |
29. Chassis Middle Frame 30. Front Axle Cover 31. Front Axle Module Base 32. X-Shaped Front Shaft Cover 33. Motion Controller 34. Chassis Left Armor 35. Chassis Right Armor 36. Chassis Rear Armor 37. Hit Detectors 38. Chassis Front Armor 39. M3508I Brushless Motors and ESCs 40. Motor Mounting Plates 41. Chassis Cabin Cover 42. Intelligent Battery |
Preparation
1. Charging the Battery Charge the battery to bring it out of hibernation before using for the first time.
 Charging Time: Approx. 1 hour and 30 min.
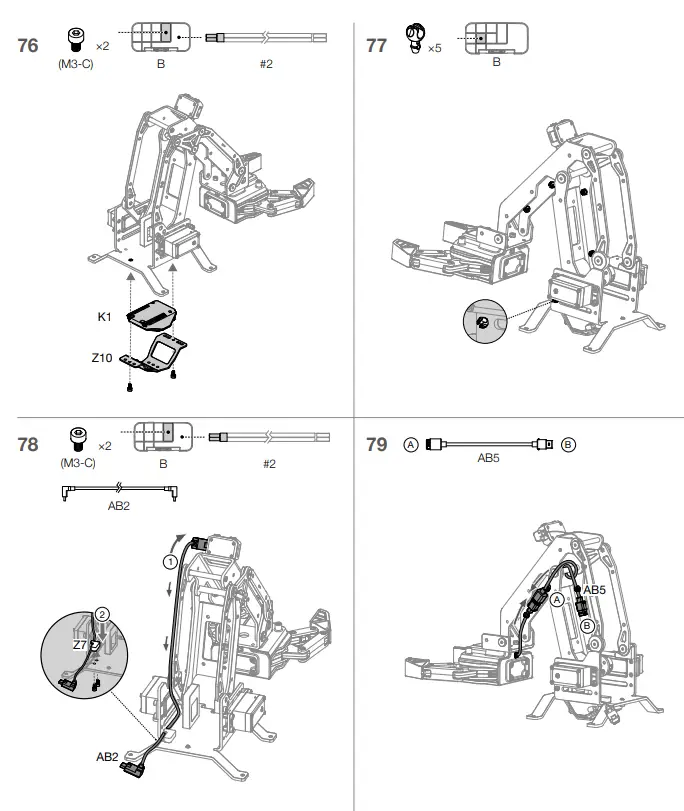
2. Preparing the Screwdriver The package includes a screwdriver handle and two bits. The #1 bit is used with screw box A. The smaller end is for T2 screws, while the larger end is for the other screws in screw box A. The #2 bit is used with screw box B. The smaller end is for all the screws in screw box B, while the larger end is not used. Make sure to use the screws with a suitable bit.
3. Legend
Refers to the accessories required including such information as the screw model and quantity. For example, the description in this illustration indicates that six screws of the M3-A model are required.
 Indicates that the bottom of the robot is displayed.
 Refers to where the required accessories are located in the screw box.
 4. Cable Connection Instructions
Connect the black, orange, and red cables to the ports with the corresponding color.
Follow the instructions for cable connection and wiring to avoid cable damage.
Assembly Guide
Each item has a code. Refer to the In the Box section and check the corresponding code to find out where each item is located in the package.


 Make sure to use the specified screw. Otherwise, the part may be damaged.


 Make sure to use the specified screw. Otherwise, the part may be damaged.


Powering On and Activating the EP Core
Insert the Intelligent Battery into the EP Core, press and hold the power button on the Intelligent Battery to power it on, and connect to the app to activate the EP Core.
Mounting and Using Other Accessories
With the power connector module and sensor adapter, the RoboMaster EP Core can be connected with more sensors. Refer to the RoboMaster EP Core User Manual for more information on installation and usage.
![]() Download the latest version from
Download the latest version from
 https://www.dji.com/robomaster-ep-core/downloads
The content is subject to change without prior notice.
https://www.dji.com/robomaster-ep-core
R and ![]() are trademarks of DJI.
are trademarks of DJI.
Copyright © 2020 DJI All Rights Reserved.
www.dji.com