Contents
CTA Digital PAD-ASKB10 Dual Security Kiosk Stand with Locking Case and Cable
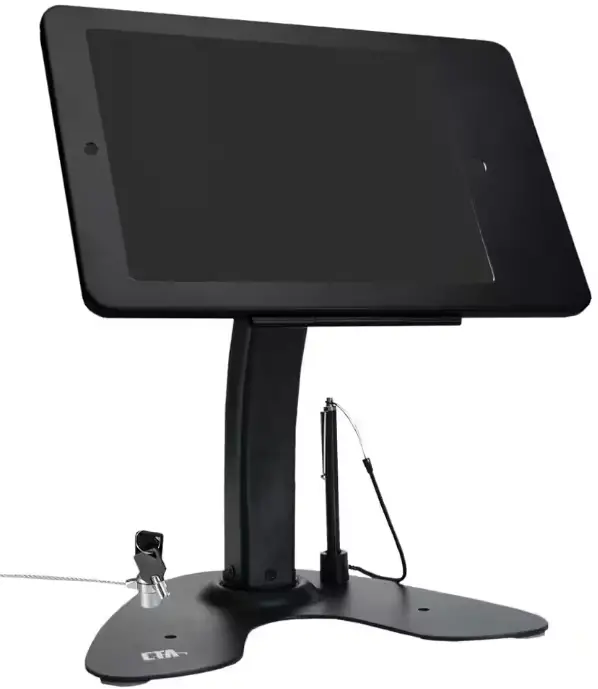
The Dual Security Kiosk Stand with Locking Case and Cable (model PAD-ASKB10) is a versatile and secure solution for displaying and protecting your tablet device. It comes with a locking case, cable, and adjustable stand for optimal usability and security.
Parts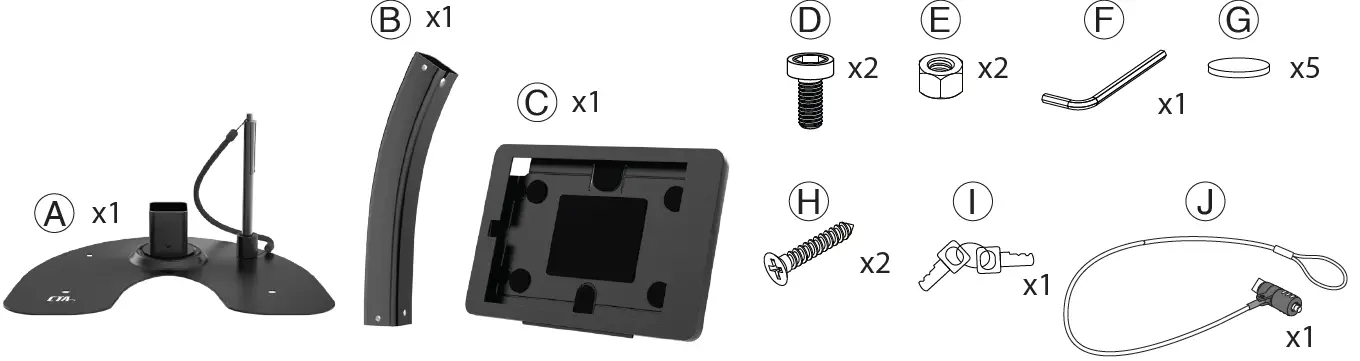
INSTALLATION
Attaching Holder to Body
- 1A. Insert holder joint (C) into body joint (B) and align allen key hole.
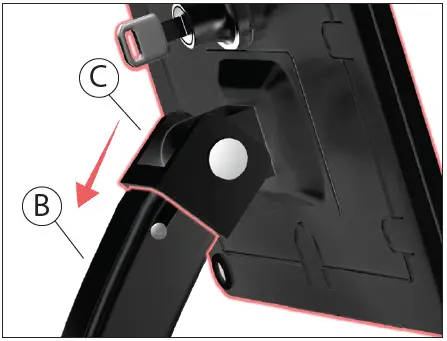
- 1B. Screw the fallen screw (D) into hole and securely tighten it with provided allen tool (F).

Attaching Body to Base
- 2A. Insert base joint (A) into body joint (B) and alling Allen key hole.
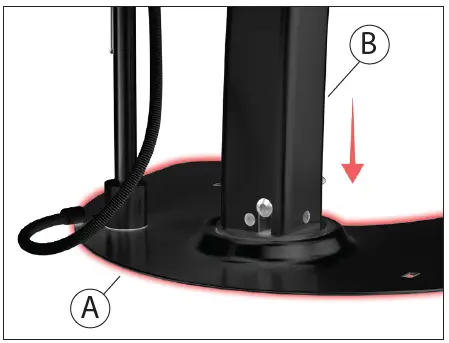
- 2B. Insert the fallen screw (D) into hole and securely tighten with provided allen tool (F).

(Optional) Attaching Base Pads to Base
3A. Stick adhesive pads (G) to bottom of stand base (A) for scratch protection and temporary mounting.
Inserting Tablet into Enclosure
- 4A. Open the case (C) with the stand on a flat surface.

- 4B. Place your tablet device inside the tray (C).

- 4C. Close the case door and turn the key (I) clockwise to lock.

(Optional) Bolting to Countertop
- 5A. Aling the two screws (H) with the holes in the base (A).

- 5B. Screw in screws until securely attached to the counter.

- 4D. Internal cable routing.
- Tablet and cable only shown for illustration purposes, not included
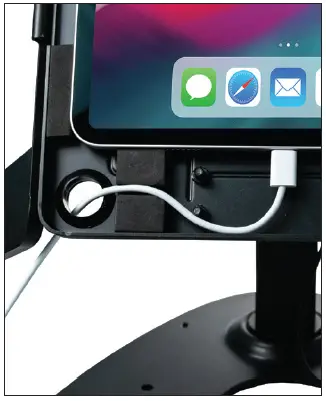
Cable Management
- 6A. Fish the cable wire through the top end of the kiosk body (B).

- 6B. Fish the cable wire out the other end as shown above.

Adjustability
- 7A. Adjust the joint rotation to the prefered angle.

- 7B. Adjust the orientation to the prefered view.

Security – Cable Lock
- 8A. Anchor the cable loop of your security cable lock (J) around an immovable object.

- 8B. Secure and lock the other end to the kiosk (A) into the cable lock slot hole as shown.

- 36 Taaffe Place Brooklyn, NY 11205
- [email protected]
- 888-733-4448
- wwww.ctadigital.com