![]() INTERNET
INTERNET
CM Modem
Installation Guide
 Don’t forget to contact us
to complete your upgrade!
877.290.0560
arvig.net/selfinstall
Based on Arvig service area; some restrictions apply. ©Arvig 2023 Item220
Components required:
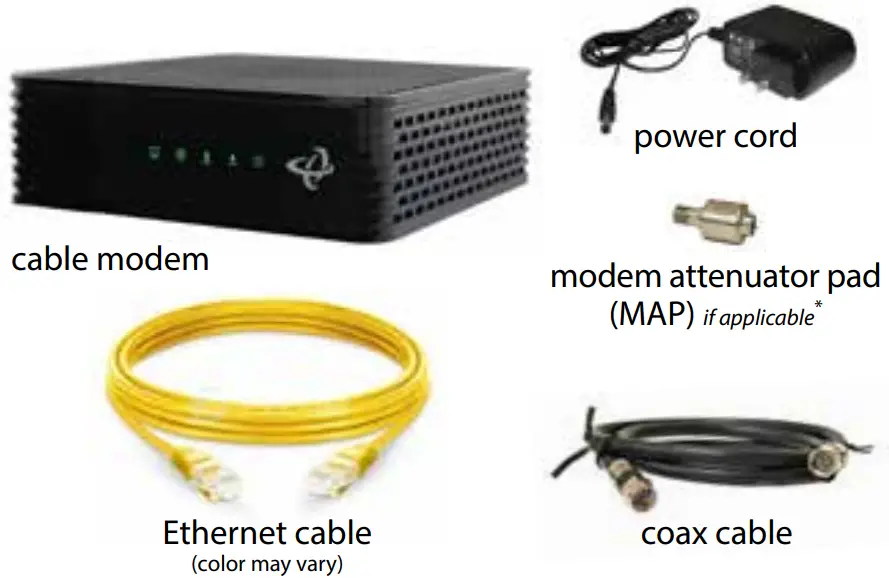
Step 1: Remove the new modem from the box and place it flat on a desk or table.
Step 2: Remove the clear plastic covers from the device—do not block vents.
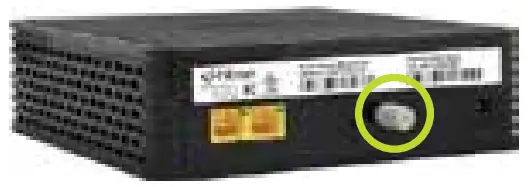
Step 3: Unscrew the coax cable and MAP * from the old modem and screw them both onto the coax cable port on the new modem. Important: you must connect the MAP * first. Securely tighten connections—do not overtighten.
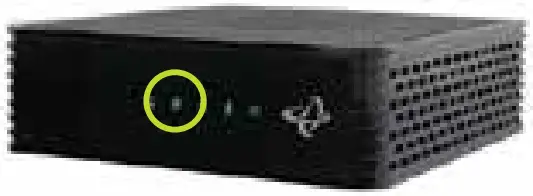
Step 4: Use the provided power cord to connect the power socket to an appropriate power source. Look at the lights on the front panel; once the @ symbol light is solid (about 5 minutes), proceed with step 5.
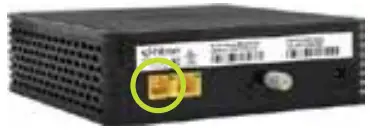
Step 5: Unplug the Ethernet cable from the old modem and plug it into Ethernet port 1 on the new modem.
Step 6: Complete our online form at arvig.net/selfinstall to complete the setup process. Or, call Arvig Technical Support at 877.290.0560 for assistance. We’re also available via online chat at arvig.net.
Verify your new internet speed by testing it at speedtest.arvig.com.
![]()