American Express YD3003 ELIVED TV Wall Mount Instruction Manual

- Velcro Cable Ties ×3

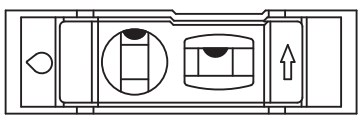
- Bubble Level ×1
- Mounting Template ×1


Max: 600x400mm/24×16″
Min: 150x100mm/6×4″
Contents
Safety Caution
Please read this instruction carefully before installation.
If you do not understand these instructions or have doubts about the safety of the installation, assembly or use of this product, please contact us.
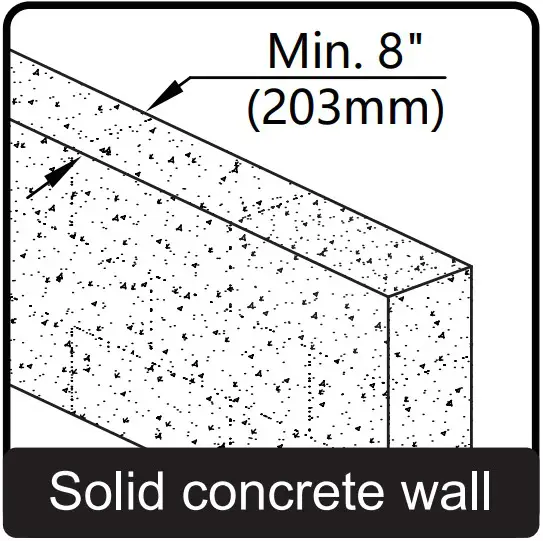
- This product is designed for use in wood stud or solid concrete wall.
- DO NOT install into drywall alone.
- The wall must be capable of supporting five times the weight of the TV and mount combined.
- Incorrect installation may result in product damage or body injury.
WARNING: This product contains small items that could be a choking hazard if swallowed. Before starting assembly, verify all parts are included and undamaged. If any parts are missing or damaged, do not return the damaged item to your dealer; please contact our customer service team. Never use damaged parts!
Must Check Before Getting Started


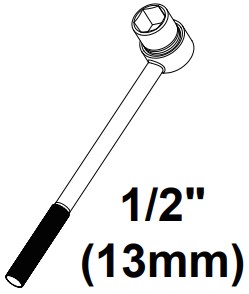
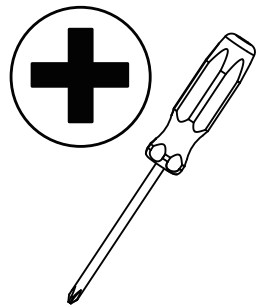
Extra Tools You Need (Not Supplied)

- Band Tape

- Pencil

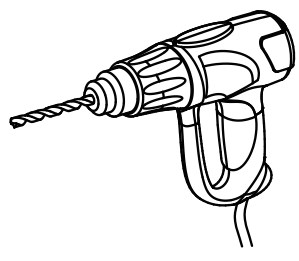
- Electrodrill
- Socket Wrench
- Screwdriver
Supplied Parts and Hardware
- Mount

- Side Cover
- Brackets

Hardware
- Lag Bolt M8x65mm
- Wrench
TV Screws / Spacers / Washers
- Philips Screws M4 x 12mm M4 x 30mm
- Philips Screws M6 x 15mm M6 x 30mm
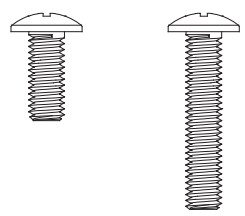
- Philips Screws M8 x 25mm M8 x 45mm

- Spacers L10mm
- Washers Ø6mm M4-5-6

- Spacers L5mm

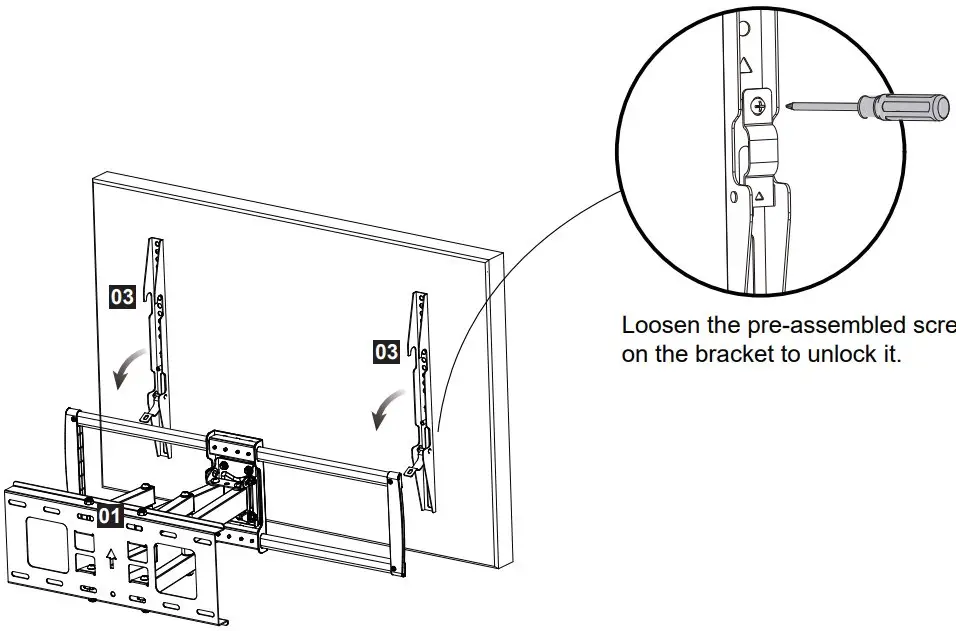
Attach the TV Brackets
Select TV Screws
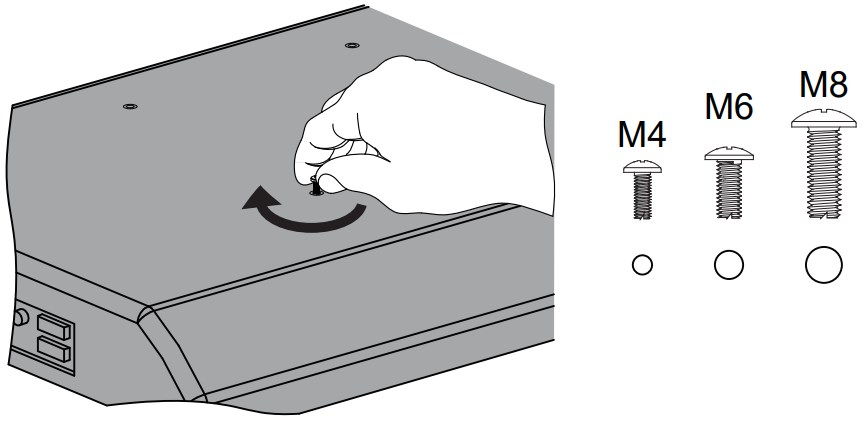

Need Spacer?
Yes, choose the appropriate screws, washers,and spacers for your TV
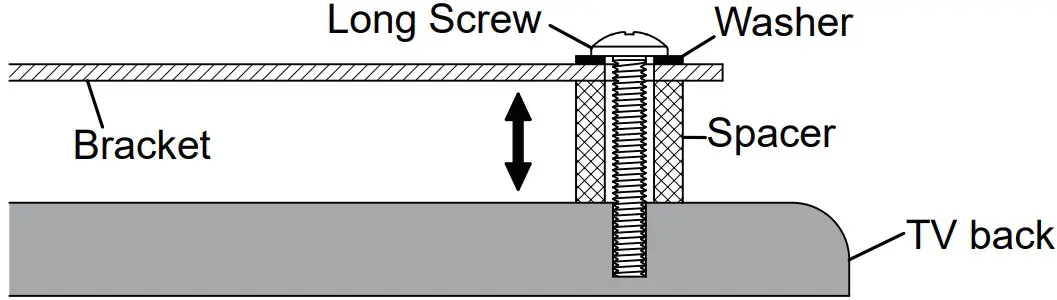
- For more spacing between bracket and TV
- For raised back TV

- For Counterbore of TV
- To avoid the blocked input
No, just choose the screws, washers

(Continued)
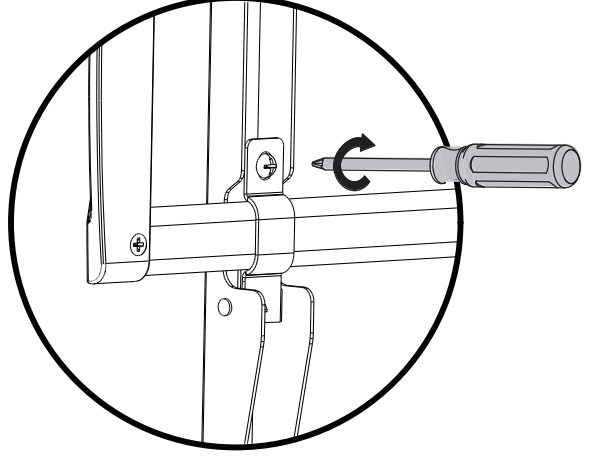
Attach the TV Brackets

Back view
Assemble the side covers and the arm extensions with the preassembled screws
Attach the Mount to Wall
OPTION A: Wood Stud Installation


Install wall plate using lag bolts and washer
with Socket Wrench, NO Electrodrill.
 CAUTION: To avoid potential personal injury or property damage: All 4 lag bolts MUST BE firmly tightened to prevent unwanted movement of the wall plate assembly. Ensure the wall plate assembly is securely fastened to the wall before continuing
on to the next step.
To prevent the TV falling down, the Arrow Must Keep UP at this step
OPTION B: Solid Concrete Wall Installation
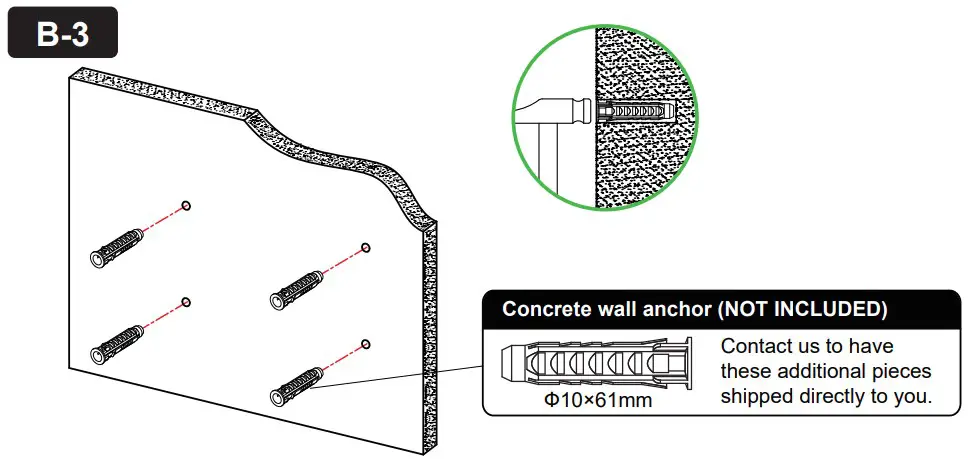
Install wall plate using lag bolts, washer and anchor with Socket Wrench, NO Electrodrill.
CAUTION: To avoid potential personal injury or property damage: All 4 lag bolts MUST BE firmly tightened to prevent unwanted movement of the wall plate assembly. Ensure the wall plate assembly is securely fastened to the wall before continuing on to the next step.
To prevent the TV falling down, the Arrow Must Keep UP at this step!!
Hang TV with Brackets onto the Mount
Secure TV with brackets against the mount with the pre-assembled screws.
TV must be hanged up by two person

Adjustments (If necessary)
 Leveling adjustment (+3° ~ -3°)
TV can be leveled via adjusting the 4 nuts with the wrench B.

 Tilting adjustment (+5° ~ -13°)
TV can be tilted via adjusting the 2 nuts with the wrench B.

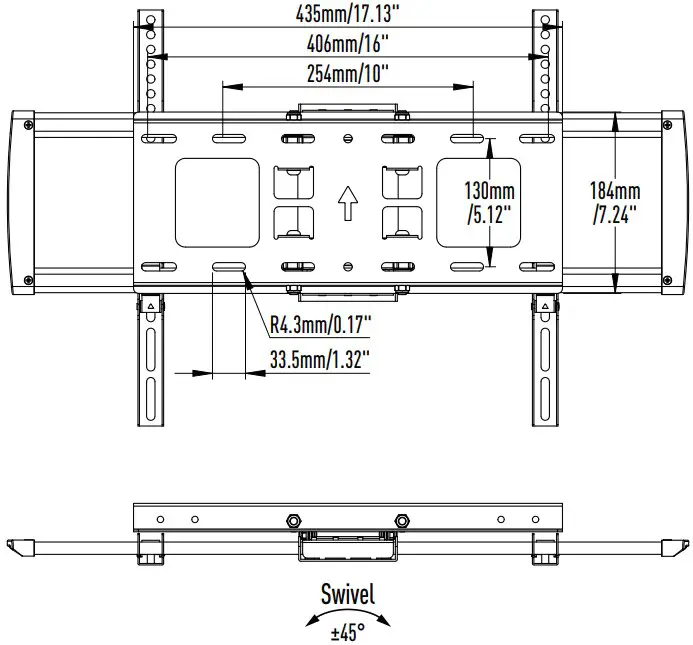
Product Dimensions