
FE575/FE595 Door Preparation Instructions For Door With No Holes
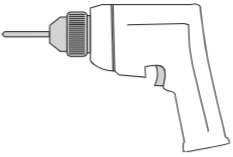
Tools Needed

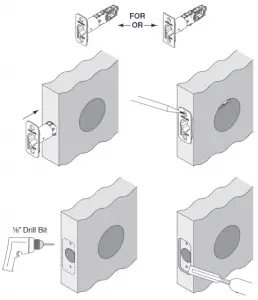
 Drill Bits Needed: ¹⁄₈”, ⁷⁄₈”, 1”
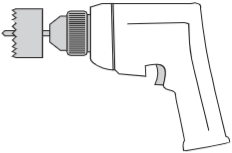 2¹⁄₈” Hole Saw
 Pencil
 Chisel
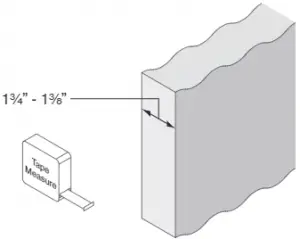
1. Measure Door Width
If the door is thinner than 1³⁄₈” or thicker than 1³⁄₄”, then the lock will not fit properly on the door.
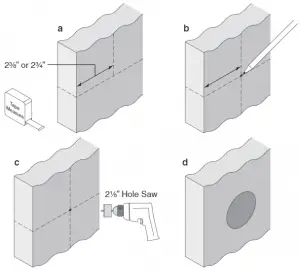
2 Mark Lock Centerline on Door Face and Door Edge

3 Mark and Drill Hole in Door Face with 2¹⁄₈” Hole Saw
4 Mark and Drill Hole in Door Edge

OR For

5 If Necessary, Mortise for Latch
a. Insert latch into door edge hole.
b. Use pencil to trace latch and mark holes.
c. Remove latch and drill two ¹⁄₈” pilot holes.
d. Use chisel to create latch mortise.
6 Measure Door Jamb for Strike

7 Mark and Drills Holes for Strike
a. Measure 38” from finished floor and mark on door jamb.
b. Mark center for strike hole exactly opposite latch hole.
c. Drill 1” hole, ¹⁄₂” deep.
d. Line up strike with hole in door jamb.
e. Use pencil to trace strike and mark holes.
f. Drill two ¹⁄₈” pilot holes and use chisel to create strike mortise.


![]()
© Allegion 2014
Printed in U.S.A.
FE575/595 DP no holes
Rev. 11/14-online
Schlage FE575/FE595 Keypad Lever Preparation Instructions Manual –
Schlage FE575/FE595 Keypad Lever Preparation Instructions Manual –