Contents
HOOKE ROAD BXG.2095-S 2 Doors Running Boards Nerf Side Step Bars
Product Information
Specifications:
- Model: BXG.2095-S
- Quantity: 1 set
- Tools Required: Drive Socket Ratchet Wrench, 12mm Deep Socket, 3mm & 4mm Hex Bit Socket
- Installation Time: About 30 minutes
Product Usage Instructions
Step-by-Step Installation Guide:
- Driver Side Installation:
- Step 1: Remove the factory vehicle side step.
- Step 2: Assemble the mounting bracket with the (M8*20) Button Head Socket Cap Bolts Screws groups. Do not tighten the bolts yet.
- Step 3: Lift up the side step into position, ensuring correct mounting locations. Use U-nut fasteners if needed.
- Step 4: Install the (M8*20) Button Head Socket Cap Bolts Screws groups without tightening. Use appropriate screws for M6 screw holes if necessary. Secure with (M8*20) Hex Bolts, (D8) Split Lock Washer, and (M8*20*2) Flat Washer in inside holes. djust position and tighten all bolts.
- Step 5: Repeat installation on the passenger side.
- Step 6: Adjust the main body left and right for comfort.
- Step 7: Tighten all bolts to complete the installation.
FAQ
- Q: What should I do if I encounter missing parts during installation?
A: Please contact your distributor for assistance in obtaining the missing parts. - Q: How do I know if the side steps are installed correctly?
A: Ensure that all bolts are securely tightened and the side steps are firmly attached to the vehicle frame. - Q: Can the side steps be used on all vehicle models?
A: The side steps are designed to be compatible with most vehicle models, but it is recommended to check compatibility before installation.
Contents
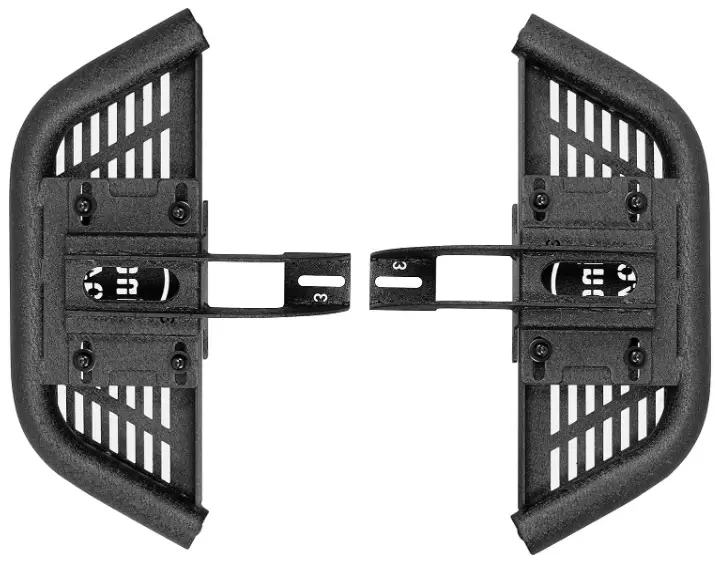
PART LIST
Tools required:
- a. Drive Socket Ratchet Wrench.
- b.12mm Deep Socket.
- c. 3mm & 4mm Hex Bit Socket.
Installation time
About 30 minutes, 1-2 people may be needed. Installationtimemaydiffer according to your mechanical skill level. (PLEASE VERIFY ALL PARTS ARE PRESENT AND READ INSTRUCTIONS CAREFULLY BEFORE STARTING INSTALLATION!)
To view the electronic version (BXG.2095-S), please scan the QR code.
Installation instruction
Driver Side Installation
- Step 1: Remove the factory vehicle side step, ready to install our sidestep.
- Step 2: Assemble the mounting bracket with the (M8*20) ButtonHeadSocketCap Bolts Screws groups. Don’t tighten up those bolts.
- Step 3: Lift up the side step into the position. Make surethatmountinglocations are correct. (If the inside hole in your vehicle is not threaded, you can install it by using a U-nut fastener.)
- Step 4: Install the (M8*20) Button Head Socket Cap Bolts Screwsgroups.Don’t tighten up those bolts. (If your vehicle has an M6 screw hole here, use M6 screws groups.) Then, use the (M8*20) Hex Bolts, (D8) Split LockWasher, and (M8*20*2) Flat Washer in inside holes. Adjust the side step position and tighten up all bolts.
- Step 5: Repeat the same installation method in the passenger side.
- Step 6: Adjust the main body left and right to the comfortable position.
- Step 7: The installation is complete. We hope you enjoy a wonderful off-road life with this quality Hooke Road product!
Attention
- The product parts in this instruction may differ slightly from the actual product contents but generally does not affect the installation of the product.
- Please feel free to contact your distributor if you have any kind of questions about your purchase.
