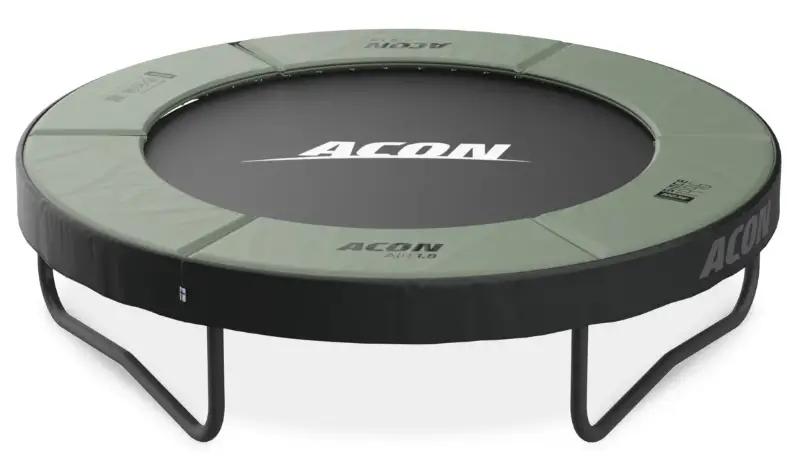
ACON AIR 1.8 Round Trampoline
All rights reserved 2022. ACON Finland OY LTD.
All artworks and illustrations are owned by ACON Finland OY LTD.
Copying or reusing them are prohibited by law.
Contents
Assembly instructions & Product specifications
- CAUTION: This is an assembly instruction manual for Acon AIR Trampoline. Ensure that you have read and understood the trampoline user manual before assembling this product.
- The owner and/or supervisor of the trampoline are responsible for making all users aware of the practices and information specified in the trampoline user manual.
- ACON Trampoline E-Manuals & more can be downloaded by scanning the QR-code below or from: www.acon-manuals.com/trampoline-manuals

PART LISTS
This is the parts list for your trampoline. If any parts are missing, please contact ACON customer support.
TRAMPOLINE
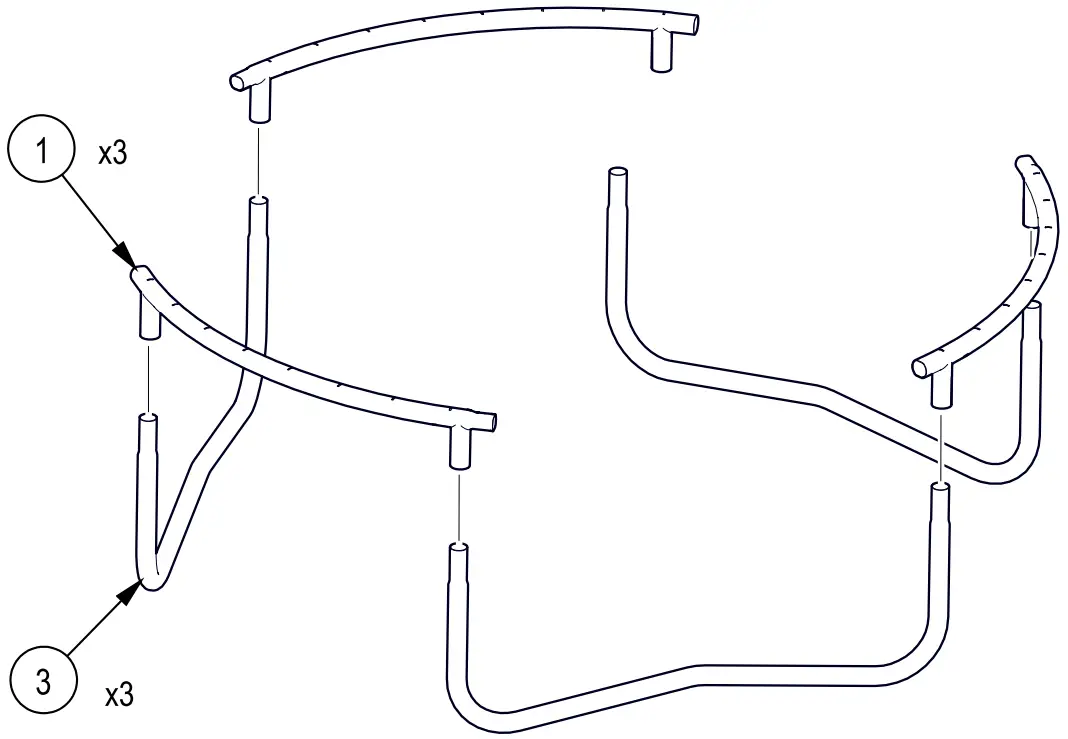
- Top rail with leg sockets

- Top rail

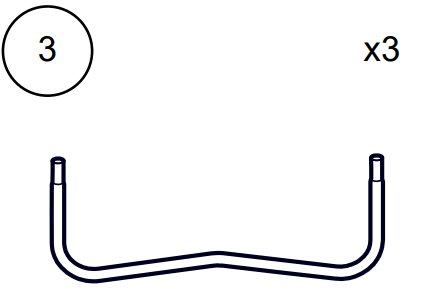
- Leg base
- Jumping mat

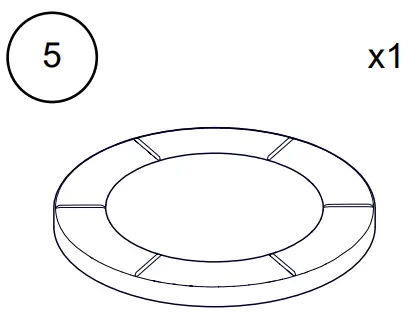
- Safety pad
- Spring

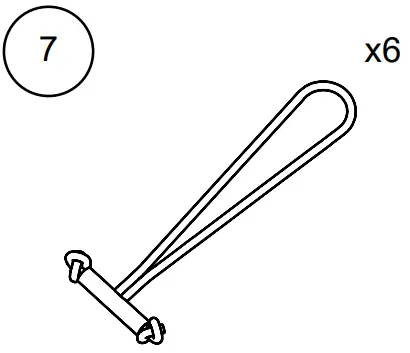
- Bungee cord
TRAMPOLINE SPECIFICATIONS
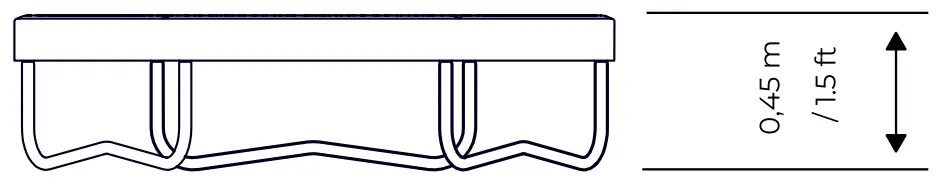
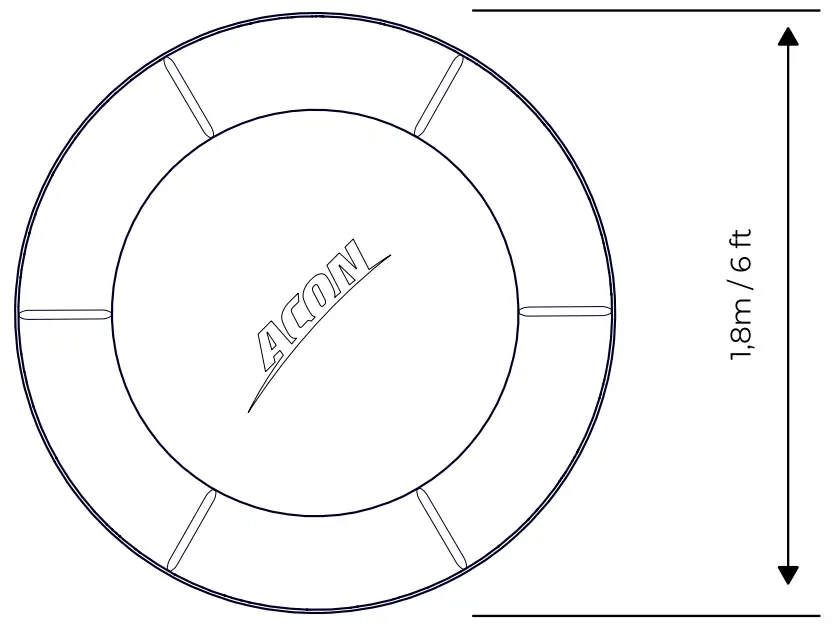
WARNING! maximum user weight: 220 lb (700 kg)
ASSEMBLY INSTRUCTIONS
- Insert top rail with sockets (#7) onto the legs (#3) as instructed below. Leave one connection disconnected.
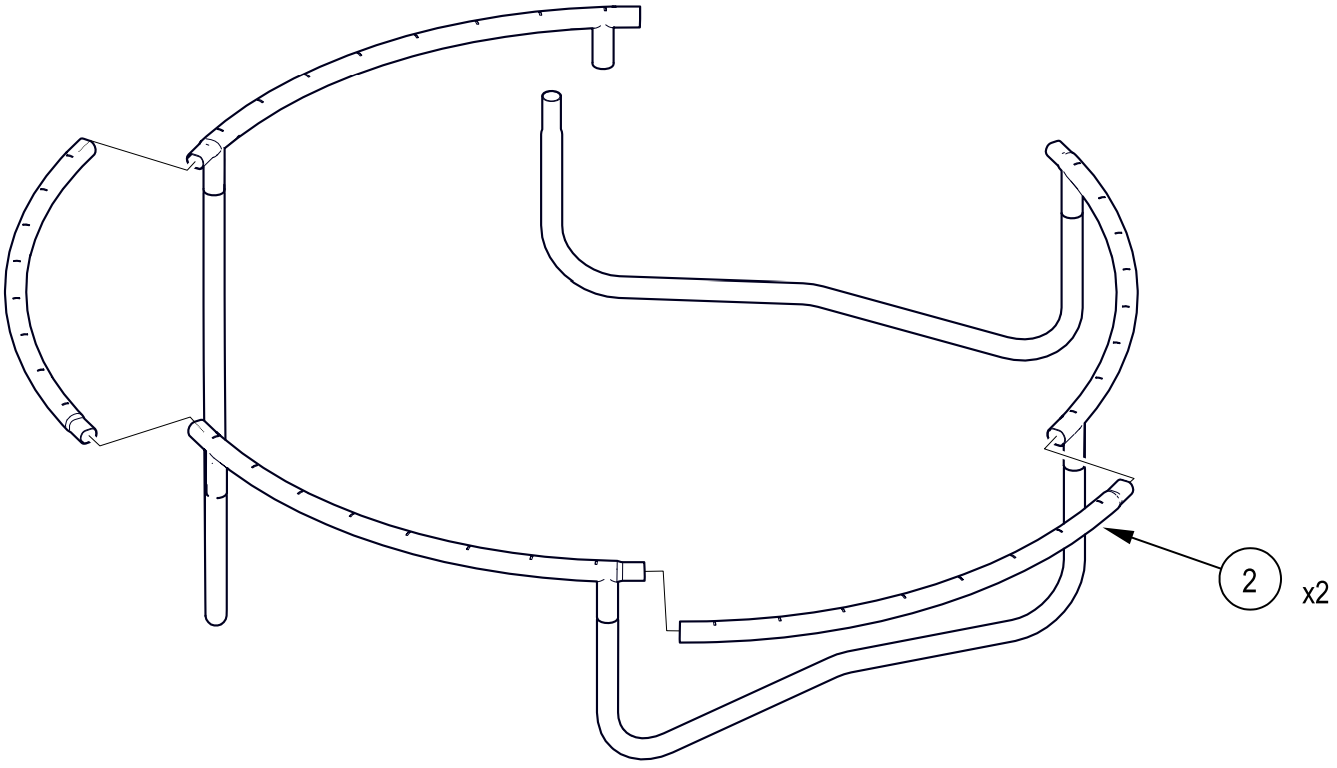
- Install the top rails (#2) into the gaps between the legs by inserting them into the slots as shown in figure below. 1. Insert the top rail first. 2. Connect the last top rail at same time as making the last leg connection.

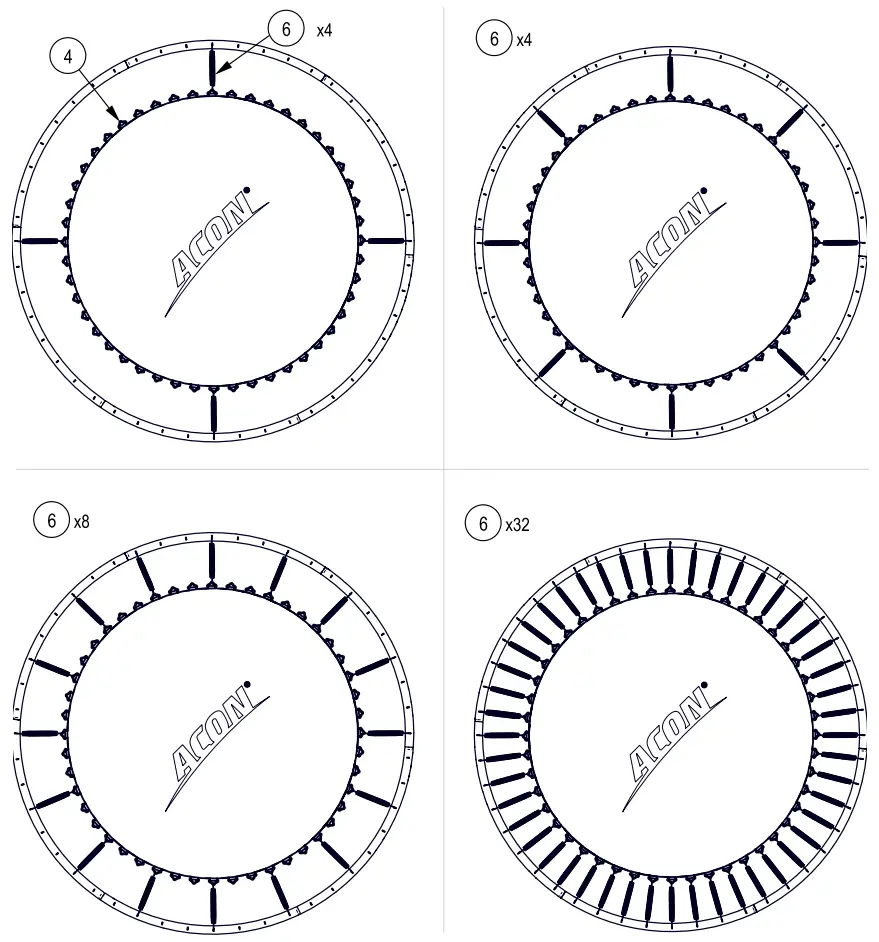
- Connect springs (#6) to the v-rings of the mat (#4) and pull towards yourself with the spring pull tool to connect to the frame.

 CAUTION! PINCH PONT. Pay attention to hand position when handling springs.
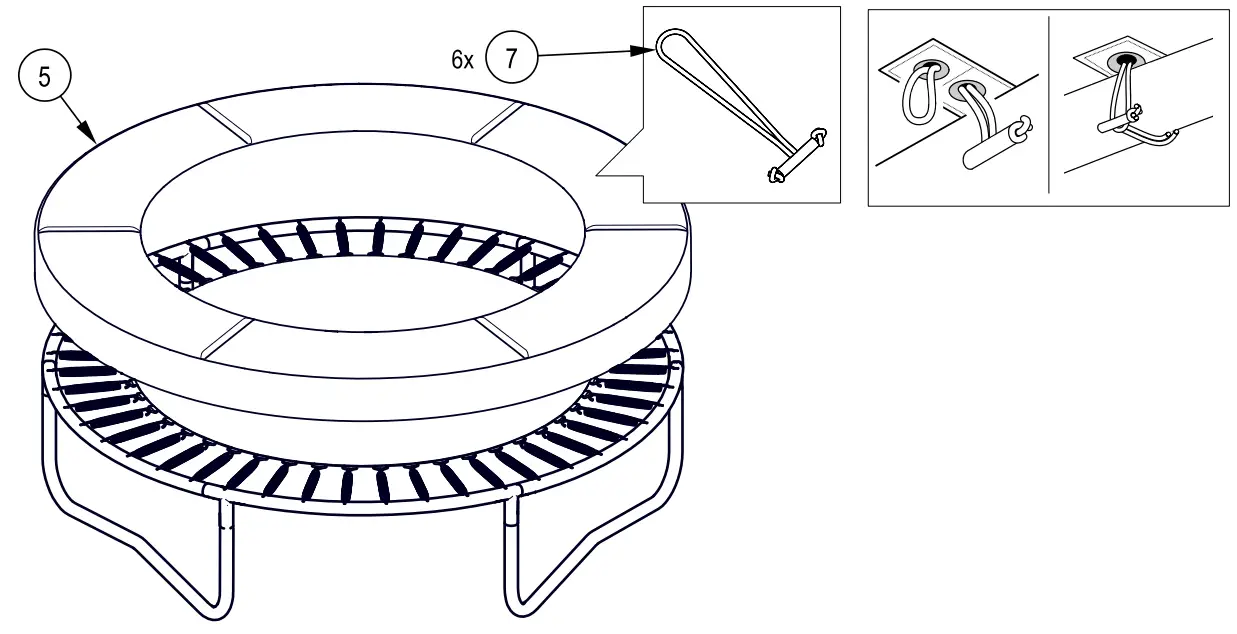
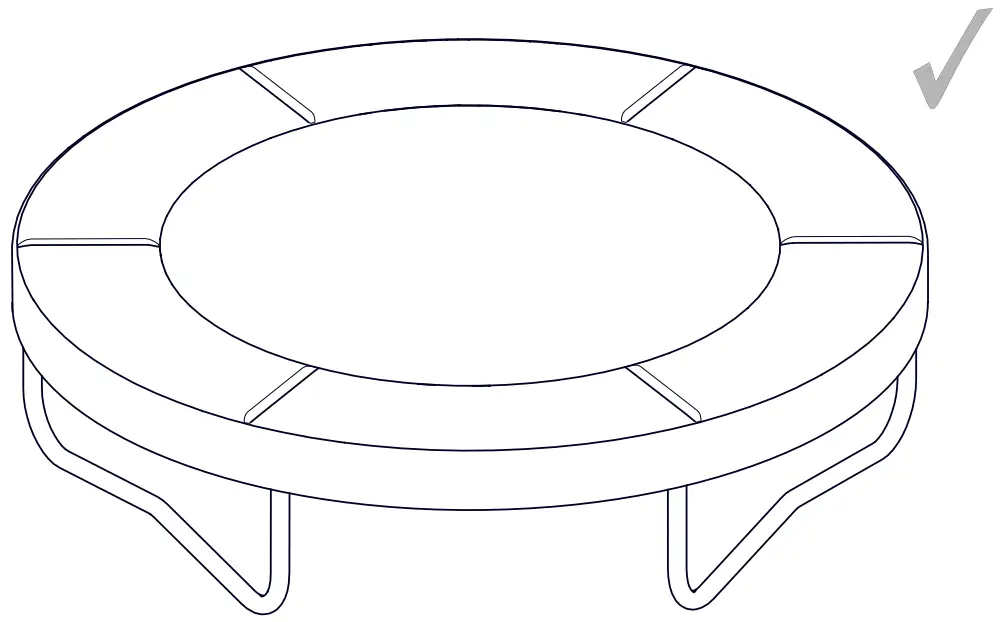
- Attach the safety pad (#5) to the frame with bungee cords (#7). Tip: using the spring pull tool is helpful. After this step your Aeon AIR 7.8 is ready for use. Have fun!
CONTACT US
EUROPE
Email: [email protected]
USA & CANADA
Email: [email protected]
Tel:+ 1 (866) 297 5234 us.acon24.com
SWEDEN
Email: [email protected]
Tel: +46 (OS) 12013113 www.acon24.se
FINLAND
Email: [email protected]
Tel: +358 (0)9 42720823 acon.fi
All rights reserved 2022. ACON Finland OY LTD.
All artworks and illustrations are owned by ACON Finland OY LTD.
Copying or reusing them are prohibited by law.
