![]() Vale – handbasin
Vale – handbasin
Ceramics, matt white, 28cm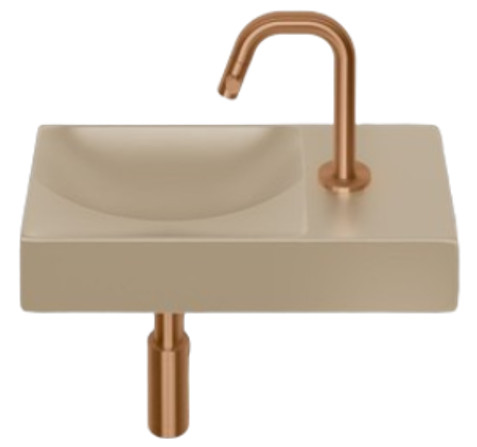 CL/03.02160
Installation instructions
REV 02
20.09.2023
Contents
CL-03.02160 Vale Handbasin Ceramics
– Before starting the installation, check whether the delivery is complete. At the same time the delivery should be checked for damage due to transportation, damage reports that are too late (> 1 day after delivery) will not be accepted.
– The included fixing media are suited for plastered or tiled solid walls with enough supporting power. For other walls the used fixing media is at own responsibility, and the wall might need reinforcement.
– Clou b.v. reserves the right to introduce technical and visual changes with respect to the depicted images.
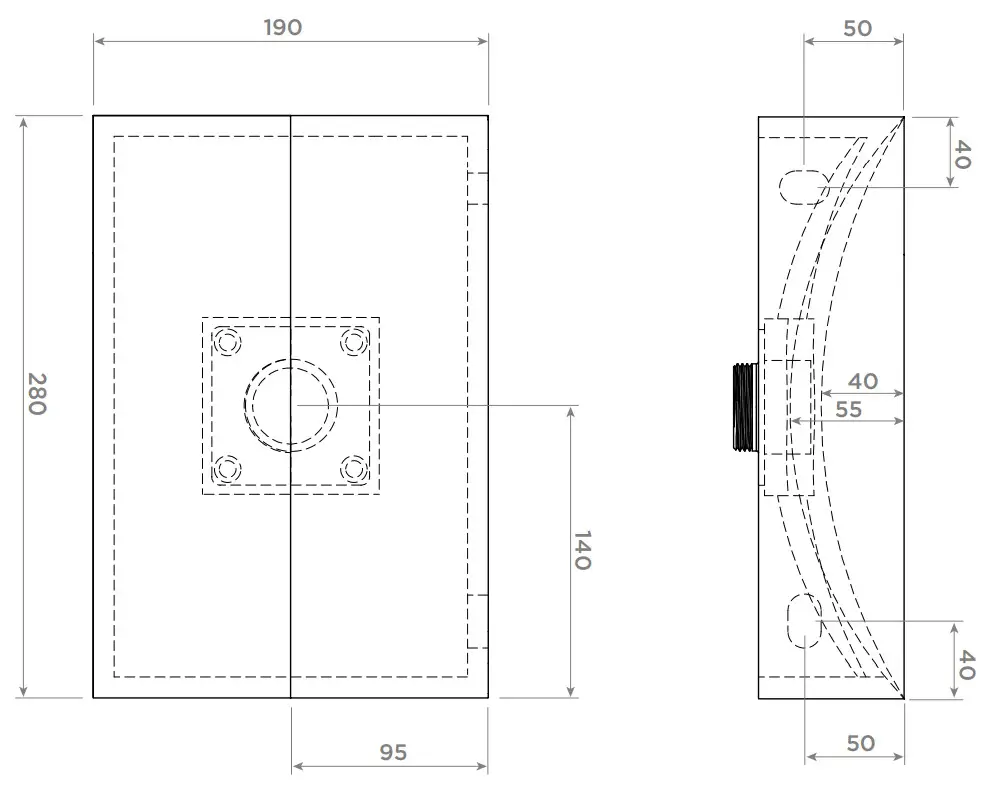
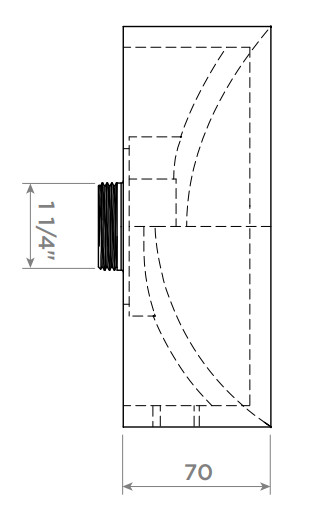
– Due to changes in production it is possible that given dimensions are no longer correct. All mentioned dimensions in this manual should be verified before executing the action.
– Clou b.v. can not be held responsible for the results of improper use, improper transportation or any damage caused during interim storage.
– The current terms of guarantee are always valid.
– All dimensions are in mm.
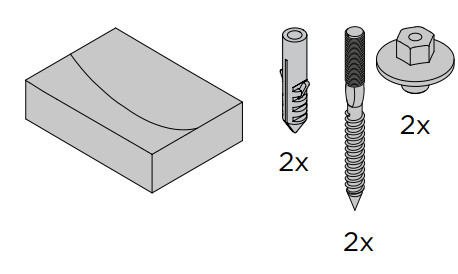
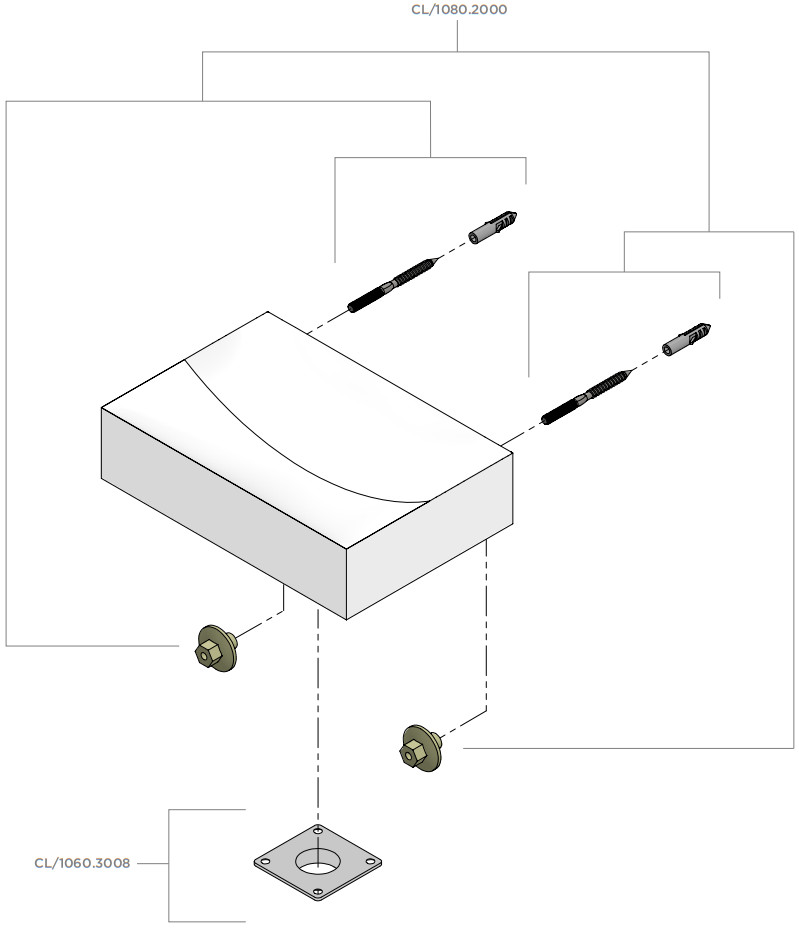
Content of delivery:
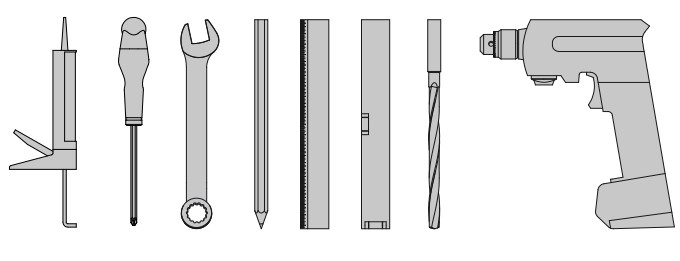
Required tools:
 During installation one has to prevent damaging the surface of the product due to placing hard objects on the product.
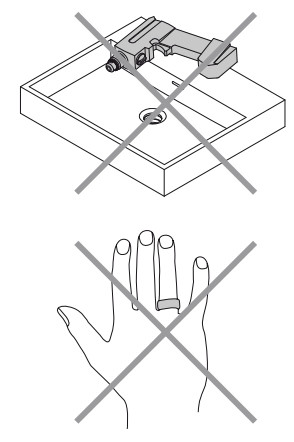 User’s instructions:
See also the maintenance guides at www.clou.nl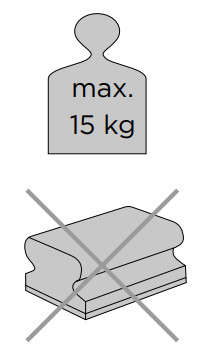
Spare parts:

- Mark with pencil and spirit level the position of the drain of the hand basin.
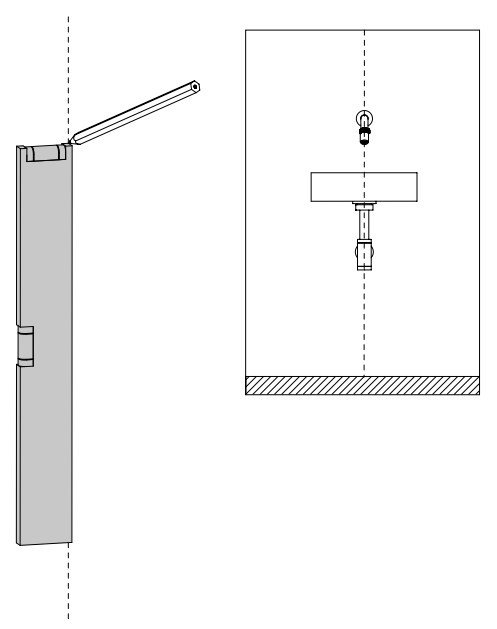
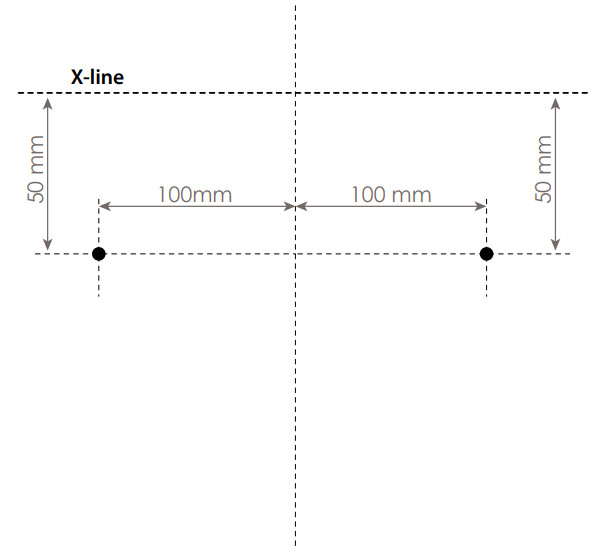
- Mark with pencil and spirit level the prefered height X of the hand basin.
(recommended: X = 900 mm)
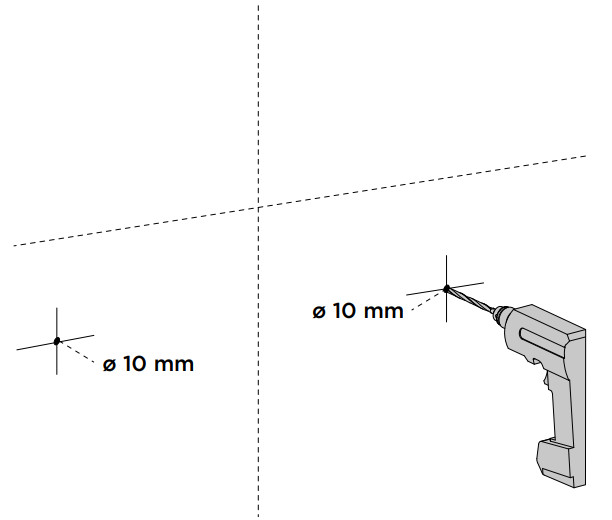
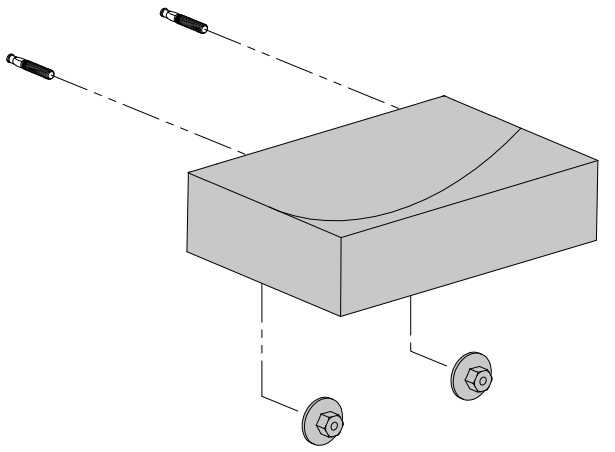
- Mark with pencil the spots to drill holes.
- Drill the holes (ø 10 mm).
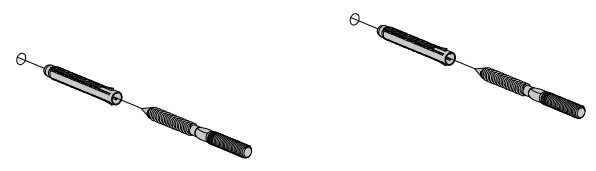
- Insert the dowels in the holes and screw the dowel screws in the dowels.
- Place the hand basin on the dowel screws and fix with the collar nuts.
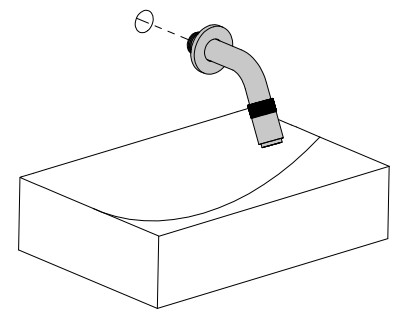
- Mount the tap (not included) on the wall and connect it to the water supply.
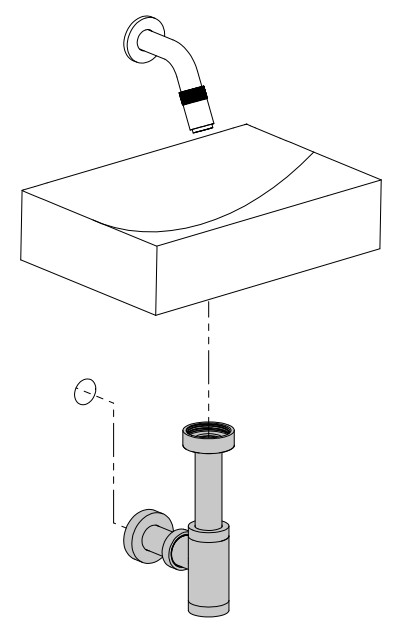
- Attach the trap (not included) to the drain and to the waste pipe.
Clou. Bath findings.
Clou bv
Thermiekstraat 1
NL-6361 HB Nuth
T +31 (0)45 524 56 56
[email protected]
www.clou.nl
Looking for inspiration?