NEXIGO Aurora Pro 4K Triple Color UST Laser Projector User Guide
Contents
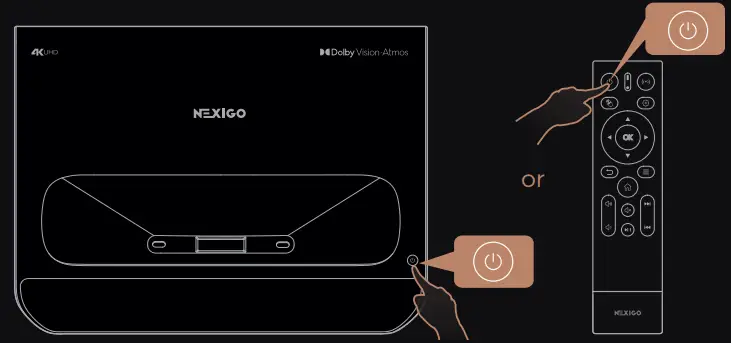
TURN ON THE PROJECTOR
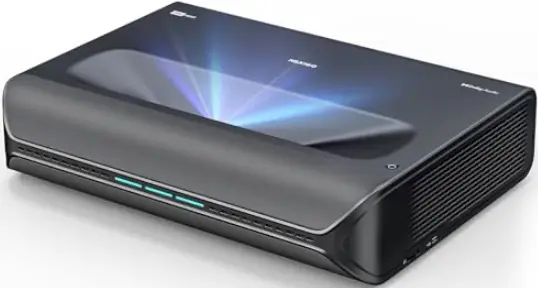
- Place the projector horizontally on a flat surface to prevent it from tilting.
- Plug the projector into a power outlet.

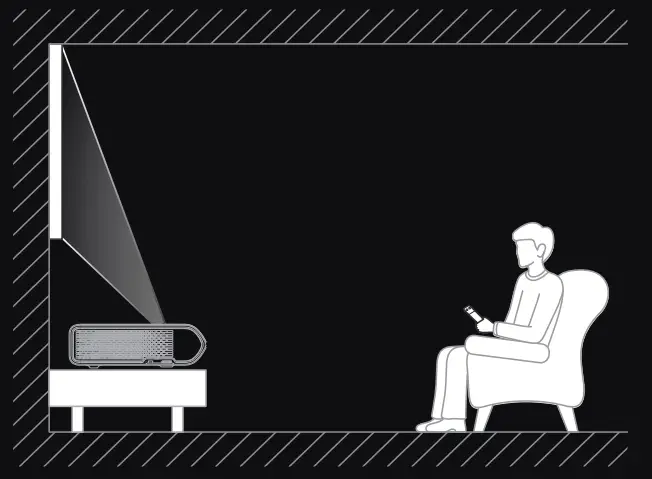
- Put batteries in the remote.
- Press the power button.
- Pair the remote with the projector.

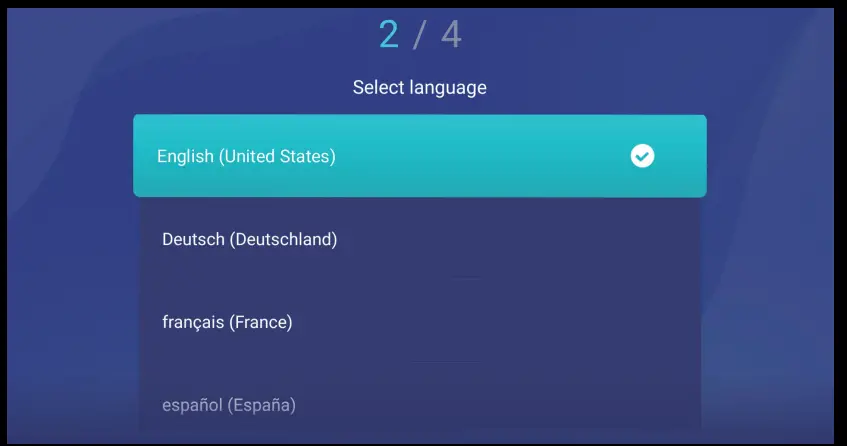
- Select your preferred language.
- Connect to a network.

- Choose your preferred installation method.

IMAGE ADJUSTMENT
- ADJUST THE IMAGE

- KEYSTONE CORRECTION AND FOCUS
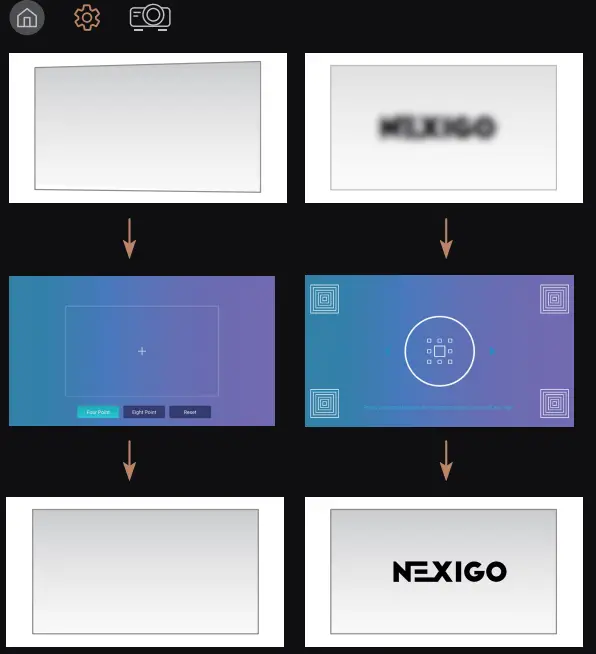
Navigate to Settings > Display > Keystone Correction or Focus to enter the correction mode.
PROJECTOR DISTANCE & SIZE

| Image SD | Projection Distance (ft) | Projection Height (ft) |
| 80″ | 0.33 | 0.98 |
| 0.49 | 1.06 | |
| 100″ | 0.65 | 1.14 |
| 120 | 0.96 | 1.31 |
| 150″ | 1.44 | 1.55 |
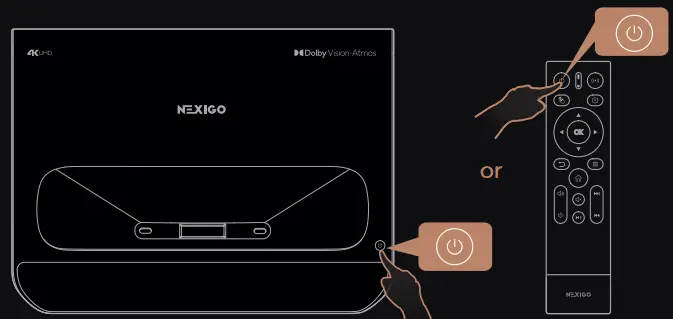
HOW TO TURN OFF THE PROJECTOR
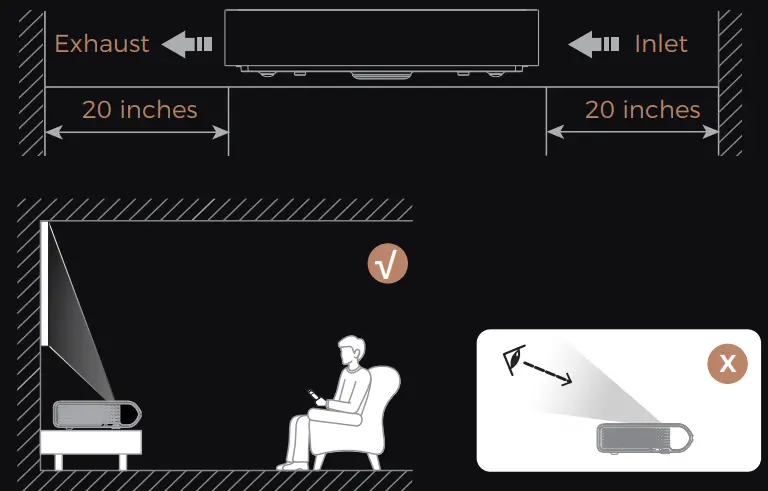
 Do not touch the heat dissipation vent.
- Do not place any objects that may be blocking the air vents within 20 inches of the projector’s air vents.
Get in touch with FREE online services. facebook.com/letsnexigo