![]()
![]() MT73H7A4D10NA-50 Litecom Pro III Headsets
MT73H7A4D10NA-50 Litecom Pro III Headsets
Owner’s Manual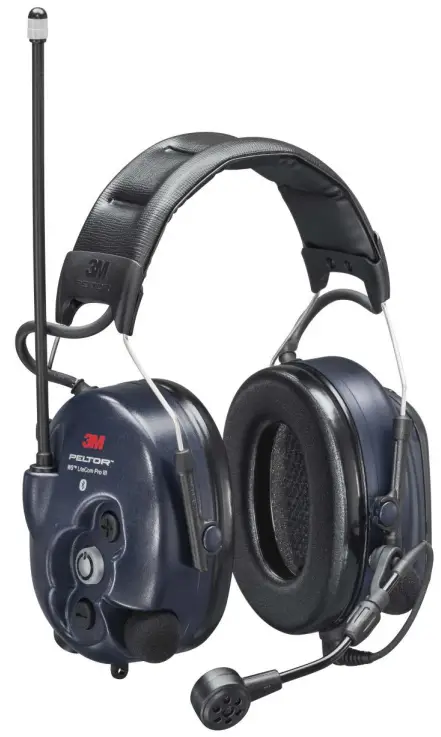
How to Program the 3M Peltor WS Litecom PRO III to an Existing Radio Fleet
Contents
Programmable Headsets
Below are the Litecom WS series headsets that can be programmed
| Headset | Part Number |
| LITECOM MODELS | |
| 3M Peltor WS Litecom PRO III – Headband, Royal Blue | MT73H7A4D10NA-50 |
| 3M Peltor WS Litecom PRO III – Neckband, Royal Blue | MT73H7B4D10-NA |
| 3M Peltor WS Litecom Pro III – Hard Hat, Royal Blue | MT73H7P3E4D10NA |
| INTRINSICALLY SAFE MODELS | |
| 3M Peltor WS Litecom PRO III Headband – Intrinsically Safe | MT73H7F4D10NA-50 |
| 3M Peltor WS Litecom PRO III – Neckband, Intrinsically Safe | MT73H7B4D10NA-50 |
| 3M Peltor WS Litecom PRO III – Hard Hat, Intrinsically Safe | MT73H7P3E4D10NA-50 |
| HI-VIZ MODELS | |
| 3M Peltor WS Litecom PRO III – Headband, Bright Yellow | MT73H7A4D10NA GB |
| 3M Peltor WS Litecom PRO III – Neckband, Bright Yellow | MT73H7B4D10NA GB |
| 3M Peltor WS Litecom PRO III – Hard Hat, Bright Yellow | MT73H7P3E4D10NA GB |
What You Will Need
- (1) 3M Peltor Service Tool software
- (1) License key from 3M
- (1) LiteCom Service Tool Programming Cable: FLA07

Requirements:
- An existing UHF Two-Way Radio
- Windows 7, 10
3M Peltor Installation Guide for Service Tool Download
For instructions from 3M Peltor on Installing Service Tool, click here.
- Install and open the Peltor Service Tool software
Download 3M Peltor Service Tool. Contact 3M Peltor Customer Service for software.
Note: If you purchased the headset from First Source Wireless, we can provide you with the software (proof of purchase required).
Next, request a license key. 3M will provide you with a license key within 48 hours. Proof of purchase/invoice may be required. - Plug the 3M Peltor Litecom Programming Cable into Your Computer
Plug the USB end of the programming cable into the USB port on your computer. Your computer will make a tone letting you know the computer recognizes the USB.
- Plug the Programming Cable into your Litecom Headset
Make sure your headset is OFF. Plug the end of the programming cable into the headset port. This port can be found on the bottom of the right ear cup. The holes on the cable should align with the prongs inside the port.
- Put the headset in programming mode
Hold the power button and volume up (+) button simultaneously for about 3 seconds. The LED will double flash when in programming mode.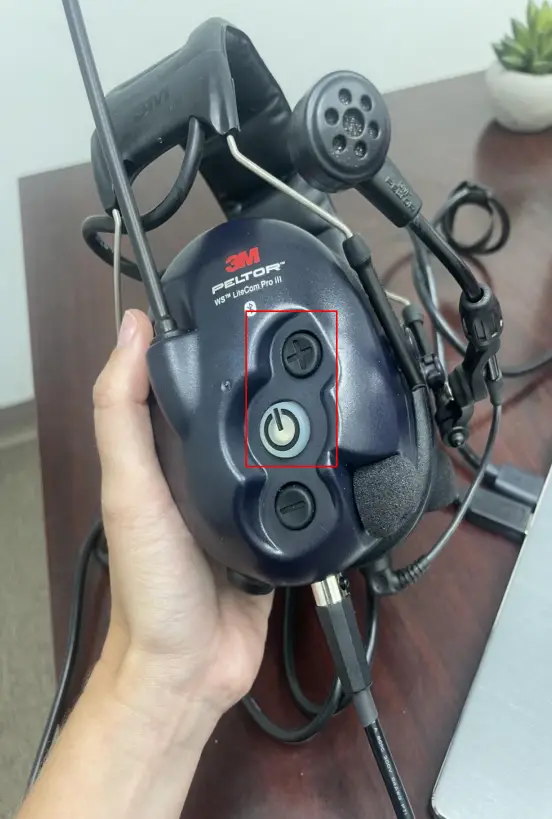 On the PELTOR Service Tool, you’ll see connected at the bottom showing the headset is successfully connected.
- Type in your desired frequencies and subchannels
In Peltor Service Tool > Configuration tab > Two-Way Radio > Channels > transmit frequency and receive frequency > transmit subchannel and the receive subchannel.
After, click save in the top .
. - Write the frequencies to the headset
When all changes are made, the data needs to be transferred to the attached WS Litecom PRO III. Press the button to write to headset.
Need help with programming frequencies?
First Source Wireless can help you program your 3M Peltor WS Litecom Pro III Headset to your existing two-way radio fleet. Reach out to us via the contacts below for more information.
![]() [email protected]
[email protected]
![]() 800-991-4569
800-991-4569
![]() www.firstsourcewireless.com
www.firstsourcewireless.com
![]() For industrial/occupational use only. Not for personal use.
For industrial/occupational use only. Not for personal use.